Termite Control DIY: How to Treat Termites Yourself
You spotted mud tubes on your foundation or found discarded wings on a windowsill, and now you're wondering if you can handle this without spending thousands on a professional. Termite control diy projects are possible for small, localized problems, and plenty of Sacramento homeowners start here before calling in backup. The trick is knowing which situation you're actually facing, because guessing wrong can mean months of hidden damage.
This guide walks you through real termite control do it yourself methods that work: baiting stations, liquid termiticides, borate treatments, and orange oil for drywood infestations. You'll learn how to identify the termite species in your home, apply treatments correctly, and recognize the warning signs that mean DIY won't cut it anymore .
We've spent over two decades in Sacramento homes repairing what happens when termite damage goes untreated too long, so we're not here to talk you out of trying it yourself. We'll show you exactly what a homeowner can realistically fix , what tools and products actually work, and where the line sits between a weekend project and a structural problem that needs a licensed exterminator.
What to know before treating termites yourself
Before you buy a single product, figure out what you're actually up against. Termite control diy success depends almost entirely on correctly identifying the species and the scope of the infestation. Guess wrong here, and you'll spend weeks treating the wrong problem while the colony keeps eating.
Know which termite species you're dealing with
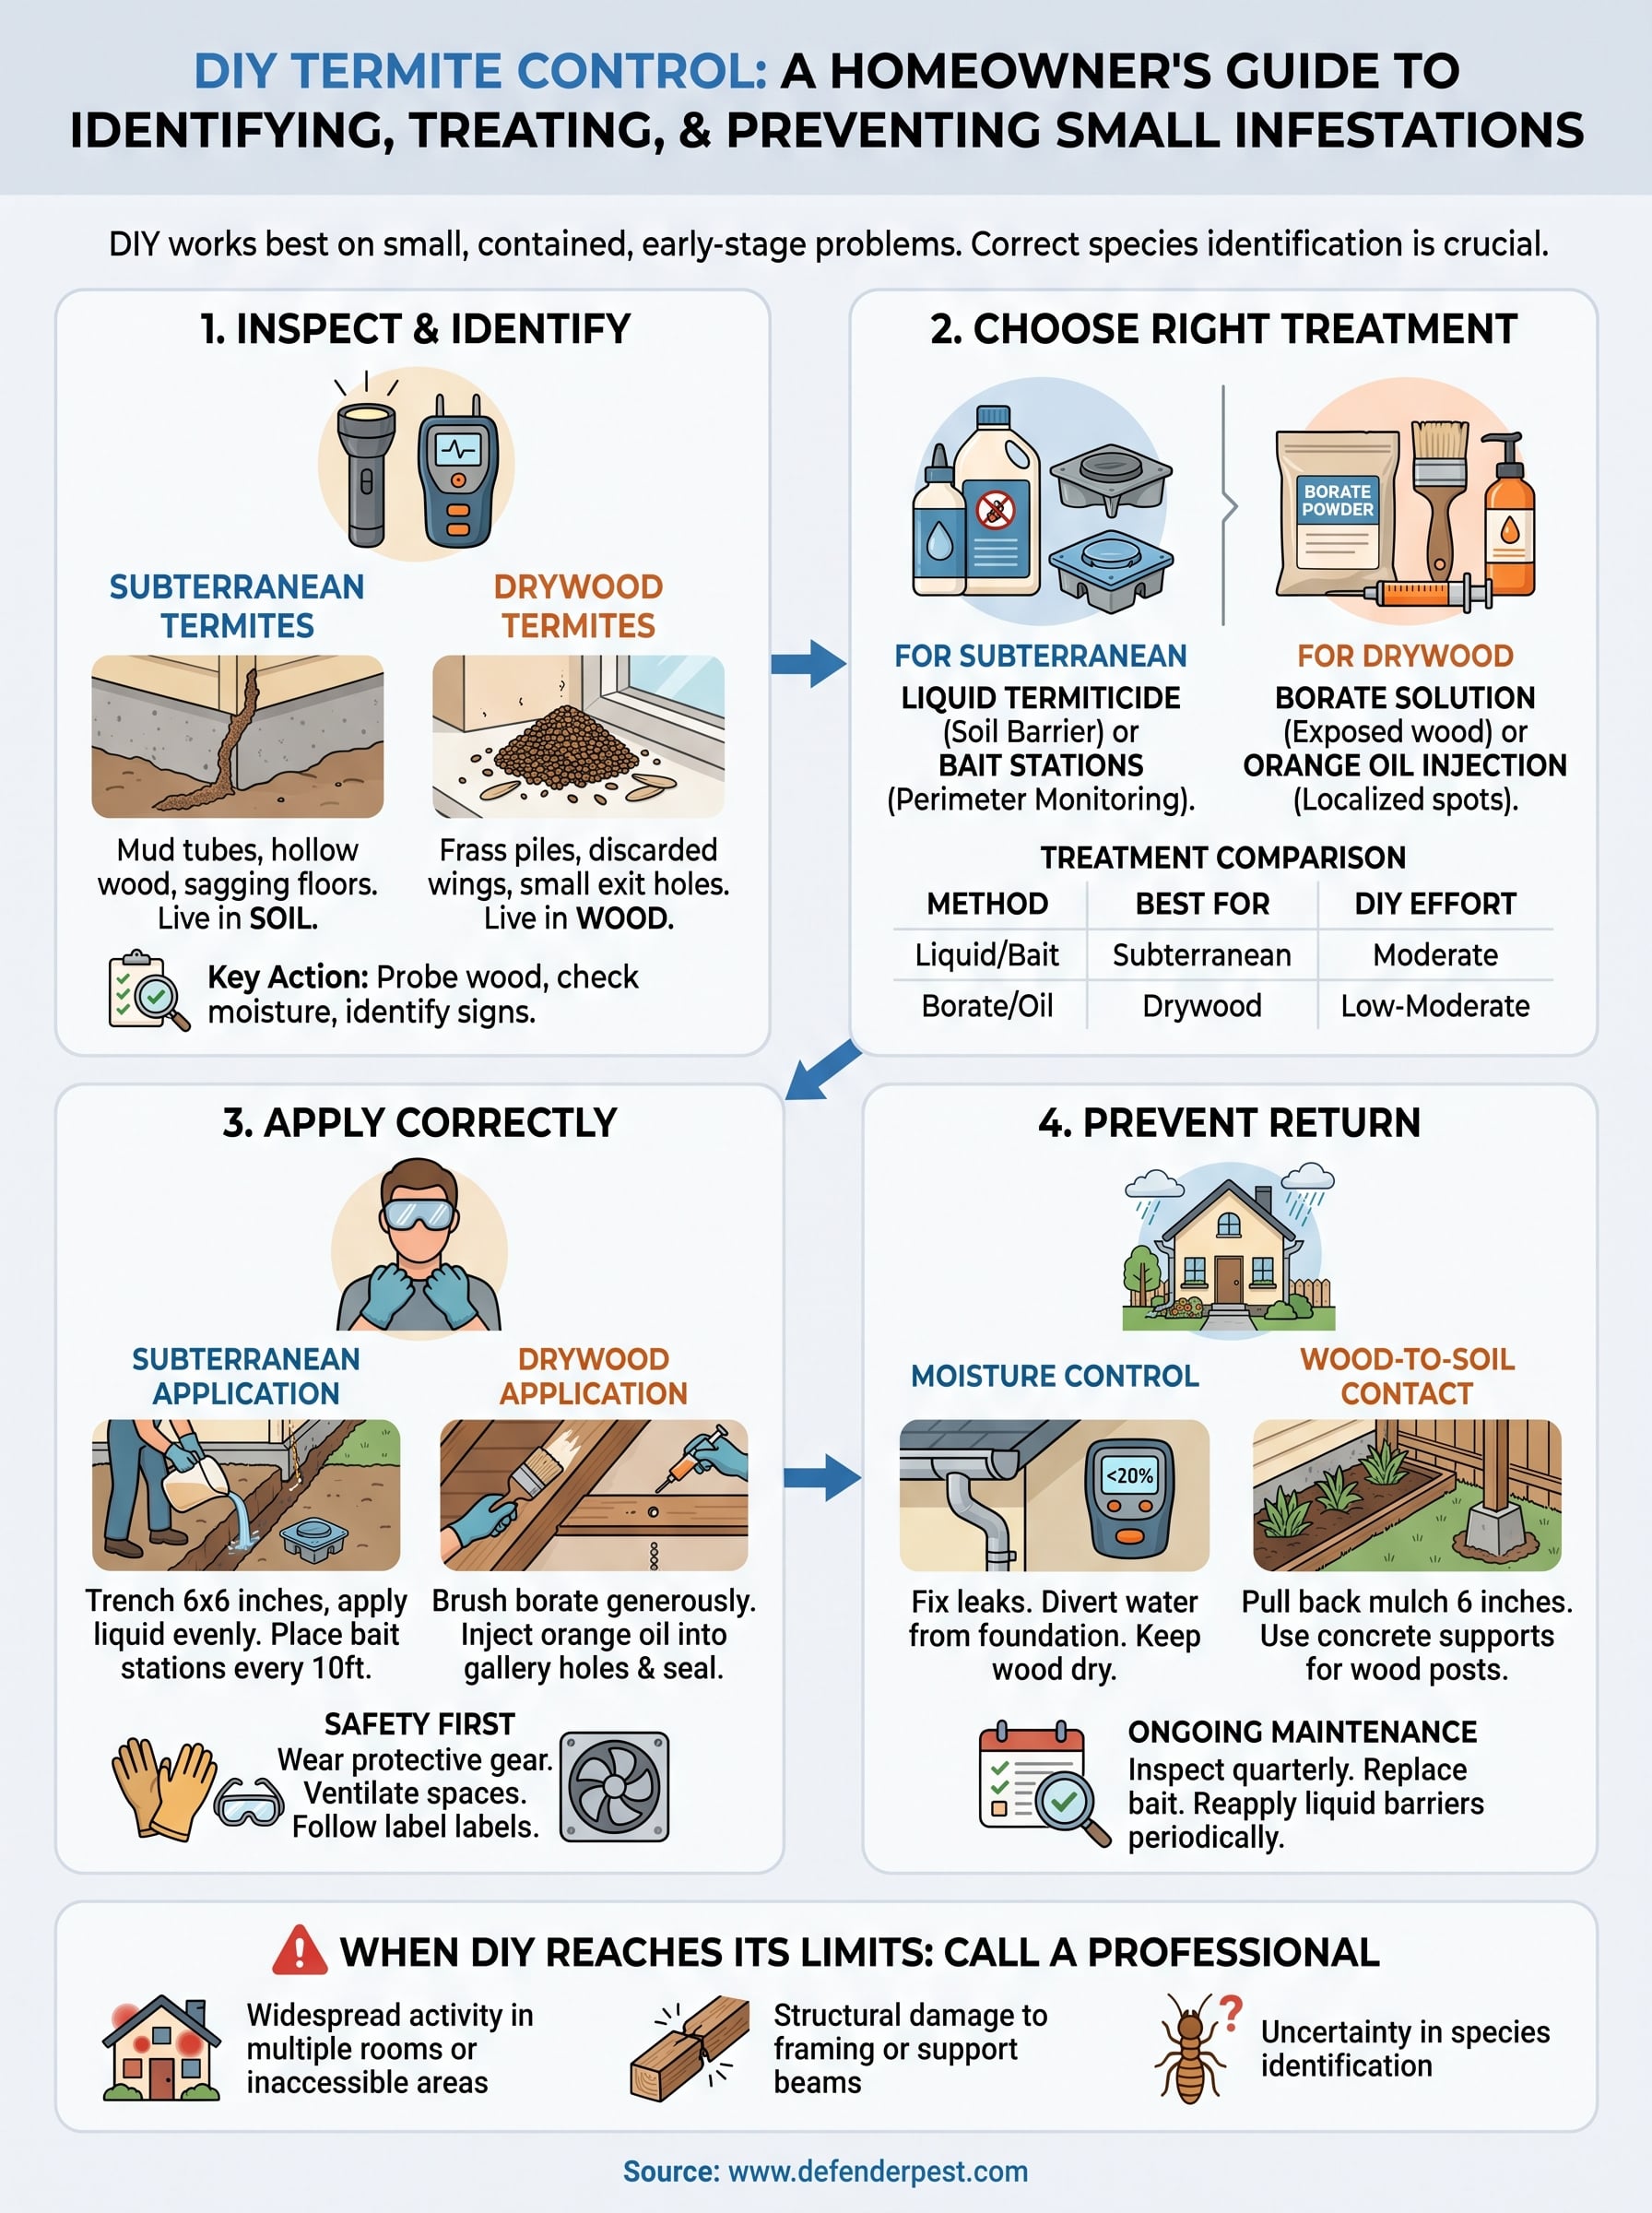
Sacramento sees two main offenders: subterranean termites vs drywood termites, and they require completely different treatment approaches. Subterranean termites live in the soil and build mud tubes to reach your home's wood, so a liquid termiticide barrier around your foundation makes sense. Drywood termites live entirely inside the wood itself, often in attic framing or furniture, so a soil treatment does nothing for them. You need localized injections or fumigation-style products instead.
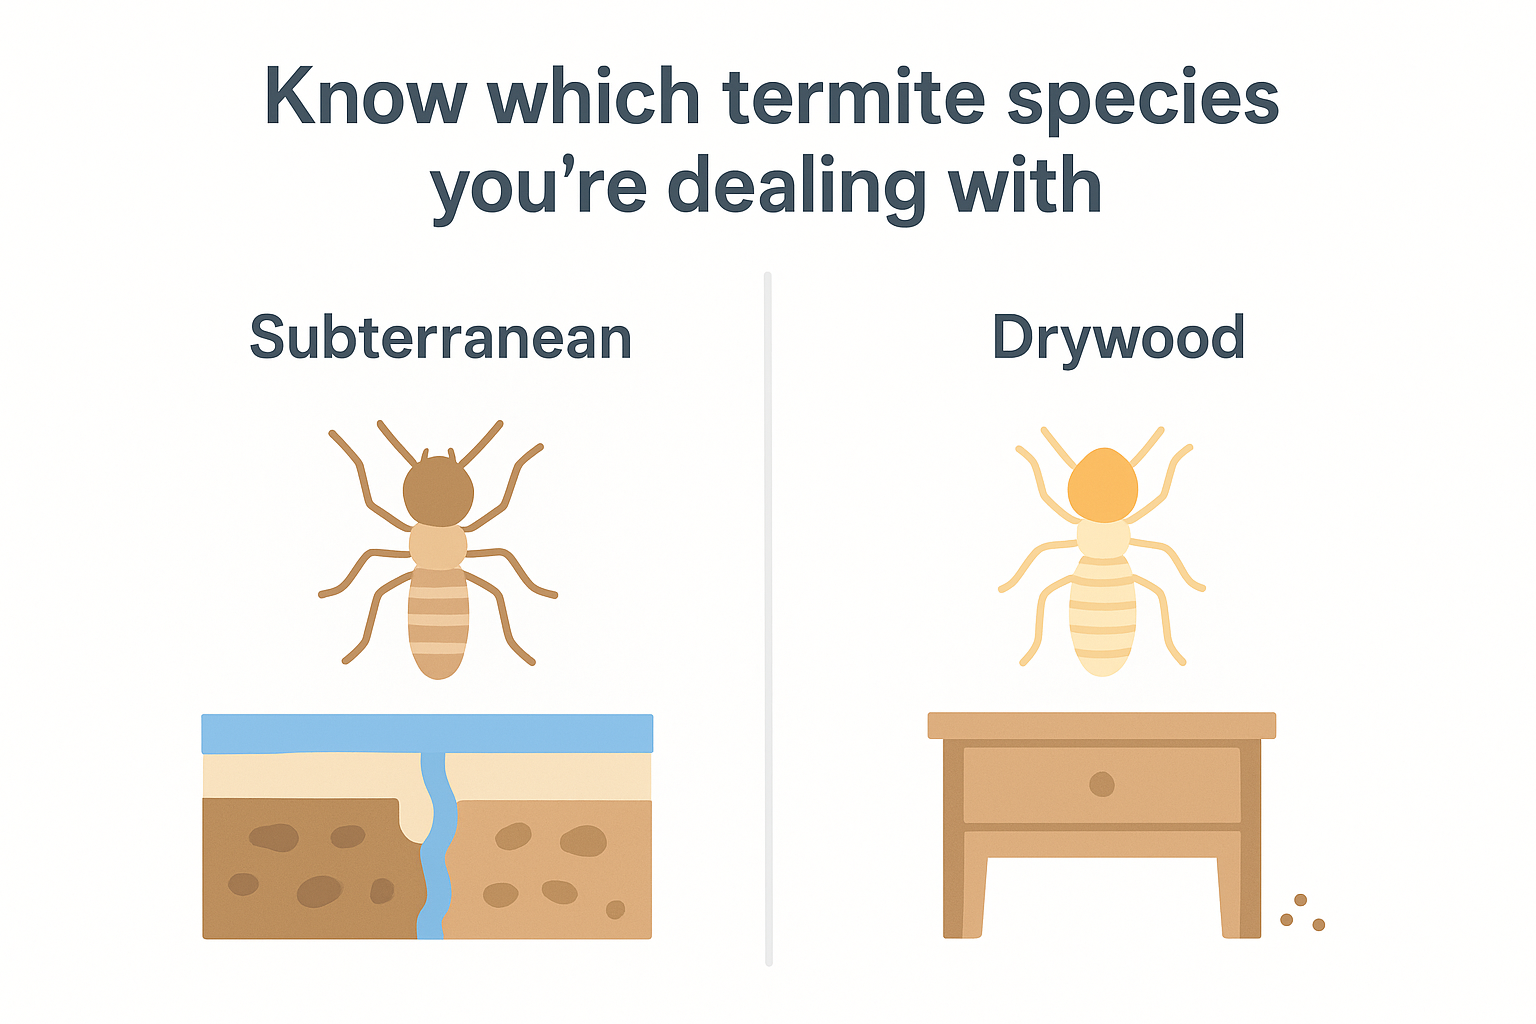
| Species | Where they live | Signs to look for | Typical DIY treatment |
|---|---|---|---|
| Subterranean | Soil, foundation, crawl spaces | Mud tubes, sagging floors, hollow-sound wood | Liquid termiticide, bait stations |
| Drywood | Inside dry wood, attics, furniture | Discarded wings, fecal pellets (frass), small exit holes | Borate treatment, orange oil injection |
If you can't correctly identify the termite species, you can't pick the right treatment, and every DIY effort after that is a guess.
What DIY can realistically fix (and what it can't)
Here's the honest version: DIY termite treatment works best on small, contained, early-stage infestations, usually a single piece of furniture, a fence post, or a small section of foundation. It does not work well when termites have spread into wall voids, multiple rooms, or structural framing you can't easily access. A colony that's been active for two or three years has usually moved well past the point where a homeowner can reach every gallery with a spray bottle or bait station.
Growing colonies of subterranean termites can also travel from a neighbor's yard, meaning you're treating your own soil while the source keeps producing new workers next door. That's a limitation no amount of product application fixes on its own.
Tools and products you'll need
Stock up before you start so you're not making repeat trips to the hardware store mid-treatment. Here's what a typical DIY setup looks like:
- Moisture meter (to find damp, termite-attractive wood)
- Flashlight and a screwdriver (to probe wood for hollow spots)
- Liquid termiticide concentrate (for soil barriers)
- Termite bait stations (for perimeter monitoring)
- Borate solution (for exposed, untreated wood)
- Orange oil injector kit (for localized drywood spots)
- Caulk and wood filler (for sealing entry points)
- Protective gloves and eyewear
Check your county's rules too. Some pesticide products sold for professional use aren't available to consumers , and application limits vary by state. The EPA's pesticide labeling requirements explain what you're legally allowed to apply yourself versus what requires a licensed applicator, so read the label fully before you buy anything.
Step 1. Inspect your property for termite activity
Grab your flashlight and moisture meter before you touch a single product. A proper termite inspection tells you where the colony lives, how far it's spread, and which species you're fighting, and that information decides everything that comes next, so work through a room-by-room termite check before you start. Skipping this step is the single biggest reason DIY treatments fail.
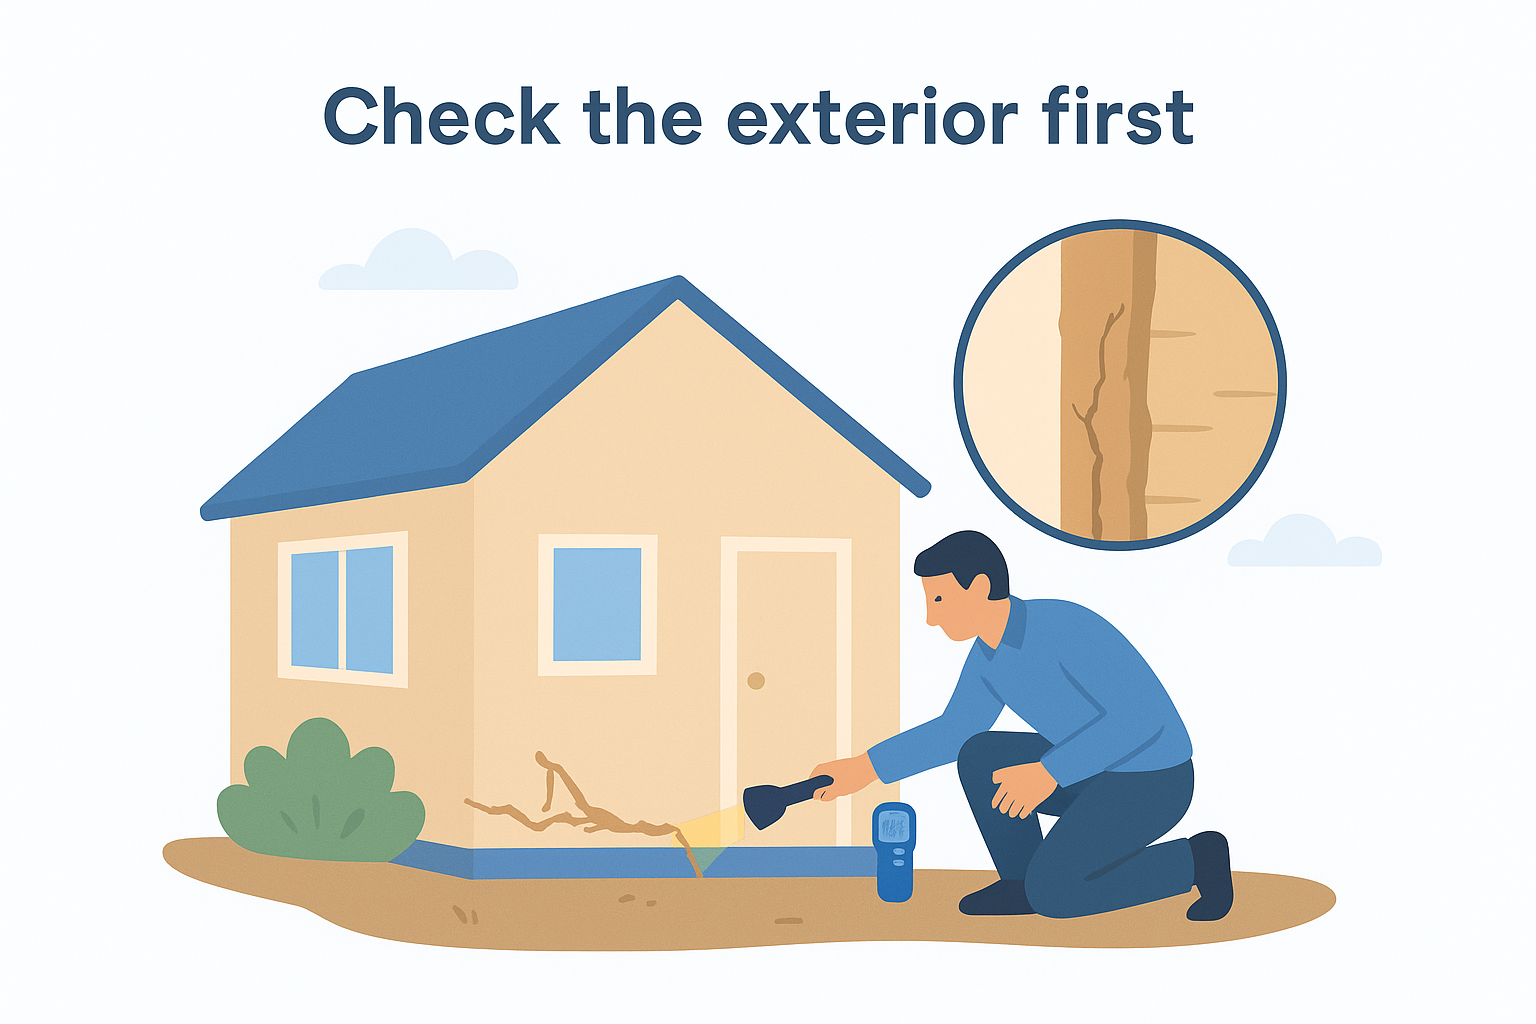
Check the exterior first
Walk the perimeter of your foundation slowly, looking for pencil-width mud tubes running from soil to wood. Tap on foundation-adjacent wood, deck posts, and fence lines with a screwdriver handle; hollow-sounding wood or wood that gives way easily under light pressure is a red flag. Look for discarded wings near windowsills, doors, and light fixtures, especially after a warm rain, since that's when subterranean termites swarm in the Sacramento area.
Move indoors and check attics, crawl spaces, and wall voids
Head into the attic and crawl space with your flashlight and probe any exposed framing you can reach. Pellet-like frass piling up beneath wood beams is one of the termite warning signs to catch before major damage, and it points to drywood termites working inside the timber above. Sagging floors, blistered paint, or doors that suddenly stick can all signal moisture damage tied to termite activity behind the wall.
A ten-minute inspection with a screwdriver and flashlight tells you more than any product label ever will.
Document what you find
Before moving to treatment, log every sign in one place. This record helps you track whether treatment is actually working later.
- Location of mud tubes or frass piles
- Wood that sounded hollow or felt soft
- Presence of wings, and where you found them
- Moisture meter readings above 20% in wood
- Photos of each affected area, dated
If you find activity in more than one room, or in framing you can't fully access, that's worth noting now. It changes how realistic a DIY termite treatment actually is once you get to product selection.
Step 2. Choose the right DIY termite treatment
Now that you know what species you're dealing with and where it lives, match the product to the problem instead of grabbing whatever's cheapest at the hardware store. Choosing the wrong treatment wastes money and buys the colony more time to spread, so it helps to understand how to match a termite treatment to the infestation before you spend anything on a termite control diy approach.
Match the product to what you found in step 1
Subterranean termites respond best to liquid termiticides applied as a soil barrier, or bait stations placed along the foundation where you spotted mud tubes, and the costs and results of each option differ quite a bit. Drywood termites need direct contact treatments like borate solutions brushed onto exposed framing, or orange oil injected straight into galleries you located with your screwdriver probe, which is the same logic behind tenting versus spot treatment methods. Mixing these up, say, spraying liquid termiticide on an attic beam with drywood activity, does nothing because there's no soil contact to disrupt.
Compare your DIY options
| Treatment | Best for | Avg. cost (DIY) | Effort level |
|---|---|---|---|
| Liquid termiticide barrier | Subterranean, foundation perimeter | $150-$300 | Moderate, requires trenching |
| Bait stations | Subterranean, ongoing monitoring | $80-$200 | Low, but slow-acting |
| Borate solution | Drywood, exposed untreated wood | $40-$100 | Low to moderate |
| Orange oil injection | Drywood, localized spots | $50-$150 | Moderate, precise application needed |
Pick the treatment that matches the species, not the one with the best reviews online.
Buy from suppliers that actually sell to homeowners
Stick to labeled, consumer-grade products sold through pest control supply retailers rather than professional-only formulations you might find secondhand. Reputable termiticide brands print full application instructions and safety data right on the container, which protects you legally and physically. If your inspection turned up activity in more than one location, it's worth comparing that scope against what our termite exterminator service in Sacramento actually covers before you commit to a full DIY plan.
Step 3. Apply the treatment correctly
Application is where most termite control diy attempts go wrong, not because the product fails, but because the homeowner rushes the process. Read the label twice before mixing anything, since concentration ratios and reapplication windows vary by brand, and getting them wrong either wastes the product or leaves gaps a colony can exploit within weeks.
Applying liquid termiticide and bait stations
Dig a narrow trench, about 6 inches wide and 6 inches deep, along the foundation where you spotted mud tubes, then pour the mixed termiticide evenly so it soaks into the soil rather than pooling on the surface. Backfill the trench once the liquid has absorbed, and follow the usual bait station spacing rules by placing stations every 10 feet around the perimeter, angled toward areas where you found the heaviest activity. Check stations every two to four weeks for the first few months; a station with chewed bait means the colony found it, which is exactly what you want.
A treatment applied correctly once beats a treatment applied carelessly three times.
Applying borate and orange oil for drywood termites
For exposed framing, brush borate solution generously onto every surface you probed as hollow or soft, letting it soak in rather than wiping it off. For active galleries you located with a screwdriver, drill small holes at a slight downward angle and inject orange oil directly into the tunnel using the injector tip, then seal the hole with wood filler once you're done.
 Drywood injection checklist:
1. Locate gallery entry with screwdriver probe
2. Drill 1/8" hole at slight downward angle
3. Insert injector tip, dispense per label dosage
4. Seal hole with wood filler
5. Re-check for fresh frass in 2 weeks
Protect yourself while you work
Wear gloves and eye protection every time you mix or apply concentrate, and keep pets and kids away from treated soil until it's fully absorbed. Ventilate attics and crawl spaces while working with orange oil, since the fumes are strong in enclosed spaces even though the product itself is plant-derived.
Step 4. Prevent termites from returning
Treating an active infestation solves today's problem, but termites will find their way back if you don't remove the conditions that attracted them in the first place. Termite control diy doesn't end when the bait station stops showing activity; prevention is an ongoing job, not a one-time task.
Cut off moisture and wood-to-soil contact
Grab that moisture meter again and walk your property looking for anything reading above 20%. Fix leaking gutters, downspouts that dump water against the foundation, and any spot where mulch piles up against siding. Wood-to-soil contact is the single biggest invitation you can hand a subterranean colony, so follow the basic termite prevention tips for California homes: pull mulch back at least six inches from your foundation and replace any wood fence posts or deck supports sitting directly in dirt with concrete footings.
Remove the moisture and the wood contact, and you remove most of the reason termites showed up in the first place.
Keep a chemical barrier active
Bait stations need bait replaced every few months, and liquid termiticide barriers break down over years, not decades, so it pays to know how long a termite treatment lasts for the product you chose. Set a calendar reminder to check stations quarterly, and note the reapplication window printed on your termiticide container so the barrier doesn't quietly fail while you assume it's still working.
Build a simple inspection routine
- Walk the foundation perimeter every spring and fall, checking for new mud tubes
- Reinspect attic framing and crawl spaces once a year with your flashlight
- Check bait stations on the schedule your product recommends
- Reseal any new cracks in foundation or siding with caulk
- Watch for swarmers after warm rain, Sacramento's peak swarm season
Sticking to this rhythm catches a new colony while it's still small enough for another round of DIY termite treatment , instead of finding out a year later that it's already chewed through a support beam.
When DIY reaches its limits
DIY works when you catch a small colony early, identify the species correctly, and stay consistent with inspections and reapplication. It stops working the moment termites reach framing you can't access, spread across multiple rooms, or keep coming back despite a treated barrier. At that point you're not saving money, you're just delaying a bigger repair bill while the colony keeps eating.
Termite control diy has real limits, and knowing where they sit is what separates a homeowner who fixes the problem from one who watches it get worse. If your inspection turned up widespread activity, structural damage, or a species you can't confidently identify, that's your signal to stop guessing.
We've spent over two decades repairing what happens when treatment comes too late. Reach out to Defender Termite & Pest Management for a termite home inspection in Sacramento before a weekend project turns into a structural one.