Termite Bait Station Installation: Tools, Spacing & Costs
Termite bait stations work by intercepting foraging termites before they reach your home's foundation, but only if they're installed correctly. Termite bait station installation requires the right tools, proper spacing, and strategic placement around your property's perimeter. Get any of those wrong, and you've got an expensive ring of plastic tubes doing absolutely nothing.
At Defender Termite & Pest Management, we've been installing and monitoring bait station systems across the Greater Sacramento area since 1999 . We've seen plenty of DIY attempts where stations were spaced too far apart, buried at the wrong depth, or placed in soil conditions that termites simply avoid. Those mistakes cost homeowners time and money, and sometimes leave infestations unchecked long enough to cause serious structural damage .
This guide walks you through the full process: what tools you'll need (including the right auger for your soil type), how far apart to space each station, and a realistic breakdown of what professional installation costs compared to doing it yourself. Whether you're planning to tackle this project on your own or weighing whether to call in a licensed technician, you'll have the information you need to make a smart decision.
How termite bait stations work and when to use them
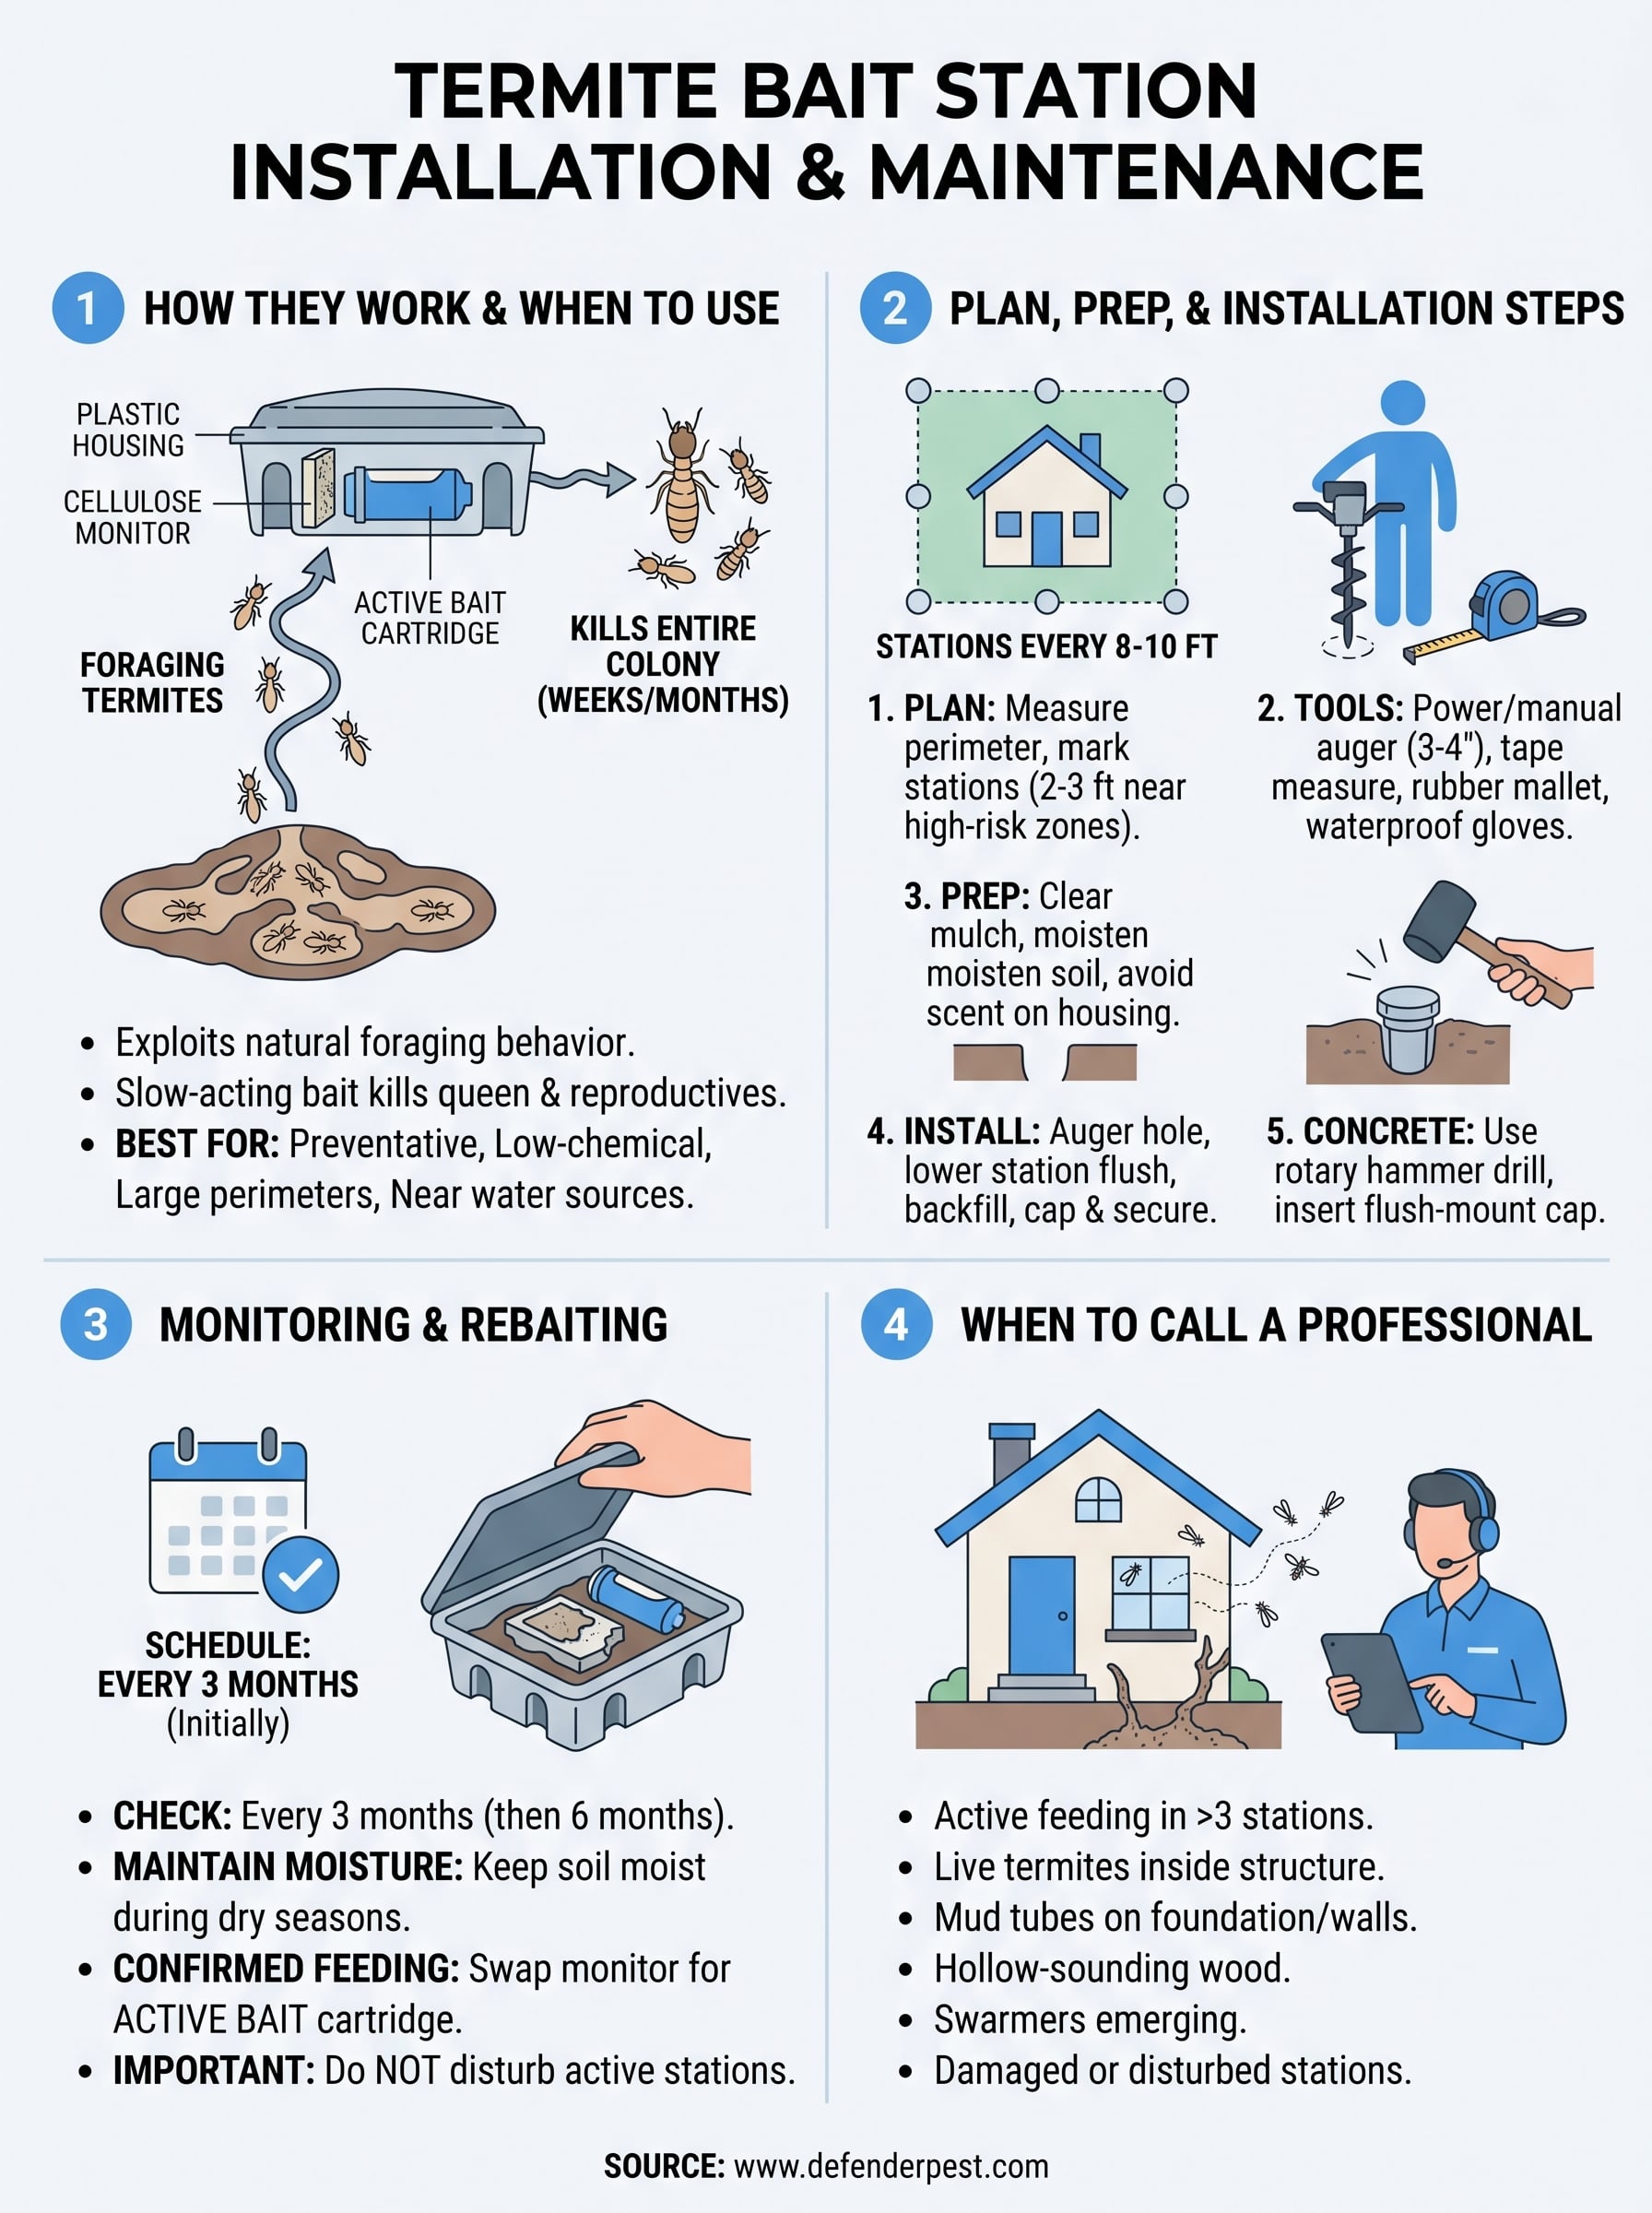
Termite bait stations don't repel termites or create a chemical barrier in the soil. Instead, they exploit termite foraging behavior by placing a slow-acting bait directly in their path. Worker termites find the bait, consume it, and carry it back to the colony, where it spreads and eventually kills the queen and reproductives. The process takes weeks or months, but it targets the entire colony , not just the workers you can see.
The mechanics of a bait station
Each station consists of a plastic housing buried in the ground with a cellulose-based monitor inside. In the early phase, that monitor simply attracts and detects termite activity. Once you confirm termites are feeding, you swap the monitor for active bait , which contains an insect growth regulator (IGR) or a slow-acting toxicant. The most widely recognized active ingredients in professional-grade systems are hexaflumuron and noviflumuron, both of which disrupt molting and prevent termites from maturing.
Once termites start feeding on active bait, disturbing or relocating the station can break the foraging trail and cause the colony to abandon it entirely.
Proper termite bait station installation depends on termites finding those stations on their own. No attractant draws them in from a distance, so placement and soil contact are everything. The station needs to sit in moist, undisturbed soil where subterranean termites naturally travel.
When bait stations make sense
Bait systems work best in specific situations rather than as a universal fix. They're a strong choice when you want a low-chemical approach, when liquid termiticide treatment isn't practical (for example, near a well or a water feature), or when you're dealing with a large property perimeter that makes barrier treatment expensive or disruptive to landscaping.
Stations also serve as an effective preventative measure on properties with no active infestation. If you live in a high-risk area like Sacramento's Central Valley, installing stations before you see damage gives you early detection and a mechanism to eliminate colonies before they reach your structure.
| Situation | Bait Stations Recommended? |
|---|---|
| No active infestation, preventative goal | Yes |
| Active infestation near a water source or well | Yes |
| Active infestation with immediate structural risk | Combine with liquid treatment |
| Slab foundation with very limited soil access | Consult a licensed technician |
Step 1. Plan station layout, spacing, and coverage
Before you dig a single hole, you need a clear layout plan. Walk the full perimeter of your home and measure the total linear footage of your foundation. Most installation guidelines call for stations placed every 8 to 10 feet , though you'll tighten that spacing to 2 to 3 feet near known termite activity, moisture sources, or wood-to-soil contact points.
Identify high-risk zones first
Not all perimeter sections carry equal risk. Subterranean termites prefer moist, shaded soil, so prioritize spots near irrigation lines, downspouts, mulched garden beds, and wood structures like fences or decks that contact the ground. Mark these locations on a rough sketch of your property before you finalize spacing. A hand-drawn map also helps you track each station's number, location, and monitoring history over time.
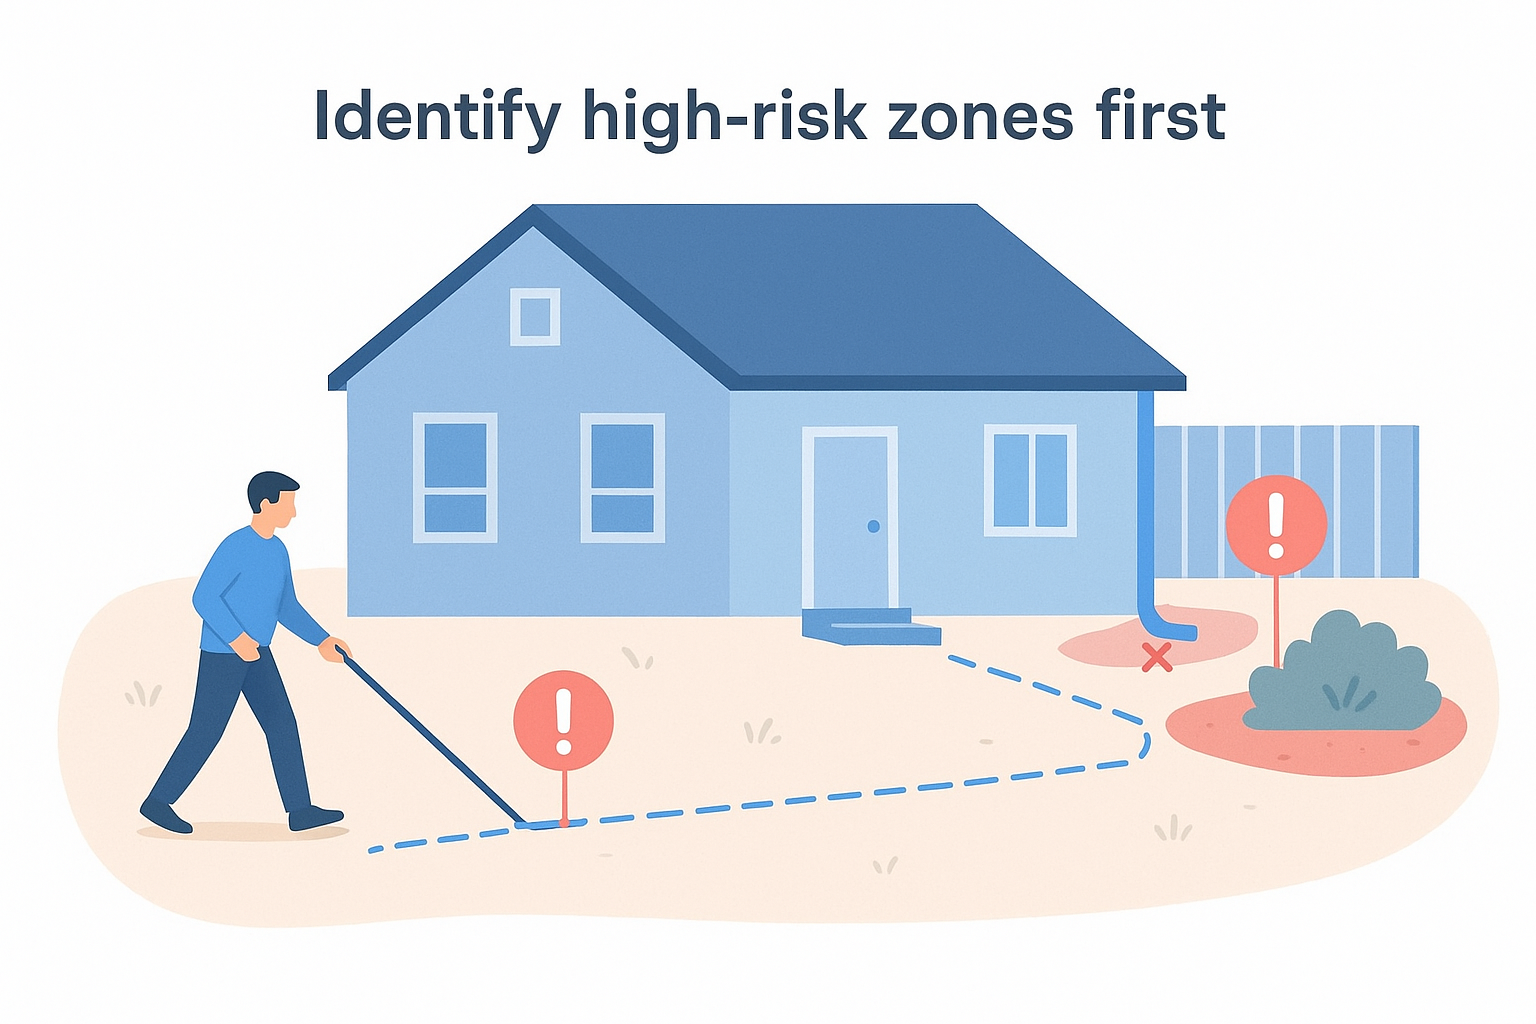
Skipping a high-risk zone because it's harder to access is one of the most common termite bait station installation mistakes homeowners make.
Calculate how many stations you need
Once you've marked your high-risk zones, calculate your station count using this straightforward formula:
Total stations needed = (Perimeter in feet ÷ 10) + additional stations for high-risk zones
For a home with a 150-foot perimeter and three high-risk zones, that works out to roughly 15 standard stations plus 6 to 9 extra in those zones, giving you 21 to 24 total. Always round up rather than down. A gap in your coverage is a gap termites can exploit, and tightening your spacing now costs far less than repairing structural damage later.
Step 2. Choose the right tools and prep the site
Having the right tools before you start prevents mid-job stops that leave open holes and inconsistent station depths across your perimeter. The core tool for any termite bait station installation is a power auger or a manual T-handle auger fitted with a 3-inch to 4-inch diameter bit , which matches the housing of most commercial station systems. For the hard clay soil common throughout the Sacramento Valley, a gas or electric power auger cuts installation time significantly and gives you cleaner, more consistent holes.
Auger selection and supporting tools
Your auger bit diameter must match your specific station housing . Most standard residential systems take a 3-inch bit , but check the specs on your chosen product before you buy or rent equipment. Collect everything you need before you start drilling so you're not improvising mid-installation:
- Power or manual auger with the correct bit diameter
- Tape measure and small marking flags for spacing
- Rubber mallet for seating station caps flush with the soil surface
- Garden trowel for clearing loose debris from each hole
- Waterproof gloves to keep your scent off the housing and bait material
Subterranean termites are sensitive to chemical signals, so keeping your scent off the station interior gives foragers a cleaner path to the bait.
Clearing and conditioning the soil
Before you drill, pull back any mulch, rock, or ground cover at each marked location. You want clean soil contact around the station housing so termites moving through the soil can detect it. If the ground is dry, water each spot lightly the day before installation. Moist, undisturbed soil is easier to auger through and significantly more attractive to foraging termites once your stations are seated and capped. Remove any loose rock fragments or root debris from the hole before you lower the station in.
Step 3. Install stations in soil and through pavement
With your holes prepped and your tools ready, lower each station housing straight down into its hole so it sits flush or just slightly below the soil surface. Most systems require the bottom of the housing to rest at 3 to 4 inches below grade , which places it squarely in the moist soil zone where subterranean termites forage. Press the cap down firmly with a rubber mallet until it's level with the surrounding ground, then replace any mulch or ground cover you cleared earlier.
Placing stations in open soil
Before you lower the housing in, tip out any loose soil that fell back into the hole during drilling. Backfill the small gap around the station housing with original excavated soil , tamping it lightly by hand so the unit stays upright and centered. Avoid using fresh topsoil or compost as backfill because termites may read it as a disturbed zone and route around the station entirely.
Full circumference soil-to-housing contact is what determines whether foraging termites find your station or bypass it completely.
Soil stations should have zero wobble when you press down on the cap. If a station rocks, pull it, repack the base, and reseat it before moving to the next location. A loose station shifts over time and breaks the soil contact that makes the system work.
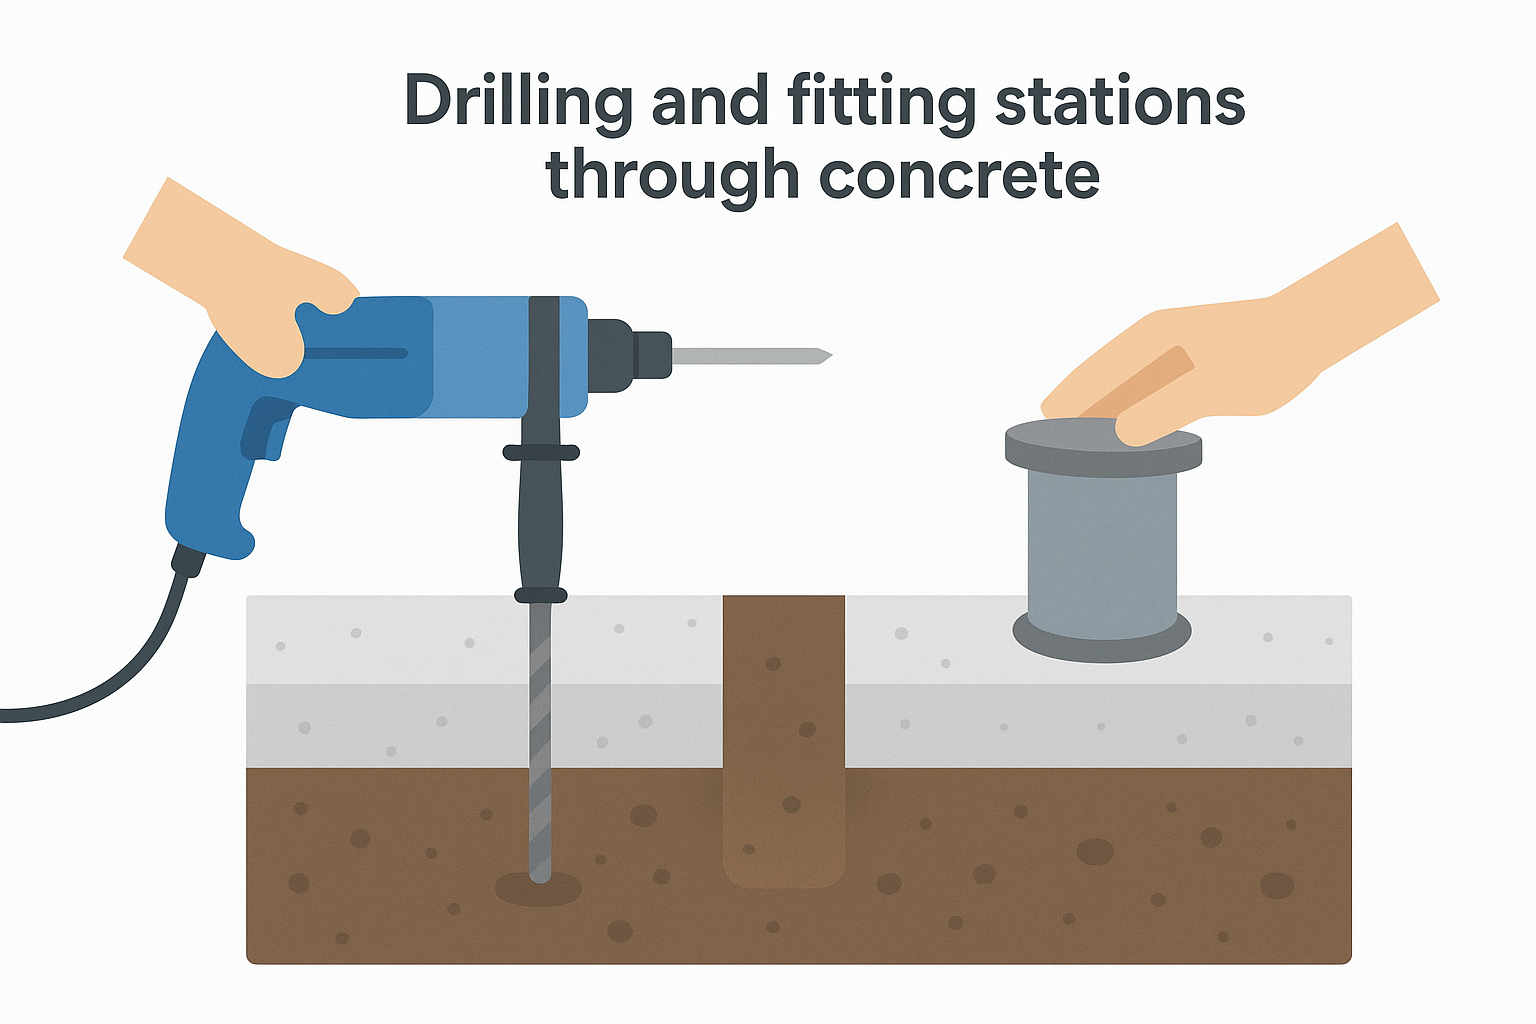
Drilling and fitting stations through concrete
Pavement installations require a rotary hammer drill fitted with a carbide-tipped bit sized to match your station housing diameter. Drill straight down through the slab into undisturbed soil beneath it. For a complete termite bait station installation through concrete, follow this checklist:
- Mark each drill point at least 12 inches from the foundation edge
- Vacuum concrete dust from the hole before inserting the housing
- Seat the station into soil beneath the slab, not just inside the slab itself
- Snap or screw the flush-mount pavement cap in place and confirm it doesn't rock under foot traffic
Step 4. Monitor, rebait, and know when to call a pro
Installing stations is only the beginning. Bait systems require regular monitoring to stay effective, because active bait that runs out or dries up stops working entirely. Plan to check every station on a consistent schedule so you catch termite activity early and keep bait fresh throughout the year.
Set a monitoring schedule
Check each station every 3 months during your first year, then drop to every 6 months once you've established a baseline for your property. During Sacramento's hot, dry summers, check moisture levels inside each housing and add a small amount of water around the station base if the surrounding soil has dried out. Dry soil slows termite foraging and reduces the chance they'll find your stations at all.
Track every visit with a simple inspection log like this:
| Station # | Inspection Date | Termite Activity | Bait Status | Action Taken |
|---|---|---|---|---|
| 1 | 2026-04-23 | None | Monitor present | No action |
| 2 | 2026-04-23 | Active feeding | Bait installed | Rebaited |
Rebaiting and replacing monitors
When you open a station and find chewed or damaged monitor material , that's a confirmed hit. Swap the cellulose monitor for the active bait cartridge included with your system, close the cap, and record it in your log. Don't load extra bait thinking it speeds results; the standard cartridge delivers the correct dose.
Disturbing or relocating a station with confirmed activity resets the foraging trail and can cause the colony to abandon it entirely.
When to call a licensed technician
If you find active feeding in more than three stations at once , or you spot live termites inside your structure, stop managing the system on your own. A licensed technician can assess colony pressure and determine whether your current termite bait station installation provides enough coverage for the infestation level you're facing. Call a pro immediately if you notice any of the following:
- Mud tubes on your foundation, walls, or interior trim
- Hollow-sounding wood when you tap near the station perimeter
- Swarmers emerging inside or directly outside your home
- Bait stations that appear disturbed, cracked, or have been dug up
Next steps for lasting termite protection
A complete termite bait station installation protects your property only as long as you keep up with monitoring, rebaiting, and station maintenance. Gaps in that routine give colonies time to grow and reach your structure undetected. Review your inspection log every quarter, replace bait cartridges promptly after confirmed feeding, and keep the soil around each station moist enough to attract foragers during dry Sacramento summers.
Your monitoring schedule and property map give you a reliable system, but some infestations move faster than a DIY program can handle. If you find widespread activity, mud tubes on your foundation, or evidence of structural damage near your perimeter , a professional assessment gives you a clearer picture of what you're dealing with and what it will take to stop it.
Contact Defender Termite & Pest Management to schedule a licensed termite inspection and get expert recommendations tailored to your property.