Pest Mouse Control: How to Get Rid of Mice for Good
You heard the scratching in the walls again last night. Maybe you found droppings in a kitchen drawer or chewed-through cardboard in the garage. Whatever tipped you off, you're now searching for pest mouse control because one mouse rarely stays one mouse for long. A single female can produce dozens of offspring in a year, and by the time you notice a problem, there's usually already a hidden nest somewhere in your home.
This guide gives you a straight answer: how to identify an infestation, which trapping methods actually work versus which ones waste your money, and how to seal up the entry points mice use to get inside in the first place. We'll also cover when a do-it-yourself approach stops being practical and calling in a professional makes more sense.
We've handled rodent removal across Sacramento, Roseville, Folsom, and Elk Grove since 1999, so this isn't theory. It's what actually gets mice out of homes and keeps them from coming back, whether you tackle it yourself or bring in Defender Termite & Pest Management to finish the job right.
Why mice are so hard to get rid of
Mice are not lazy pests. Every homeowner who tries a single snap trap and calls it done ends up back at square one within weeks, and there's a biological reason for that. Understanding why mice persist is the first real step in any pest mouse control plan, because it tells you where DIY effort actually pays off and where it doesn't.
They breed faster than you can trap them
A female house mouse reaches sexual maturity at about six weeks old and can produce a new litter every three weeks, with five to six pups per litter. Do the math over a single season and you can see how one mouse sighting turns into a full-blown mouse infestation in a matter of months. Trapping the mice you can see rarely keeps pace with the ones you can't, especially the ones already nesting behind your walls or under your insulation.
A trap that catches one mouse a week loses the race against a female that can produce thirty in a season.
Their bodies are built to get inside
A mouse can squeeze through a gap the width of a pencil, roughly a quarter inch, because its skull is the only rigid part of its body. That means the small gaps around utility lines, warped weatherstripping, or a slightly-too-large gap under the garage door are all legitimate entry points. Sacramento's older housing stock, with its original foundation vents and settled slab cracks, gives mice plenty of these openings to exploit. If you patch one hole and miss three others, you haven't solved the rodent problem , you've just delayed it.
They learn to avoid what you set out
Mice are neophobic, meaning they're naturally cautious around new objects in their environment, including the trap you just placed in the pantry. Survivors of a near-miss become trap-shy and pass that caution on through learned behavior in the colony. This is a big reason store-bought traps stop working after the first catch or two. Professionals rotate bait, trap types, and placement specifically to counter this learned avoidance, something a homeowner running one trap style rarely does.
The scale of the problem, at a glance
| Factor | Why it matters |
|---|---|
| Sexual maturity at 6 weeks | Populations grow exponentially, not linearly |
| 5-6 pups per litter, every 3 weeks | One pair can produce over 60 mice in a season |
| Squeeze through 1/4-inch gaps | Sealing must be thorough, not partial |
| Neophobic, trap-shy behavior | Static trapping setups lose effectiveness over time |
| Nest in wall voids and attics | Visible sightings underrepresent the real population |
Once you see these factors together, the pattern is clear. Winning against mice isn't about one clever trap or one lucky catch, it's about breaking the cycle at every stage: entry, food, shelter, and reproduction, all at once. That's exactly what the next four steps walk you through.
Step 1. Inspect your home for mouse activity
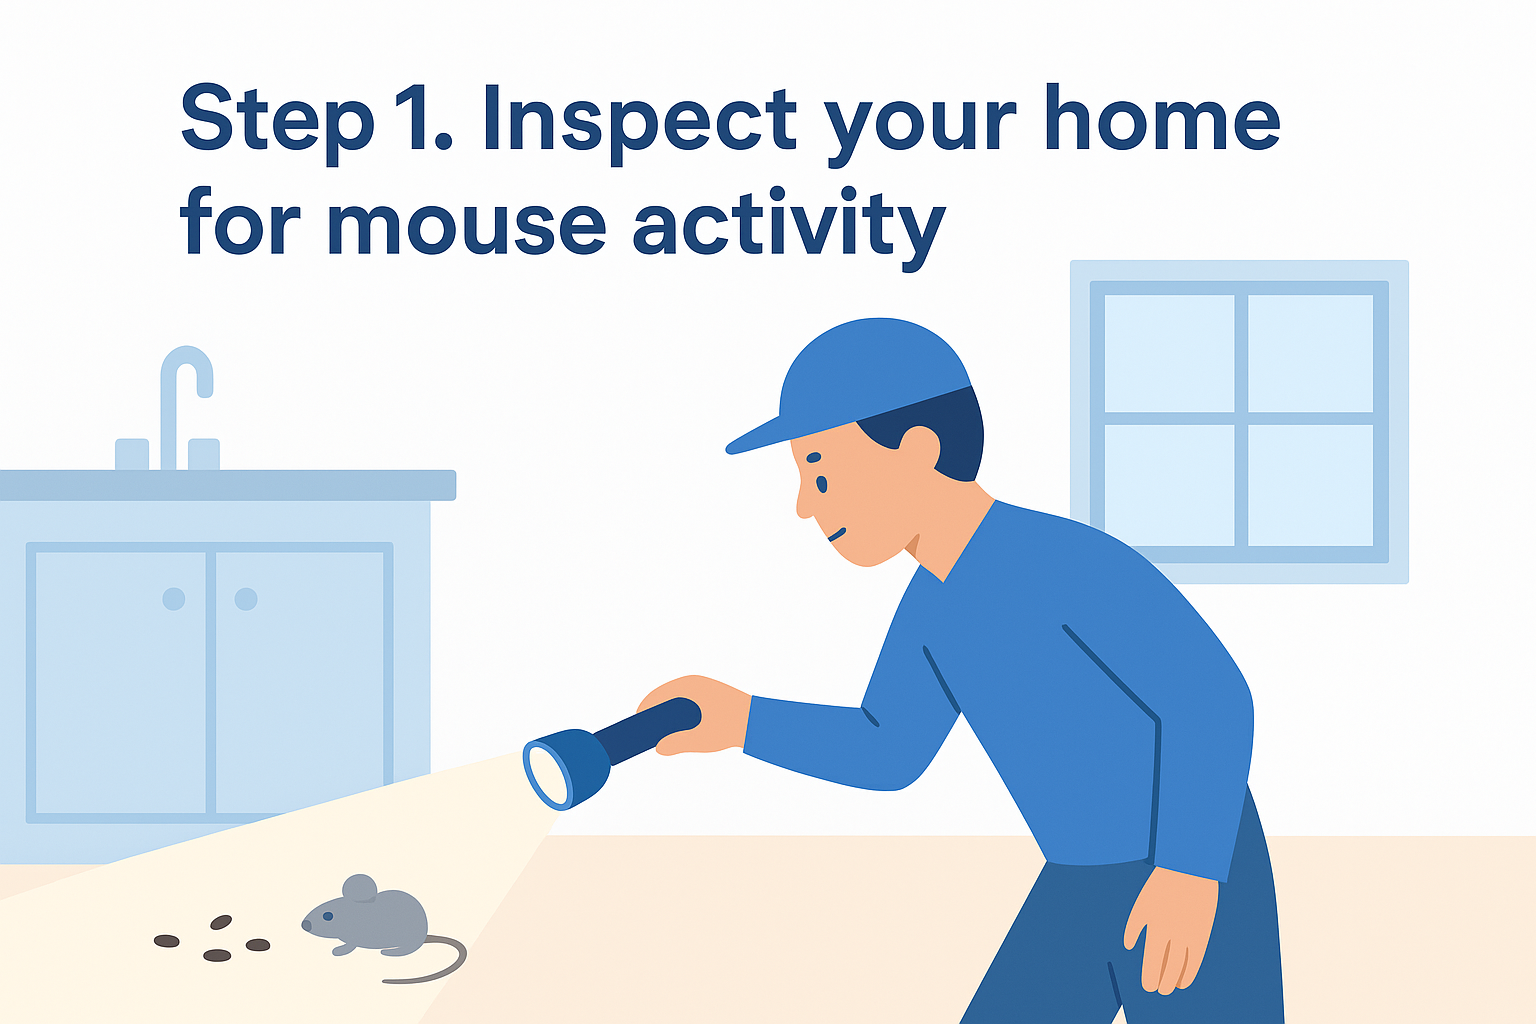
Before you buy a single trap, walk your property with a flashlight and figure out where mice are actually active. Guessing wastes time and money, and it's the single biggest reason DIY pest mouse control stalls out after week one. A thorough inspection tells you where to place traps, where to seal gaps, and roughly how big the problem already is.
What to look for
Grab a flashlight and check these spots first, since they're where mice leave the clearest evidence, and where you can tell whether you have rats or mice:
- Droppings : dark, rice-shaped pellets clustered near food sources, under sinks, or along baseboards
- Gnaw marks : fresh chew marks on wood, wiring, cardboard, or plastic containers
- Grease trails : dark smudges along walls where oily fur repeatedly brushes the same path
- Nesting material : shredded paper, insulation, or fabric tucked into corners of attics, garages, or behind appliances
- Live or dead mice : an obvious sign, but also a clue to how far the infestation has spread
If you find droppings in more than one room, you're not dealing with one mouse, you're dealing with a colony.
Prioritize the high-traffic zones
Start in the kitchen, garage, attic, and any crawl space, since these areas offer mice the food, warmth, and cover they need. Check behind the stove and refrigerator, inside cabinet corners, and along the base of exterior walls where pipes and wiring pass through. Kitchens tend to show the most mouse droppings simply because that's where the food is, while attics and garages usually reveal the nesting sites.
Document what you find
Note the location, type, and amount of evidence in each room. This record becomes your map for Steps 2 through 4, telling you exactly where to seal entry points and where to concentrate traps. It also gives our technicians a head start if you eventually schedule a rodent control inspection with Defender, since we can compare notes and target the nest directly instead of guessing.
Step 2. Seal every entry point
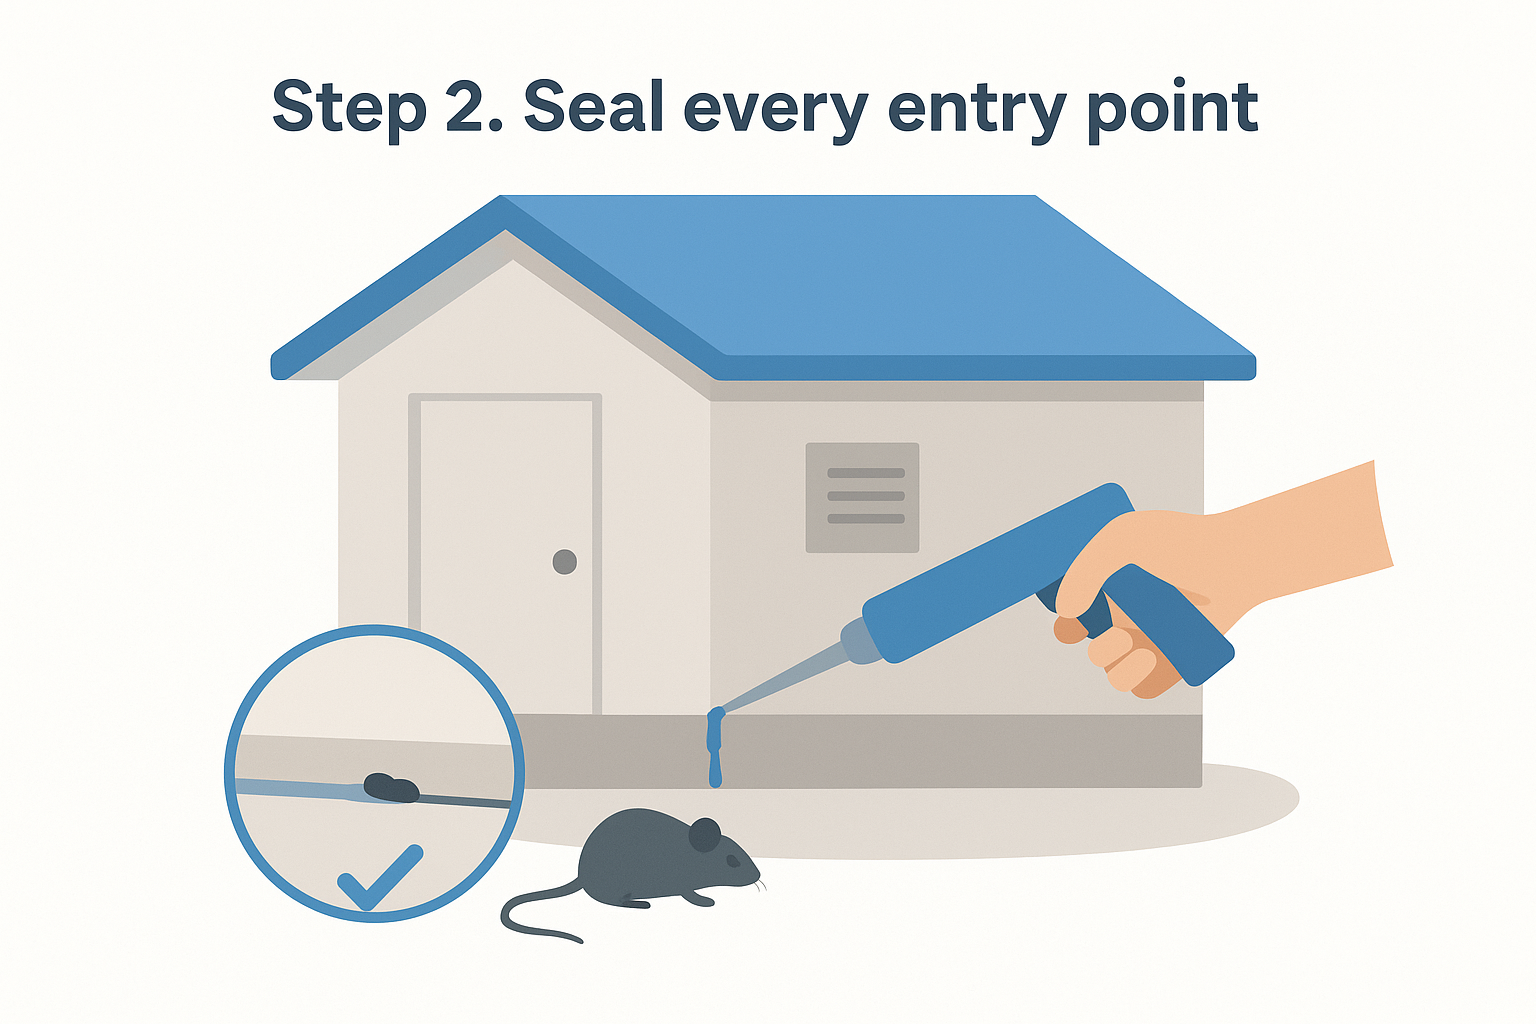
Once you know where mice are getting in and out, close every gap before you set a single trap. Trapping without sealing is like bailing water with the drain open, since new mice just replace the ones you catch. This step is where exclusion work does the heavy lifting in any lasting mouse control plan.
Find the gaps mice actually use
To find the entry points mice are using, walk the perimeter of your house and look at every spot where a pipe, wire, or vent passes through an exterior wall. Check the garage door sweep, foundation vents, and the gap where siding meets the foundation. Remember the quarter-inch rule from earlier: if a pencil fits, so does a mouse.
Sealing nine out of ten entry points still leaves you with an infestation.
Match the material to the gap
Not every hole needs the same fix, and using the wrong material just gives mice something new to chew through, so it helps to know how to seal mouse entry points permanently. Use this quick reference when you're working through your list:
| Gap type | Best material | Why it works |
|---|---|---|
| Small cracks and gaps under 1/2 inch | Steel wool packed with caulk | Mice can't chew through steel fibers |
| Larger holes around pipes or vents | Hardware cloth or copper mesh | Rigid enough to resist gnawing |
| Gaps under doors | New door sweep | Blocks a common ground-level entry |
| Foundation vents | Vent covers with fine mesh | Keeps airflow while blocking access |
| Weep holes in brick | Vent-specific weep hole covers | Preserves drainage, blocks entry |
Skip caulk or spray foam alone on anything wider than a pencil. Mice chew through both in a matter of hours.
Don't forget the roofline
Attics get overlooked constantly, but gaps around roof vents, fascia boards, and where utility lines enter the attic are common rodent entry points in older Sacramento homes. If your roofline has gaps you can't safely reach, that's a good moment to bring in Defender's rodent exclusion services rather than risk a ladder job on a steep pitch.
Step 3. Remove food, water, and nesting materials
Sealing the house cuts off new arrivals, but the mice already inside won't leave a place that still feeds and shelters them. Cutting off food and water access forces the survivors toward your traps instead of your pantry, and it keeps any mouse that slips past your exclusion work from settling in. This step is less about buying anything and more about changing daily habits around the house.
Lock down the kitchen and pantry
Mice need very little to survive, so sloppy storage habits undo a lot of your other work. Walk through these basics before you place a single trap:
- Store dry goods, pet food, and birdseed in airtight plastic or metal containers, never in the original bags
- Wipe counters and sweep floors nightly, especially under appliances
- Fix dripping faucets and pipes under sinks, since mice need very little water to survive
- Take out trash daily and use bins with tight-fitting lids
- Clean up fallen fruit and outdoor pet food bowls before dark
A mouse that can't find food or water in your kitchen has a reason to walk into your trap instead.
Clear out nesting material
Shredded paper, cardboard, insulation, and fabric scraps all make ideal nesting material , and garages and attics tend to accumulate plenty of it without anyone noticing. Break down cardboard boxes instead of stacking them against walls, store paper records in sealed bins, and pull back any loose insulation where you found droppings during your inspection. If you spot a nest during cleanup, don't disturb it by hand. Mice and their nesting debris can carry pathogens, so bag it carefully or bring in a professional for removal.
Trim the yard, too
Outdoor clutter gives mice a staging ground right next to your foundation. Stack firewood at least eighteen inches off the ground and away from the house, trim back shrubs touching exterior walls, and keep compost bins sealed. Combined with the sealing work from Step 2, this removes both the invitation and the entry point, which is exactly what keeps mice from entering your home and separates lasting pest mouse control from a temporary fix.
Step 4. Trap, monitor, and know when to call a pro
With entry points sealed and food sources locked down, it's finally time to trap the mice already inside. Skipping straight to this step without Steps 1 through 3 is why so many homeowners feel like they're trapping forever. Done in the right order, trapping becomes the final cleanup, not an endless chore.
Choose the right trap for the job
Glue boards and "humane" live-catch traps sound appealing, but they're the least reliable options for a real infestation. Snap traps and electronic traps kill quickly and let you confirm a catch at a glance, which matters when you're tracking whether the population is shrinking.
| Trap type | Effectiveness | Notes |
|---|---|---|
| Snap traps | High | Cheap, reusable, needs correct placement |
| Electronic traps | High | Fast kill, no reset mess, higher upfront cost |
| Glue boards | Low | Mice often escape, injured mice cause more problems |
| Live-catch traps | Low | Requires relocation, mice often return or die in the trap |
Place traps where mice actually travel
Set traps perpendicular to walls, since mice run along edges rather than through open floor space. Use peanut butter, oats, or nesting material as bait instead of cheese, which mice largely ignore. Space traps every ten to fifteen feet along the routes and droppings you mapped in Step 1, and check them daily for the first two weeks.
If your trap count stays empty for a week after sealing and cleanup, the mice are gone, not just hiding.
Know when it's time to call a pro
Monitor your results for two to three weeks, and if the activity holds steady, it's worth knowing what a mouse exclusion service costs. If catches keep coming, droppings keep appearing in new rooms, or you hear activity in the walls at night, you're likely dealing with a nest DIY traps can't reach. That's the point where a professional rodent control service pays for itself, since technicians can access wall voids, attics, and crawl spaces safely and confirm the infestation is fully cleared, not just quieter.
Keeping mice from coming back
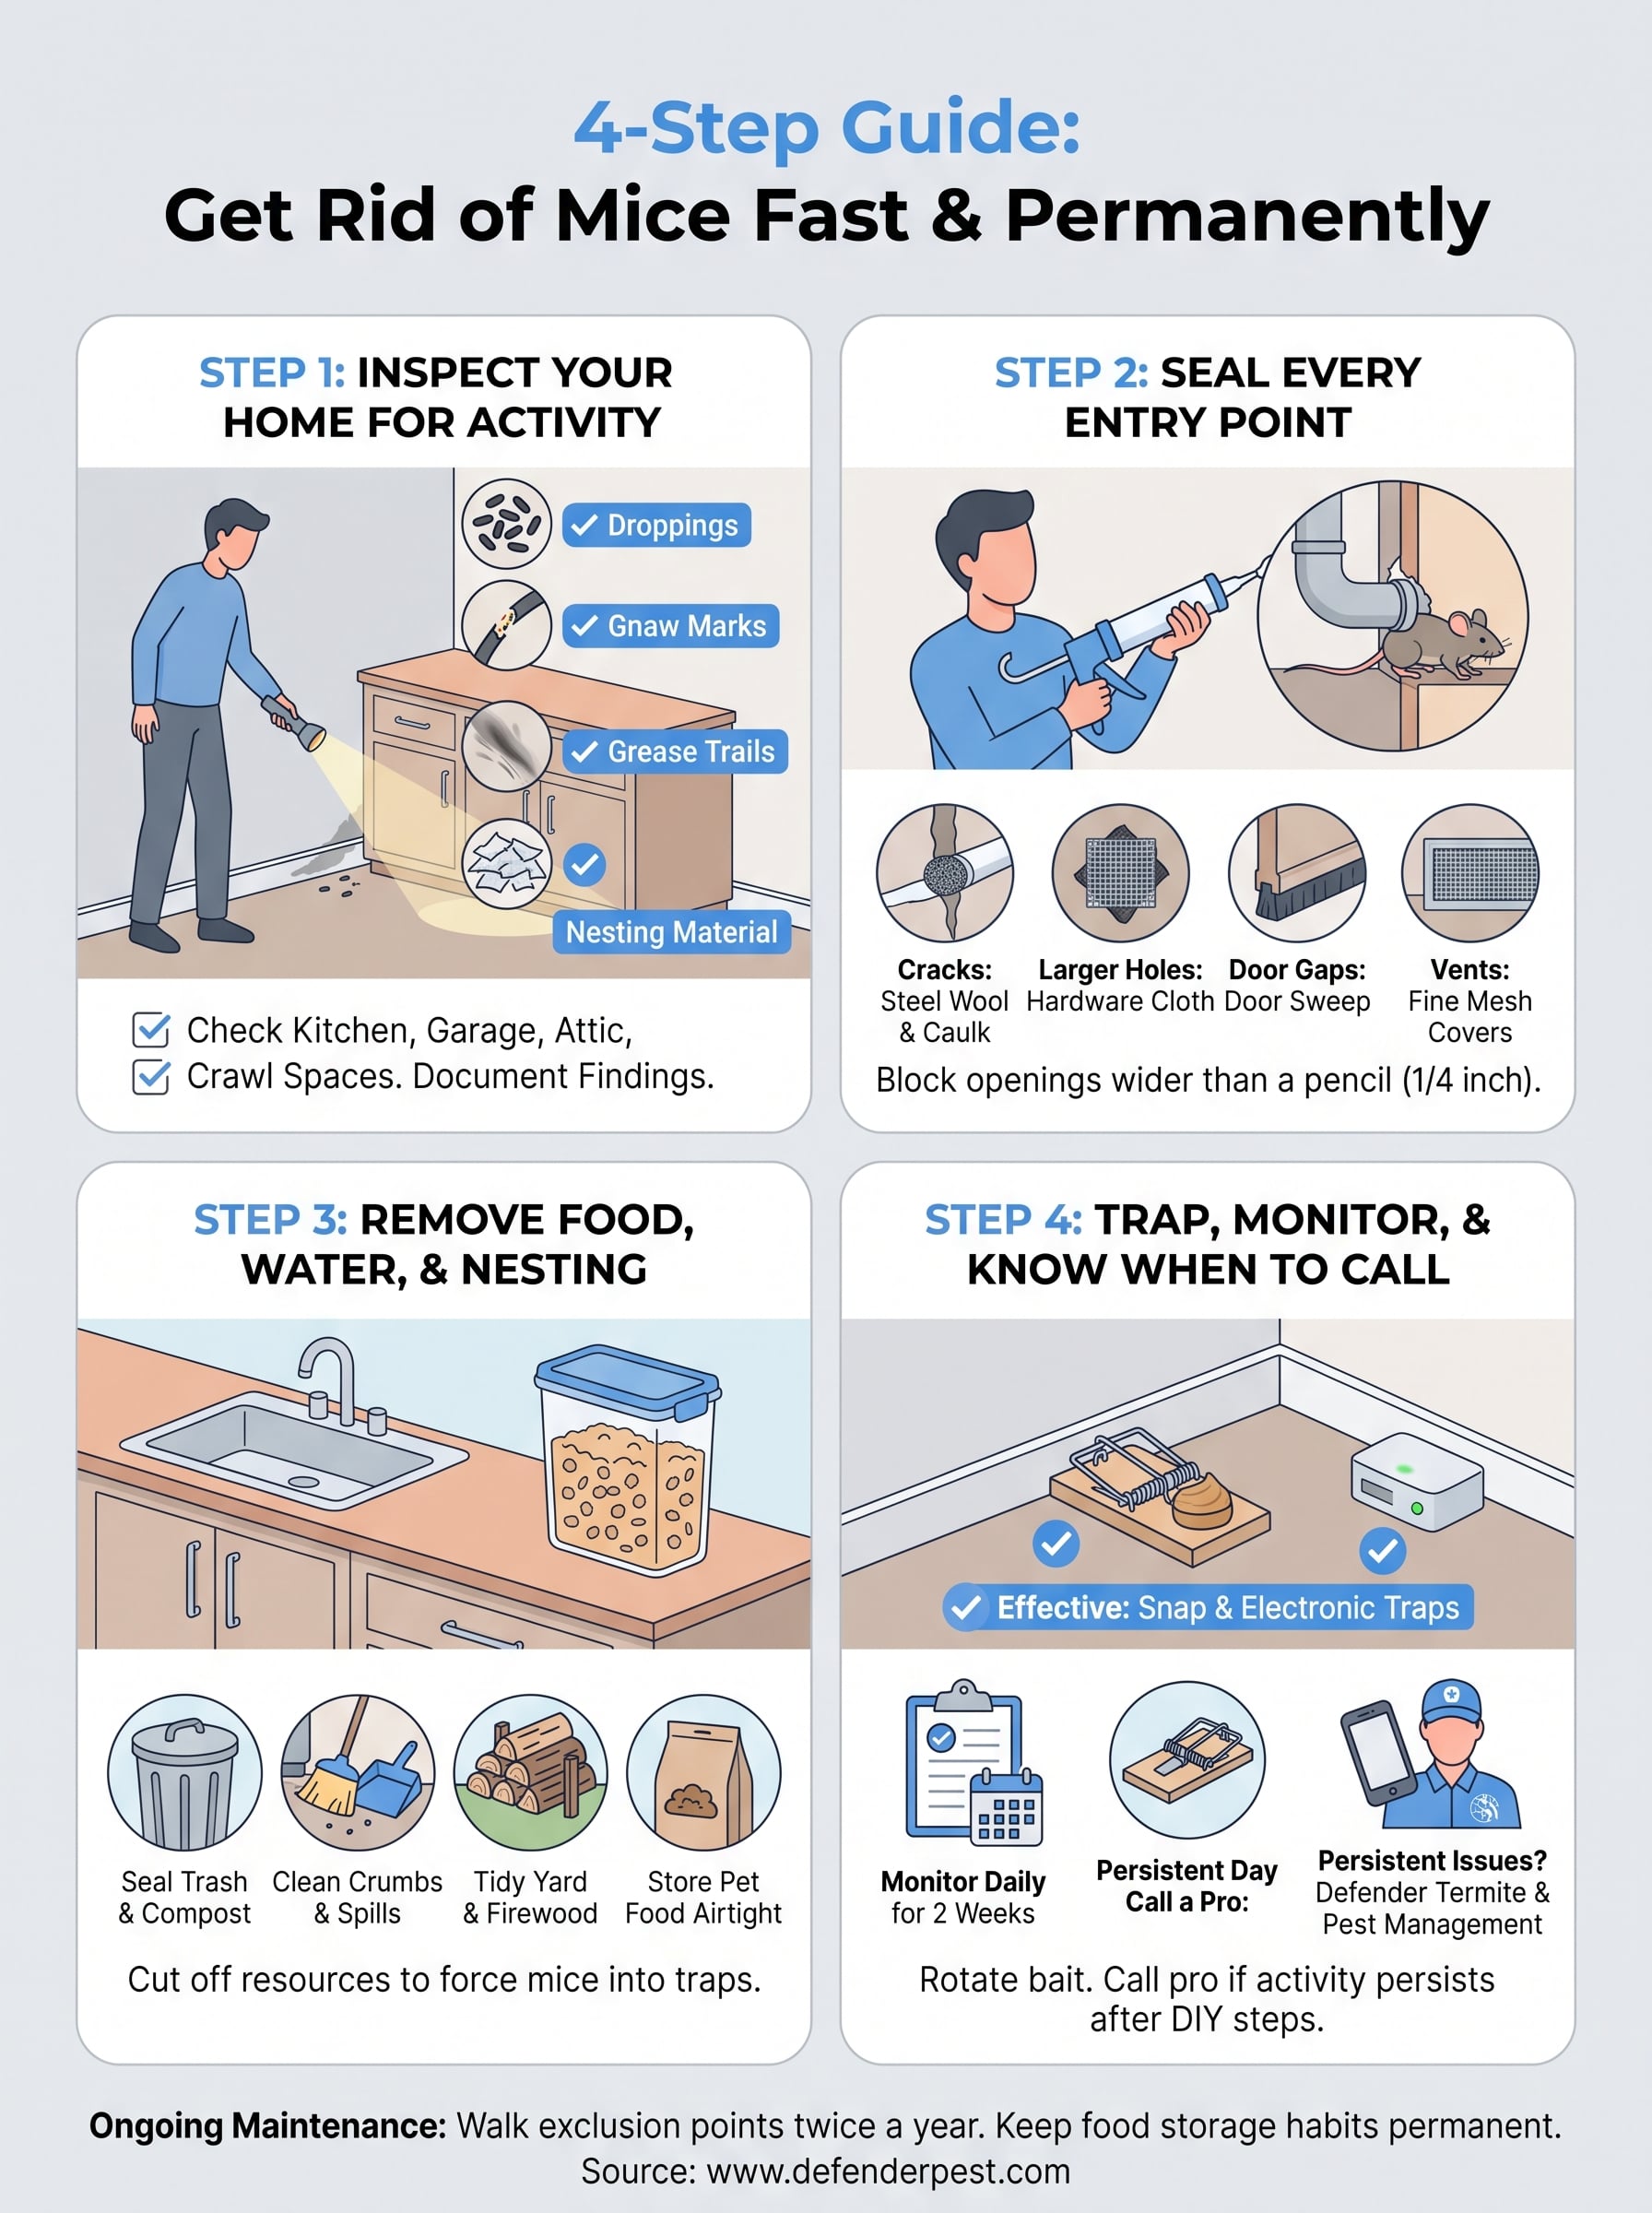
Once your trap counts drop to zero and the droppings stop appearing, don't stop working. Mice are opportunists, and a single unsealed gap or unlatched trash bin can undo months of progress. Walk your exclusion points twice a year, ideally before fall when mice push indoors looking for warmth, and patch anything a Sacramento winter or a settling foundation has opened back up. Keep your food storage habits permanent, not seasonal, since backsliding into open bags of dog food or unwashed dishes invites the next colony in just as fast as the last one.
Real pest mouse control isn't a one-time project, it's ongoing maintenance built on the same four steps: inspect, seal, remove attractants, and trap. If you've worked through all four and mice are still showing up, or you'd rather skip the trial and error entirely, our house mouse removal service in Sacramento has been solving exactly this problem for homeowners since 1999.