Termite Pretreatment for New Construction: A How-To Guide
If you're building a home or commercial property in the Sacramento area, termite pretreatment for new construction is one step you can't afford to skip. Once the slab is poured, your options for protecting the structure shrink fast, and retrofitting termite protection after the fact costs far more than doing it right the first time. Sacramento's clay soils and warm climate create ideal conditions for subterranean termites, and builders who treat this as an afterthought often pay for it within a few years of move-in.
This guide walks you through exactly how pretreatment works, from soil-applied liquid termiticides to physical barrier systems , and when each method makes sense during your build timeline. You'll learn what happens before the foundation goes in, what inspectors look for, and how timing affects the effectiveness of the treatment.
We've handled termite work in the Sacramento region since 1999, including new builds, so we know what separates a pretreatment job that lasts decades from one that fails inspection or leaves gaps termites exploit. Whether you're a general contractor coordinating subs or a homeowner overseeing custom construction, you'll walk away knowing what questions to ask and what to expect on the job site.
Why new construction needs termite pretreatment
Once your foundation is poured and framing goes up, you lose direct access to the soil beneath your slab. That's the exact spot where subterranean termites build their colonies and tunnel upward into wood framing. Pretreatment during construction is the only window you get to create a chemical or physical barrier in that soil before it's sealed under concrete for the next 50-plus years. Skip it, and your only remaining options become drilling through finished slabs, trenching around the foundation perimeter, or relying on above-ground bait stations that react to termites instead of blocking them.
The cost math doesn't favor waiting
Contractors sometimes treat pretreatment as an optional line item to cut when budgets get tight. That's a mistake. A soil-applied termiticide treatment during construction runs a fraction of what a post-construction remediation costs once termites have already reached the structure. We regularly get calls from homeowners five to eight years into ownership who are now facing wood repair, drywall removal, and drilling costs that dwarf what pretreatment would have cost during the build.
Pretreat during construction, and you protect the whole structure for decades; skip it, and you're gambling the framing against Sacramento's termite pressure.
Sacramento's soil and climate work against untreated homes
Sacramento sits in a region with heavy clay soils that retain moisture close to the surface, and our valley climate delivers the warm, humid stretches termites need to stay active nearly year-round. Subterranean termite colonies here don't slow down much in winter the way they might in colder states. That combination of soil moisture and consistent temperature means untreated slabs in Roseville, Folsom, Elk Grove, and Vacaville face real, ongoing pressure from the day the foundation cures.
Lenders, inspectors, and code requirements
Many jurisdictions in California require some form of termite pretreatment documentation before final inspection sign-off, particularly for slab-on-grade construction. Lenders financing new builds often ask for a termite treatment certificate as part of the closing package, and real estate transactions down the line will almost always call for a termite inspection report . Building this documentation in from the start saves you from scrambling later.
Here's a quick look at what's at stake depending on your approach:
| Approach | Typical Cost Range | Access to Soil | Warranty Options |
|---|---|---|---|
| Pretreatment during construction | Lower, built into build budget | Full access before slab pours | Long-term builder warranties available |
| Post-construction remediation | Significantly higher | Limited, requires drilling/trenching | Shorter, more limited coverage |
| No treatment, reactive only | Highest if infestation occurs | None until damage found | None until treated |
The pattern is consistent across every project we've inspected: structures treated correctly during construction see far fewer termite claims over their first two decades than those treated after the fact. Getting this step right isn't about checking a box for the inspector. It's about protecting the wood framing, subfloor, and structural elements that are far more expensive to replace than to defend from the start.
Step 1. Choose the right pretreatment method
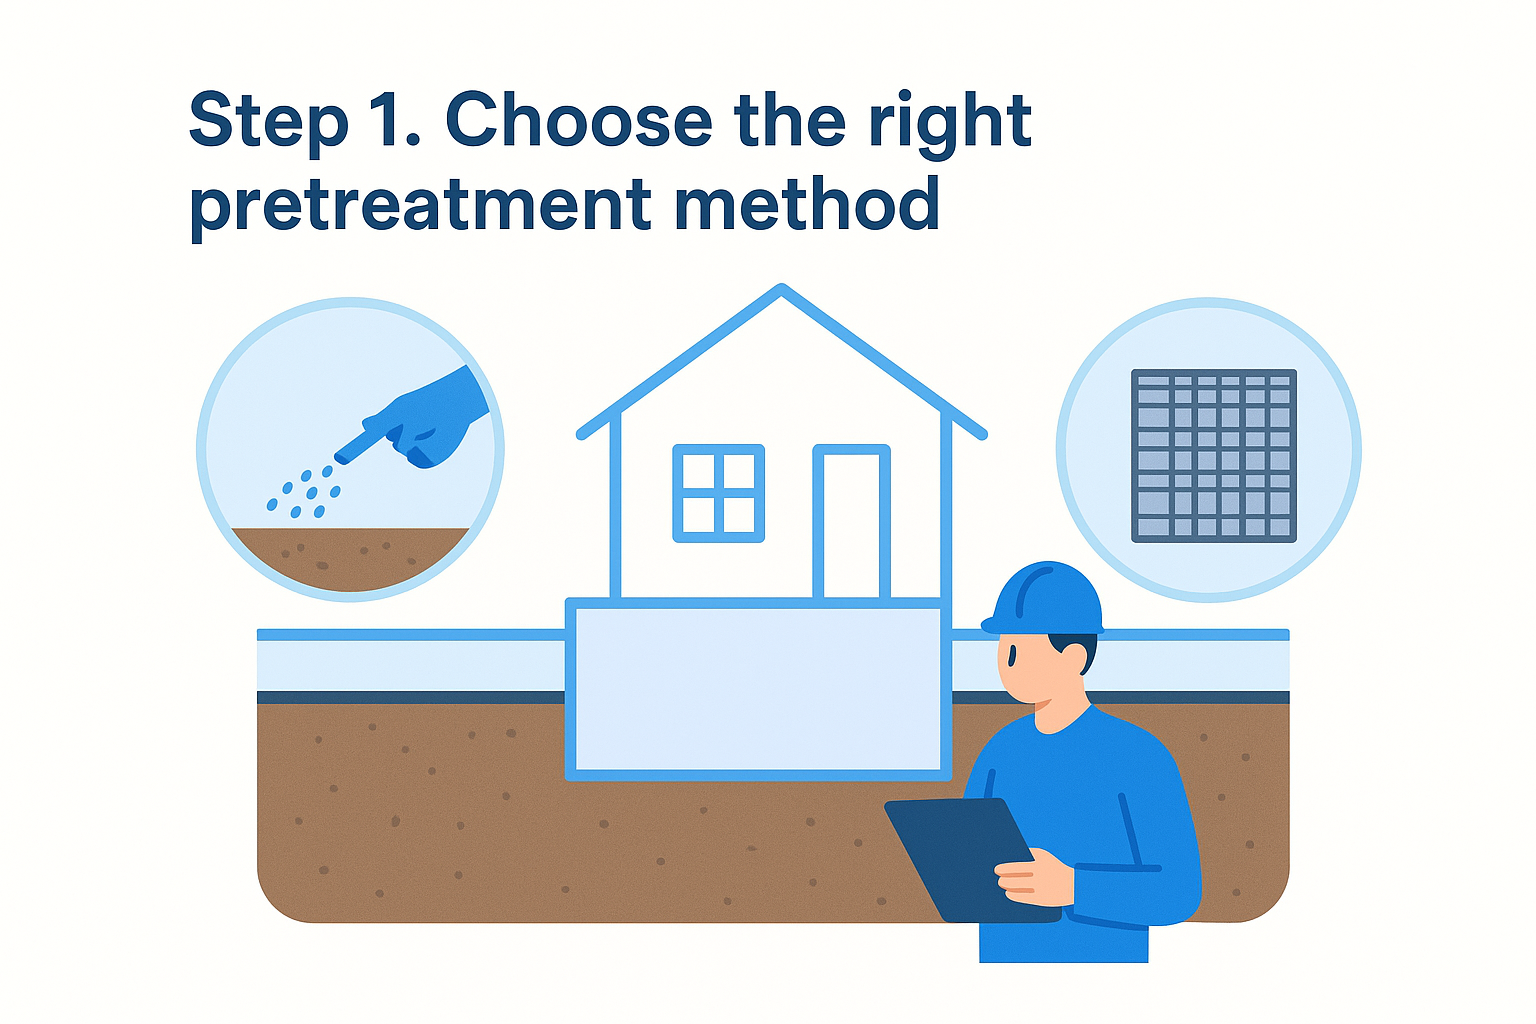
Before anyone breaks ground, you need to decide between a liquid termiticide barrier , a physical barrier system , or a combination of both. This decision shapes your construction schedule, your budget, and how long the protection actually lasts, so it's worth getting right before your soil prep crew shows up.
Liquid termiticide barriers
Most Sacramento builds use a non-repellent liquid termiticide applied directly to the soil beneath and around the foundation footprint. Termites can't detect these chemicals, so they tunnel through the treated zone, pick up the active ingredient, and carry it back to the colony. This spreads the effect beyond the treated area itself. Products in this category typically carry label guarantees of 10 to 13 years when applied at the correct rate, and the treatment covers the entire slab area, not just the perimeter.
Physical barrier systems
Some builders opt for stainless steel mesh or basaltic particle barriers installed at plumbing penetrations, foundation edges, and other entry points. These physical barriers don't break down chemically over time, which appeals to owners concerned about long-term soil treatment near wells or sensitive landscaping. They cost more upfront and require precise installation around every pipe and utility penetration, since a single gap defeats the purpose.
The method you choose matters less than making sure it covers every square foot of soil your slab will seal off.
Matching the method to your project
| Method | Best For | Typical Coverage Length | Installation Complexity |
|---|---|---|---|
| Liquid termiticide | Standard slab-on-grade homes | 10-13 years | Moderate, requires soil saturation before pour |
| Physical barrier (mesh/particle) | Custom builds, sensitive sites | Life of structure if undisturbed | Higher, needs precise placement at penetrations |
| Combined approach | High-risk soil, commercial projects | Longest overall protection | Highest, coordinates two trades |
Combining both methods gives you redundancy where plumbing lines, expansion joints, or utility trenches create natural gaps in a single-method barrier. We recommend this combined approach for commercial slabs and any residential build where the crawl space design includes multiple soil penetrations.
Step 2. Time the treatment to your construction schedule
Getting the method right means nothing if you apply it at the wrong point in the build. Termite pretreatment timing hinges on one hard rule: the soil treatment has to go down after final grading and compaction but before the vapor barrier and slab pour. Miss that window, and you either delay the pour or skip the treatment entirely, which is exactly the scenario that leads to callbacks and warranty disputes down the road.
Coordinate with your soil prep and grading crew
Scheduling starts with a conversation between your general contractor and the pest management company well before soil prep wraps up. Your treatment crew needs the graded pad finished, compacted, and free of standing water or loose debris, since termiticide applied to disturbed or muddy soil won't bond properly. Most Sacramento jobs schedule this application one to two days before the vapor barrier goes down, giving the ground crew a clear handoff point without stalling the pour date.
Treat the soil too early or too late, and you either lose the chemical to disturbance or force a costly delay in your pour schedule.
The pre-pour window is your only shot
Once the vapor barrier and rebar are set, that soil is off-limits until the concrete cures for decades. Here's a quick checklist for what needs to happen before your treatment crew arrives on site:
- Rough grading and compaction complete
- Utility trenches backfilled and compacted
- Forms set so the treated footprint matches the final slab dimensions
- Soil moisture at a workable level, not saturated or bone-dry
- Vapor barrier and rebar not yet placed
Weather and moisture considerations
Sacramento's dry summers and wet winters both create scheduling headaches. Rain within 24 hours of application can dilute the treatment before it bonds to the soil, while excessively dry, dusty soil in July and August prevents proper penetration. Watching the forecast and coordinating with your pest management company around weather windows, rather than just the framing crew's calendar, keeps the treatment effective and avoids a second application charge.
Step 3. Apply treatment to your slab or crawl space
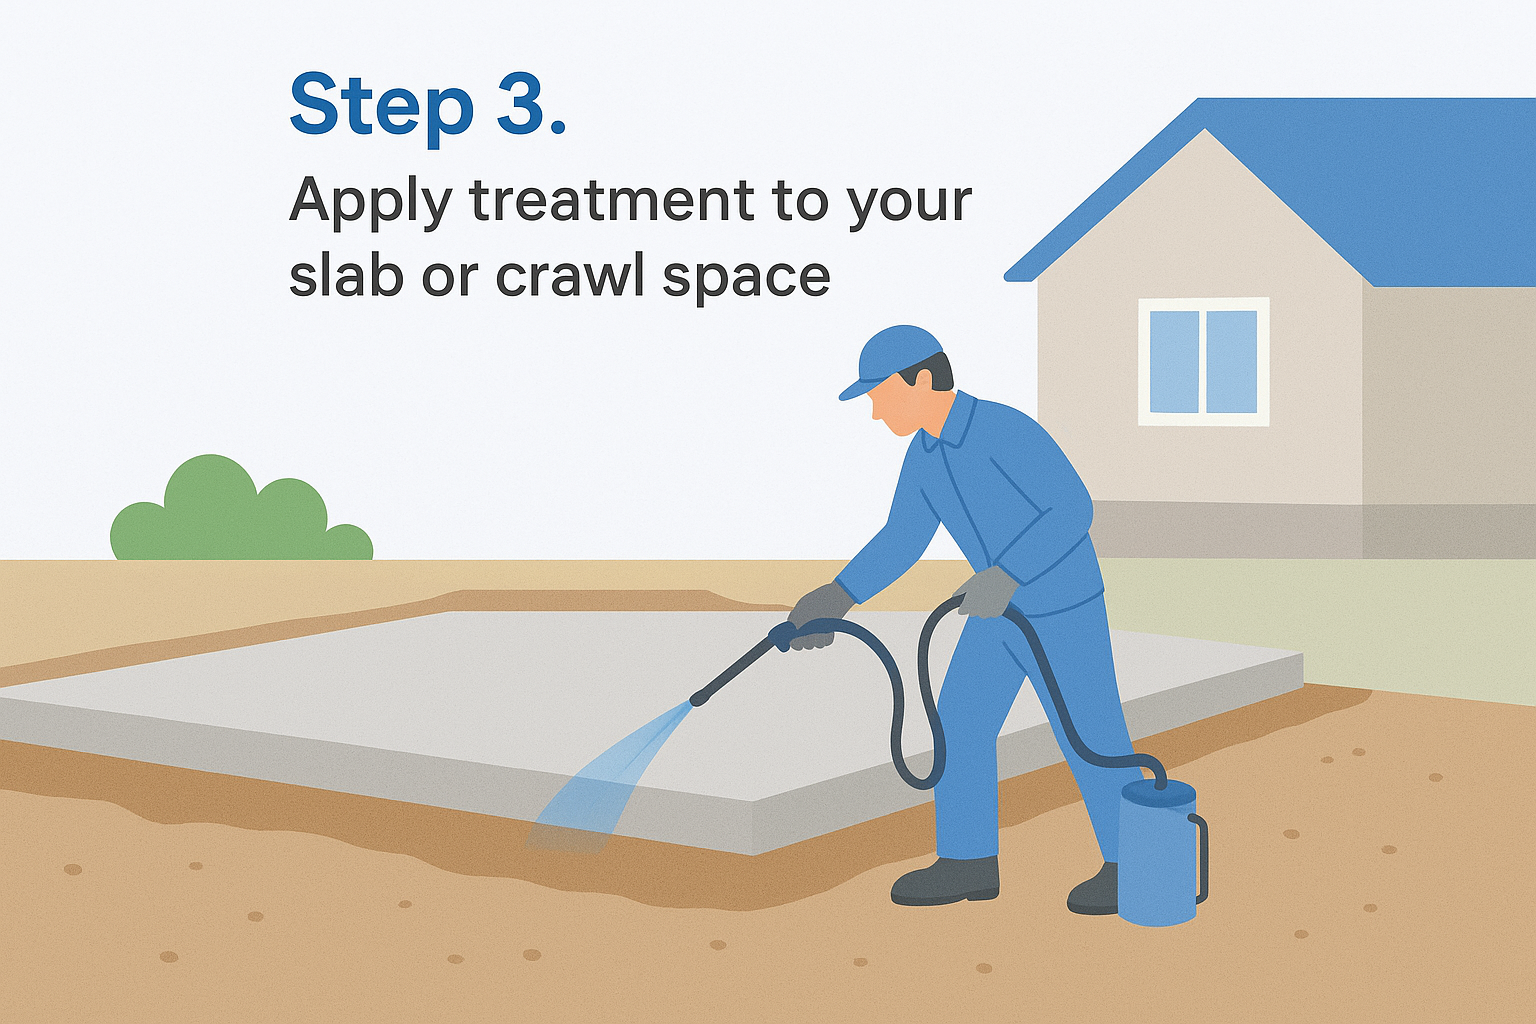
Once your soil prep is finished and the schedule lines up, the actual application takes a few hours but demands precision. Technicians need to treat the entire slab footprint , not just the perimeter, since termites can enter from any point beneath a concrete pad. For crawl space construction, the approach shifts slightly, targeting the soil around piers, foundation walls, and any utility penetrations where termites could otherwise bypass the treated zone.
Slab-on-grade application
Applying termiticide to a slab-on-grade foundation means saturating the soil at a labeled rate, typically measured in gallons per square foot, so the chemical creates a continuous barrier across the pad. Technicians work in sections, treating the interior footprint first and then the perimeter trench around the foundation edge. Every expansion joint, plumbing stub-out, and utility sleeve gets extra attention here, since these are the spots where a thin or missed application later shows up as an active infestation inside a finished wall.
A single untreated gap under a slab, even a few inches wide, gives termites a way in that no amount of treatment elsewhere will stop.
Crawl space application
Crawl space homes need treatment along the foundation perimeter, around support piers, and at any point where wood framing sits close to untreated soil. Because crawl spaces stay accessible after construction, some builders combine soil treatment with a vapor barrier to reduce moisture buildup, which also helps preserve the termiticide's effectiveness over time.
What to confirm before sign-off
Before your treatment crew leaves the site, walk through this checklist with them:
- Application rate matches the product label and square footage treated
- All expansion joints, plumbing penetrations, and utility sleeves received direct treatment
- Treatment log records date, product used, and technician name
- No visible pooling, runoff, or dry, untreated patches remain
- Weather conditions at application matched label requirements
Getting a signed application record at this stage matters more than it seems. It becomes the backbone of the warranty documentation you'll need for lenders, future buyers, and any inspector who asks how your foundation was protected before the pour.
Step 4. Document your warranty and schedule inspections
Once the treatment is applied and the slab pour is underway, your job shifts from coordinating the work to protecting yourself on paper. A termite treatment certificate is the single document lenders, code inspectors, and future buyers will all ask for, so get it filed away before drywall goes up and details get fuzzy. Skipping this step doesn't undo the treatment, but it does leave you scrambling years later when a real estate transaction or a warranty claim demands proof of what was done and when.
What your paperwork needs to include
Your pest management company should hand you a complete package, not just a receipt. Confirm the documentation covers these items before you sign off:
- Product name, active ingredient, and EPA registration number
- Application date, technician name, and license number
- Square footage treated and application rate used
- Treated area diagram showing slab footprint and crawl space zones
- Warranty term length and renewal requirements
- Company contact information for future inspections or claims
A treatment without paperwork is just a rumor once the slab is poured and covered.
Renewal inspections keep the warranty active
Most termite warranties on new construction run for one to five years initially, with renewal options extending coverage for the life of the structure as long as you schedule follow-up inspections. Missing a renewal inspection window is the most common reason homeowners lose warranty coverage without realizing it, often not discovering the gap until they need to file a claim. Set a calendar reminder tied to your move-in date, not the treatment date, since occupancy timelines on new builds often run months behind the actual pour.
Keep copies in more than one place
Digital storage matters here as much as the physical certificate. Save a scanned copy with your closing documents, send one to your real estate agent if you're selling later, and keep the pest management company's contact information handy for the inspector who eventually asks. Buyers and lenders down the line will treat this paperwork as proof the structure was protected correctly from day one, and a missing certificate can stall a sale even when the treatment itself was flawless.
Building termite protection in from the start
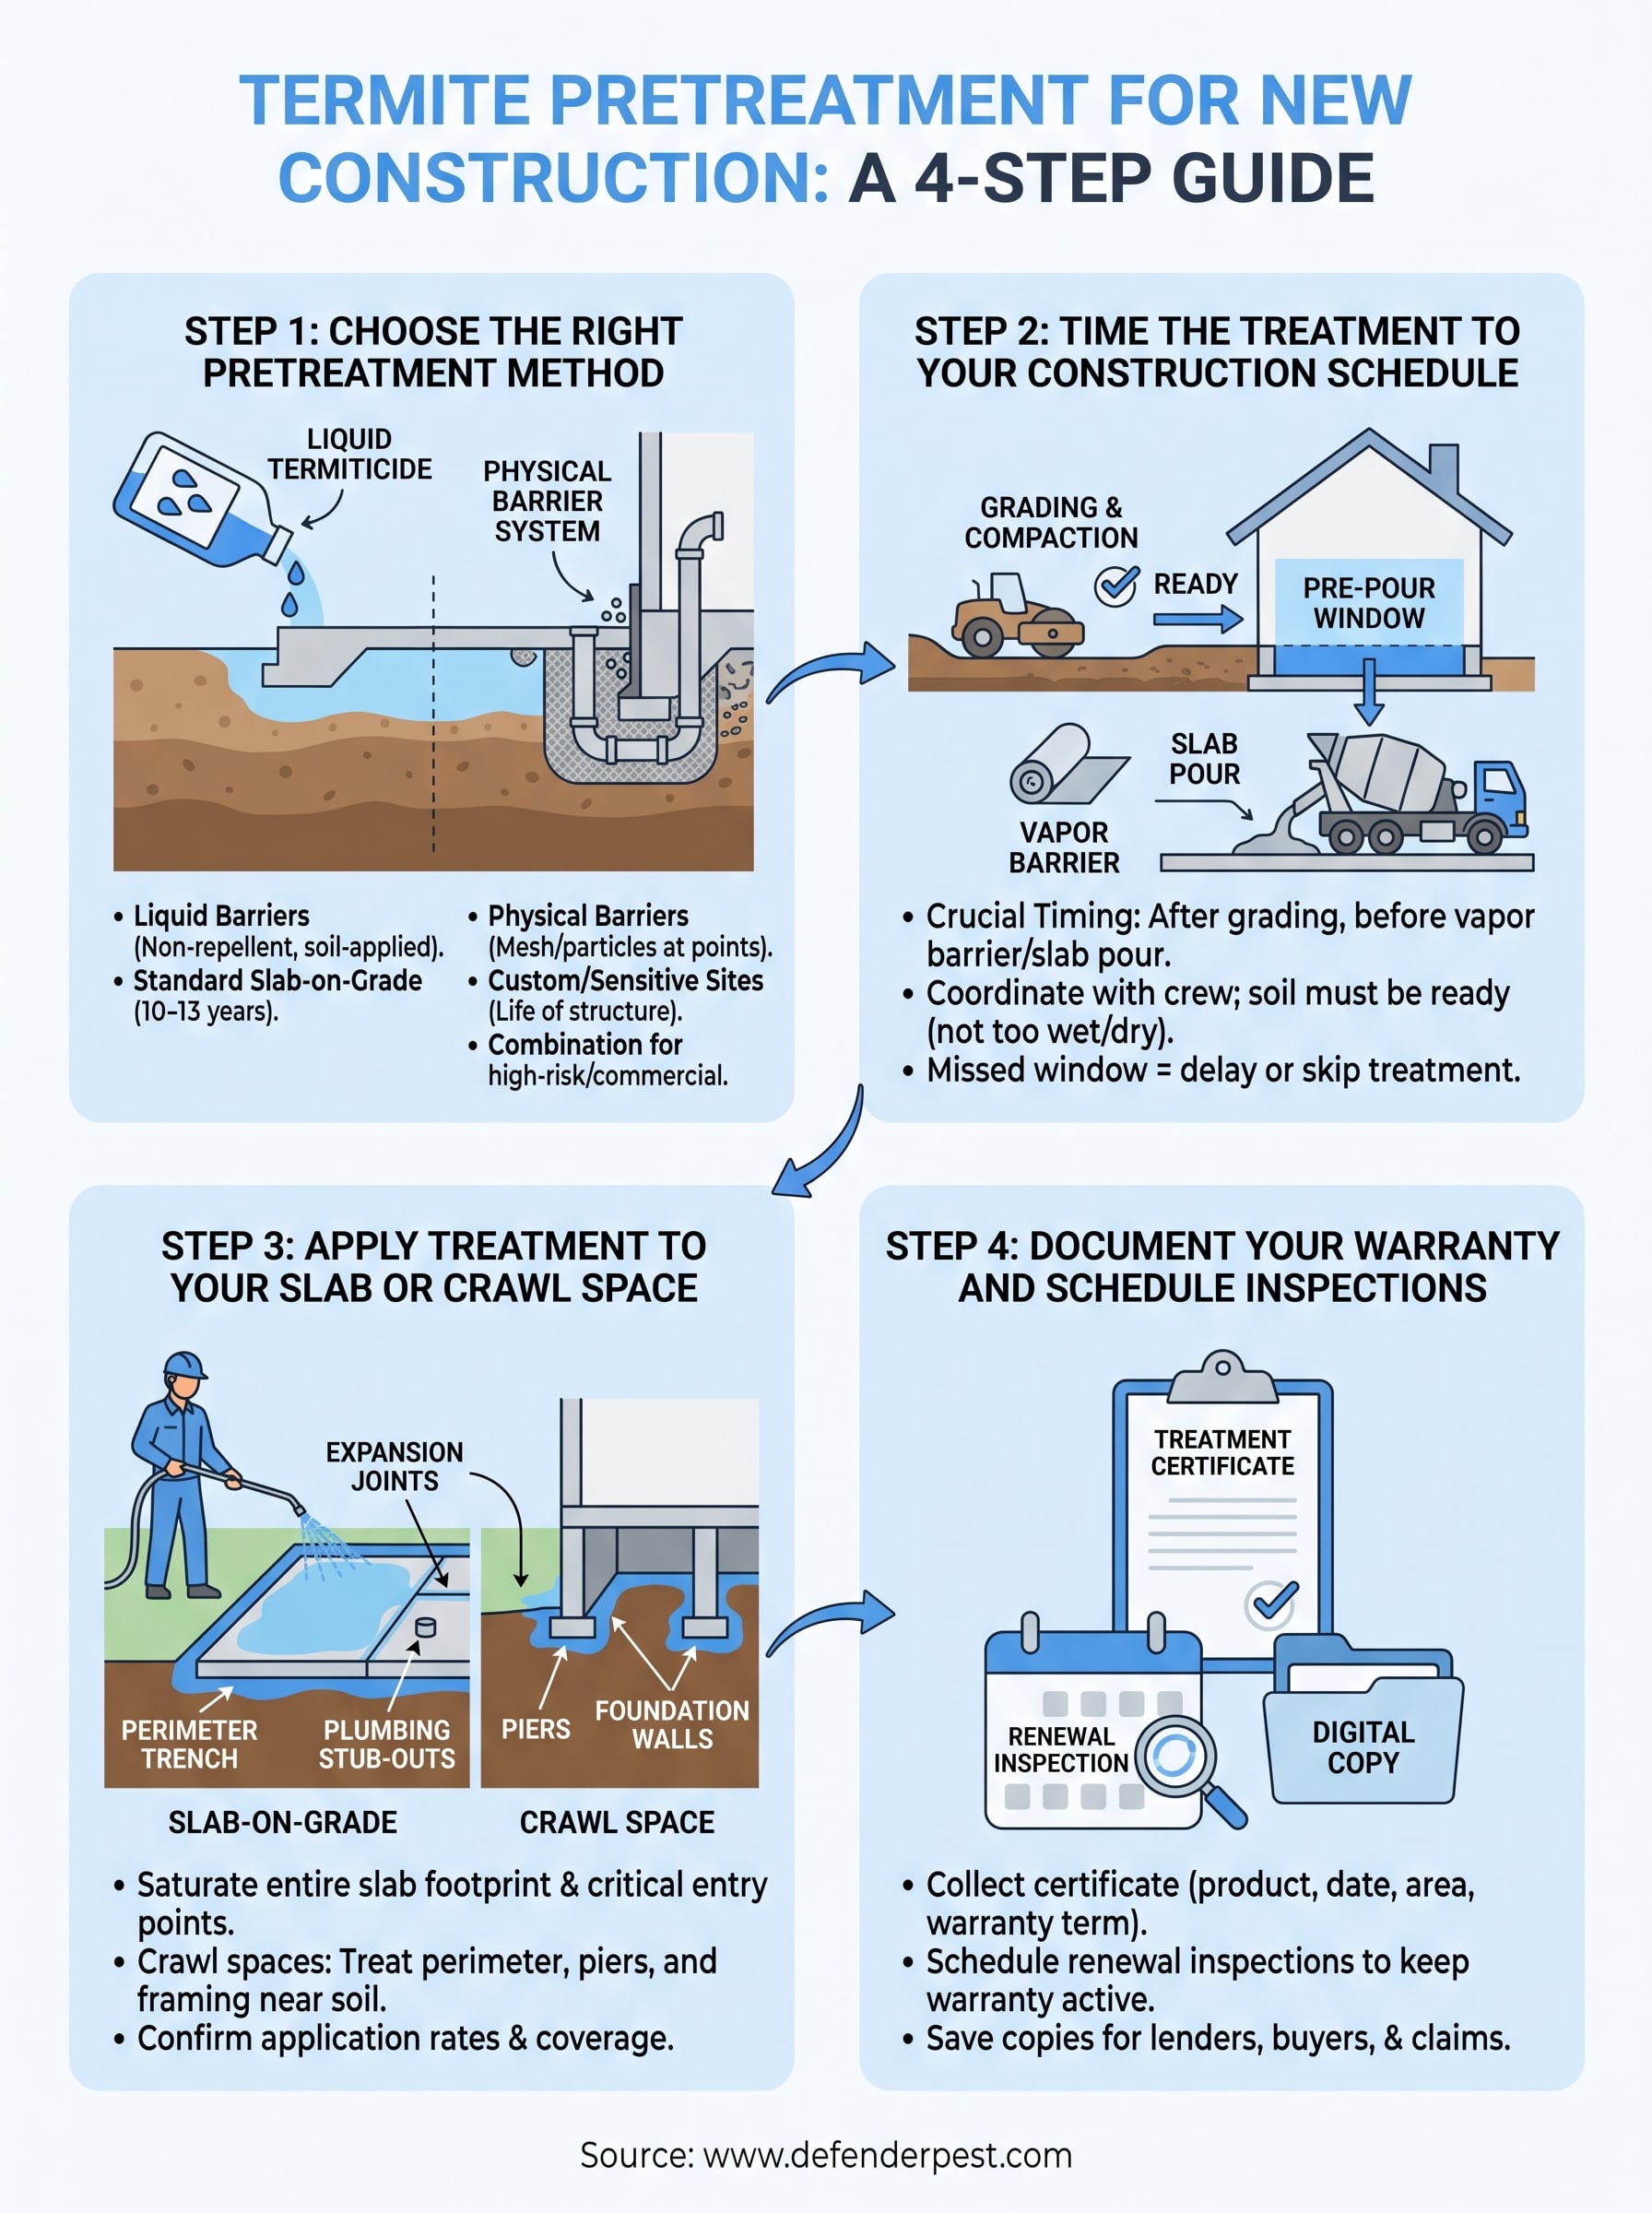
Getting termite pretreatment right during new construction comes down to four things: pick a method that matches your soil and structure, time it to the pre-pour window, apply it thoroughly across the entire footprint, and document everything for the warranty file. Skip any one of these steps, and you're stuck relying on drilling, trenching, or reactive bait stations after the framing is already up and the slab is already poured. Sacramento's clay soils and warm climate don't give untreated structures much of a grace period, so this isn't a step to defer or delegate without oversight.
You get one real shot at protecting the soil beneath your slab before it disappears under concrete for decades. Work with a crew that treats this stage with the attention it deserves, and you'll spend the next fifty years dealing with termites a lot less than the builders who didn't. If you're breaking ground soon, get a termite pretreatment quote from Defender before your soil prep crew shows up.