Termite Inspection Reports: How to Read Yours in Sacramento
The fastest way to read termite inspection reports is to skip the summary and sort every finding into one of three buckets. In California, those are active infestation or damage (Section 1), conditions likely to cause trouble later (Section 2), and areas that need further inspection. Then match each finding to its recommended fix and get a written estimate for it. Do that and you know what is wrong, what is urgent, and what can wait.
The trouble is that the report is dense. It is a form full of item numbers, abbreviations, and a sketch of your property, written by an inspector for other professionals as much as for you. Buyers often receive it days into escrow. Homeowners get it with a repair estimate attached, which makes every line feel like a sales pitch. It is hard to tell a real emergency from a routine note about wood touching soil.
This guide walks through a report the way we explain it to customers at Defender Termite & Pest Management. We have worked in Sacramento since 1999, and we started in real estate inspection and construction. You will learn what the report contains, how to check it, how to sort the findings, how to match treatments to them, and what to do next.
What a termite report actually covers
A California termite report is formally a Wood Destroying Pests and Organisms Inspection Report. A licensed Structural Pest Control operator writes it after a visual inspection of the accessible parts of a structure. It covers more than termites, and a good report also tells you what the inspector could not see.
What the inspector checks and records
The inspector looks at the attic, the crawl space or subfloor, the foundation line, the eaves, the garage, decks, and any wood in contact with soil. Suspect wood gets probed. The inspector looks for droppings, mud tubes, discarded wings, and damage. A typical inspection by our team takes about an hour and a half to two hours . The report may name termites, wood-destroying beetles, carpenter ants, carpenter bees, and wood-destroying fungi such as dry rot.
| Part of the report | What it tells you |
|---|---|
| Header | Property address, inspection date, company and inspector license numbers |
| Diagram | A sketch of the structure with letters marking where each finding sits |
| Findings | What was found, where, and the recommended action |
| Limitations | Areas that were blocked, finished over, or not inspected |
| Estimate | The price of the recommended work, on the report or attached |
Who needs one and how often
Buyers and sellers usually order one during a home sale, because lenders and buyers want to know the condition of the wood before closing. Homeowners who are not selling gain from a yearly inspection , which many pest professionals recommend, especially for older homes with wood framing and crawl spaces.
A termite report is a map of what the inspector could see, not a guarantee about the whole house.
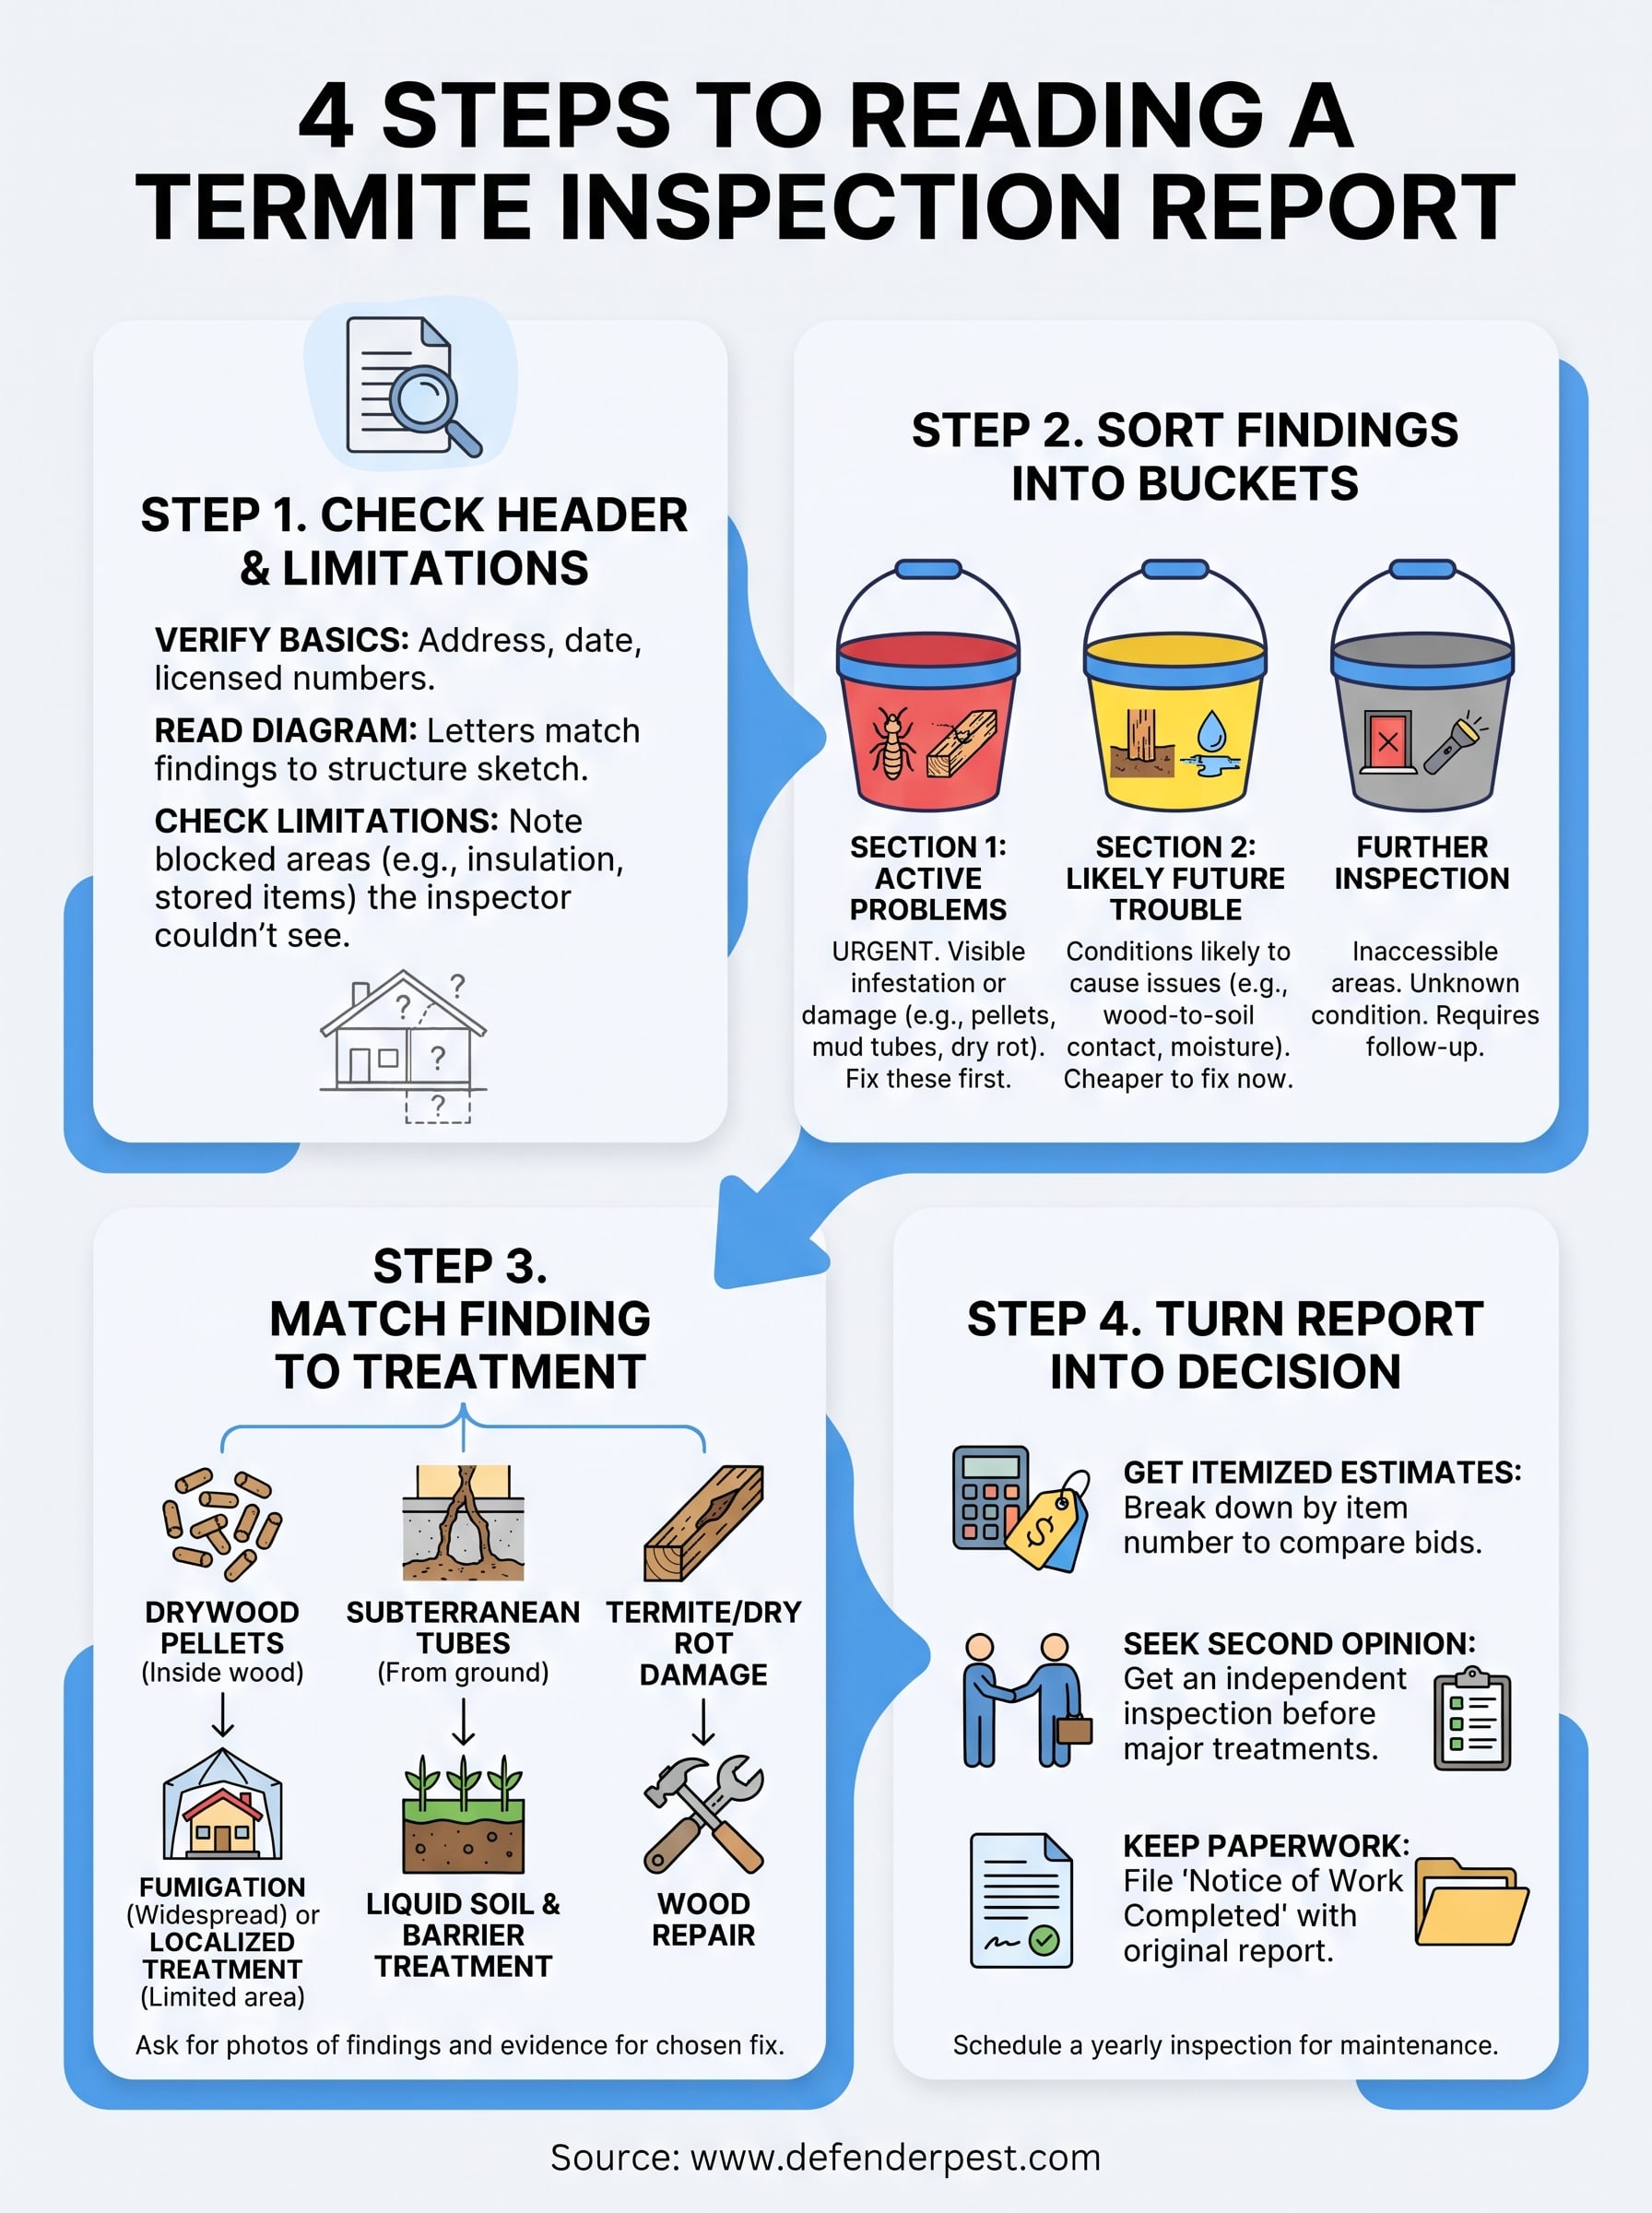
Step 1. Check the header, diagram, and limits
Start by confirming that the report describes your property and was written by a licensed professional. Errors in the basics suggest errors in the findings.
Verify the basics
Check the address, the inspection date, and the company name. Confirm that license numbers appear for both the company and the inspector, and look them up with the California Structural Pest Control Board if you want to be sure. A stale date matters in a sale, because conditions change between inspection and closing.
Read the diagram and the limitations
The diagram is where the report becomes readable. Each letter on the sketch matches a finding in the list, so you can walk the property and see the problem yourself. Then find the limitations note. Insulation, stored belongings, finished walls, and tight crawl spaces all stop an inspector from seeing wood. Those gaps usually turn into further inspection items, and they are the places where surprises hide.
Read the limitations before the findings, because a clean report only covers what the inspector could actually see.
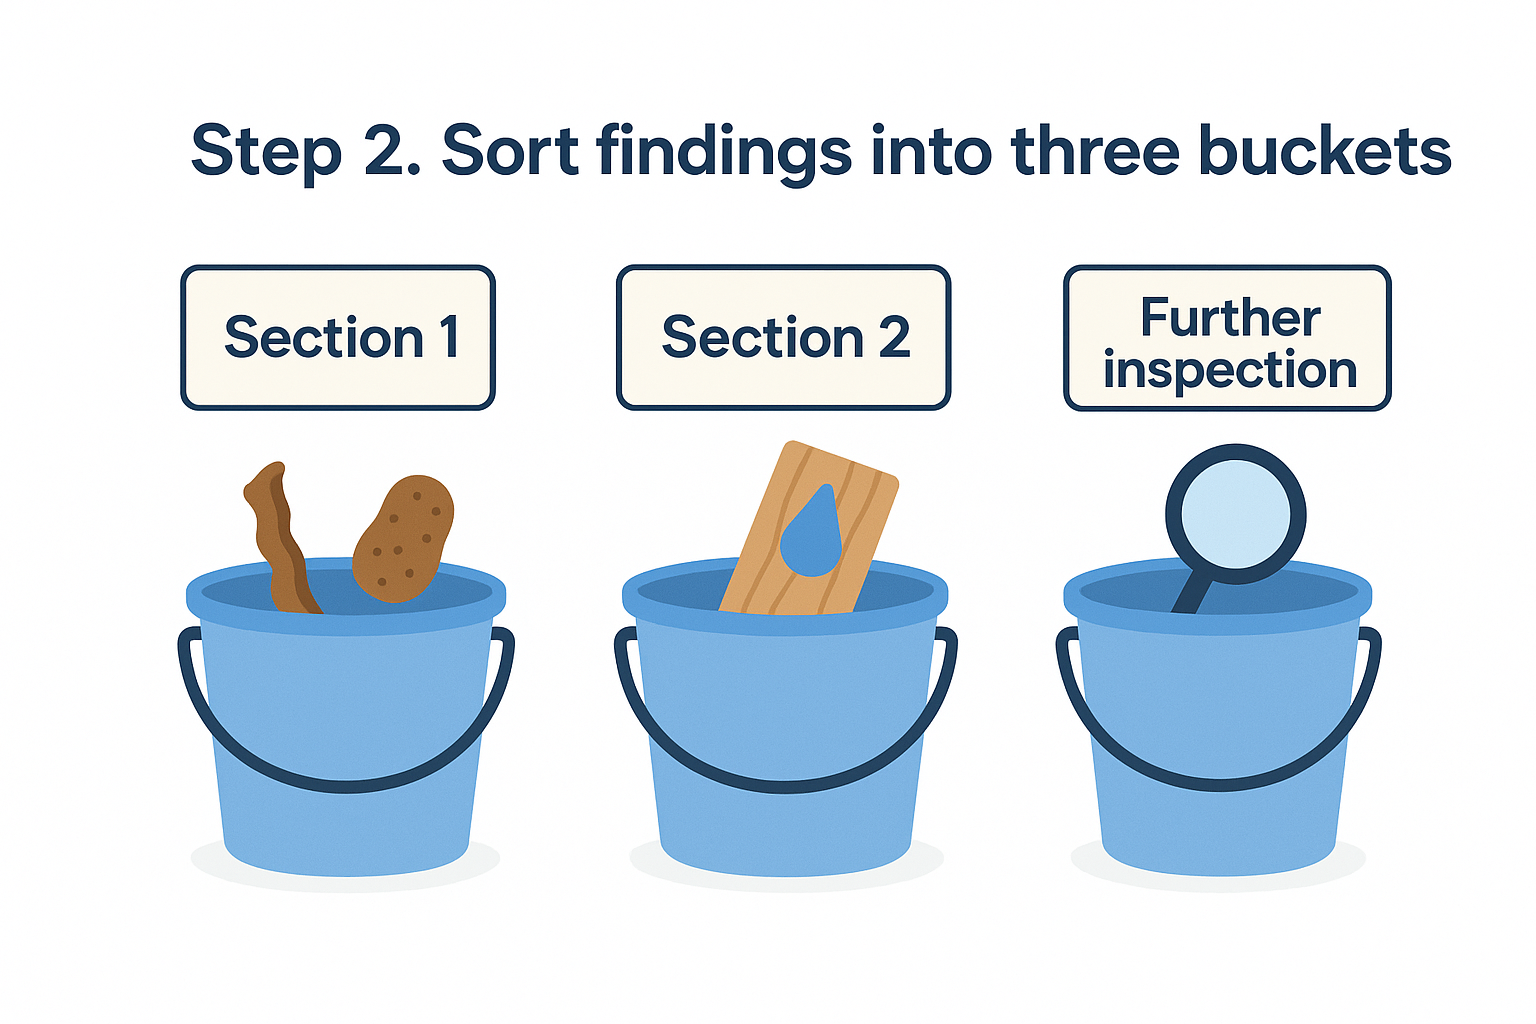
Step 2. Sort findings into three buckets
Every item in a California report falls into Section 1, Section 2, or further inspection. Sorting them tells you the order in which to act.
Section 1: active problems
Section 1 lists visible evidence of infestation or infection, or conditions that resulted from it. Examples are drywood termite pellets, subterranean termite tubes, damaged framing, and dry rot. Treat these first. Lenders commonly expect Section 1 work to be done or credited before a sale closes.
Section 2 and further inspection
Section 2 lists conditions that are likely to lead to infestation but show no active evidence yet. Typical entries are wood touching soil, leaks, poor grading, and debris under the house. Further inspection covers places the inspector could not reach or suspects hide a problem. Fixing Section 2 items is cheaper than waiting for them to become Section 1 items.
| Bucket | What it means | Examples | Priority |
|---|---|---|---|
| Section 1 | Evidence of infestation or resulting damage | Pellets, mud tubes, dry rot | Act first |
| Section 2 | Conditions likely to lead to infestation | Wood-to-soil contact, leaks | Act soon |
| Further inspection | Area not fully seen | Blocked attic, finished wall | Resolve before deciding |
Section 1 is what is wrong today, Section 2 is what will go wrong later, and further inspection is what nobody knows yet.
Step 3. Match each finding to its treatment
The recommendation next to each item should follow from the evidence. Learn the common pairings so you can judge whether the fix fits the problem.
Know what the evidence means
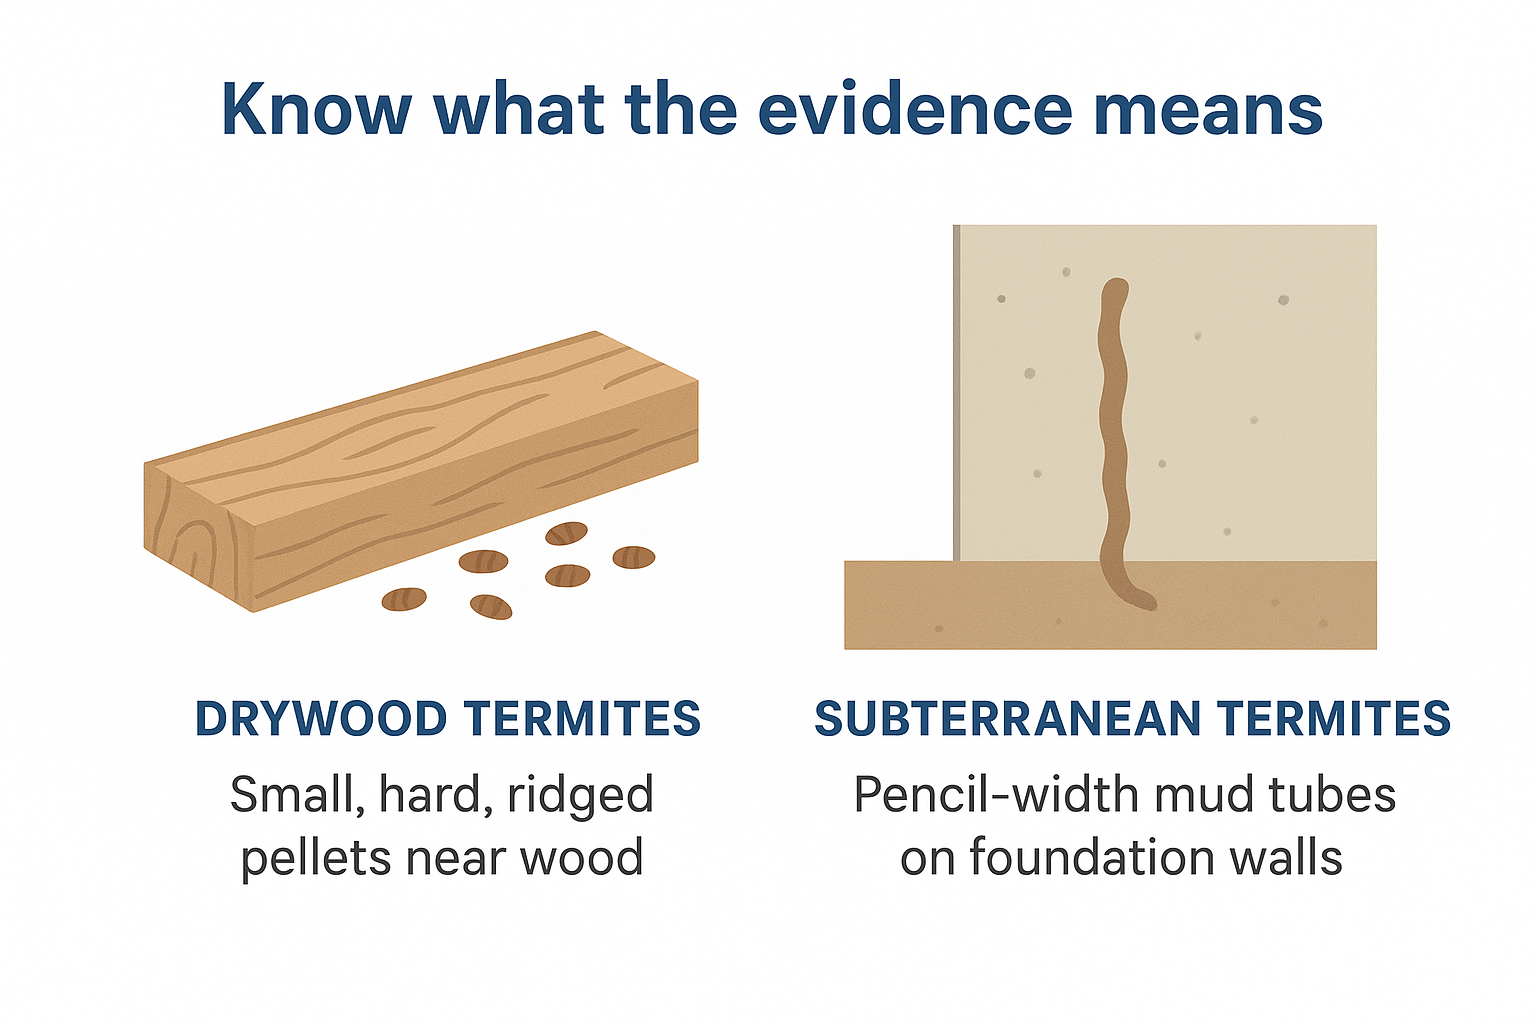
Small, hard, ridged pellets near wood usually point to drywood termites , which live inside the wood and need no soil contact. Pencil-width mud tubes on foundation walls or piers point to subterranean termites , which travel from the ground. The two call for different treatments, so the report should name which one the inspector found.
| Finding | Typical recommendation | Defender details |
|---|---|---|
| Widespread drywood termites | Structural fumigation | 3 to 5 days, sulfuryl fluoride (Vikane), two-year guarantee |
| Drywood termites in one limited area | Localized treatment | Scope set by the inspection |
| Subterranean termites | Liquid soil and barrier treatment | Lasts up to 5 years |
| Termite or dry rot damage | Wood repair | One-year warranty, in-house repair team |
Ask why that fix was chosen
Ask the inspector why one treatment was picked over another. Fumigation suits whole-structure drywood problems, while a limited spot may only need localized work. Ask for photos of each finding , and ask what caused any moisture. We give customers a comprehensive report with pictures after a termite job, and you should expect the same from any company.
A recommendation should always trace back to a specific item, a specific location, and a specific piece of evidence.
Step 4. Turn the report into a decision
Once you understand the findings, put numbers and dates on them. This is where buyers protect their negotiating position and homeowners avoid paying for work they do not need.
Get itemized estimates
Ask for an estimate broken down by item number, so you can compare bids line by line. Seek a second opinion before agreeing to fumigation, and ask the second company to inspect rather than just quote from the first report. Here is a worked example for a buyer. The report lists drywood pellets in the attic and dry rot at a rear deck in Section 1, wood touching soil at a fence post in Section 2, and a blocked crawl space under further inspection. Your plan is three steps:
- Get bids for the attic treatment and the deck repair.
- Ask the seller to fix or credit the Section 1 items, and decide on the Section 2 item.
- Schedule the crawl space inspection before your contingency period ends.
Keep the paperwork after the work
When treatment and repairs are finished, the company should issue a Notice of Work Completed that you can hand to a lender or a future buyer. File it with your warranties and the original report. Then book your next inspection for the following year, so the next report is a short one.
The report is only useful once each item has an owner, a price, and a date.
Read it, then act on it
A termite report looks complicated, but it follows a fixed order. Check the header and limitations, sort the findings into Section 1, Section 2, and further inspection, match each one to a fix that suits the evidence, and get itemized estimates before you commit. Keep the completion paperwork afterward.
If you have a report in hand and a line you do not understand, or you want a fresh set of eyes on a recommendation, consider asking a licensed inspector for a second opinion. To get a new inspection from licensed inspectors in the Sacramento area, request a termite inspection from Defender.