Rodent Control in Attic: How to Get Rid of Them for Good
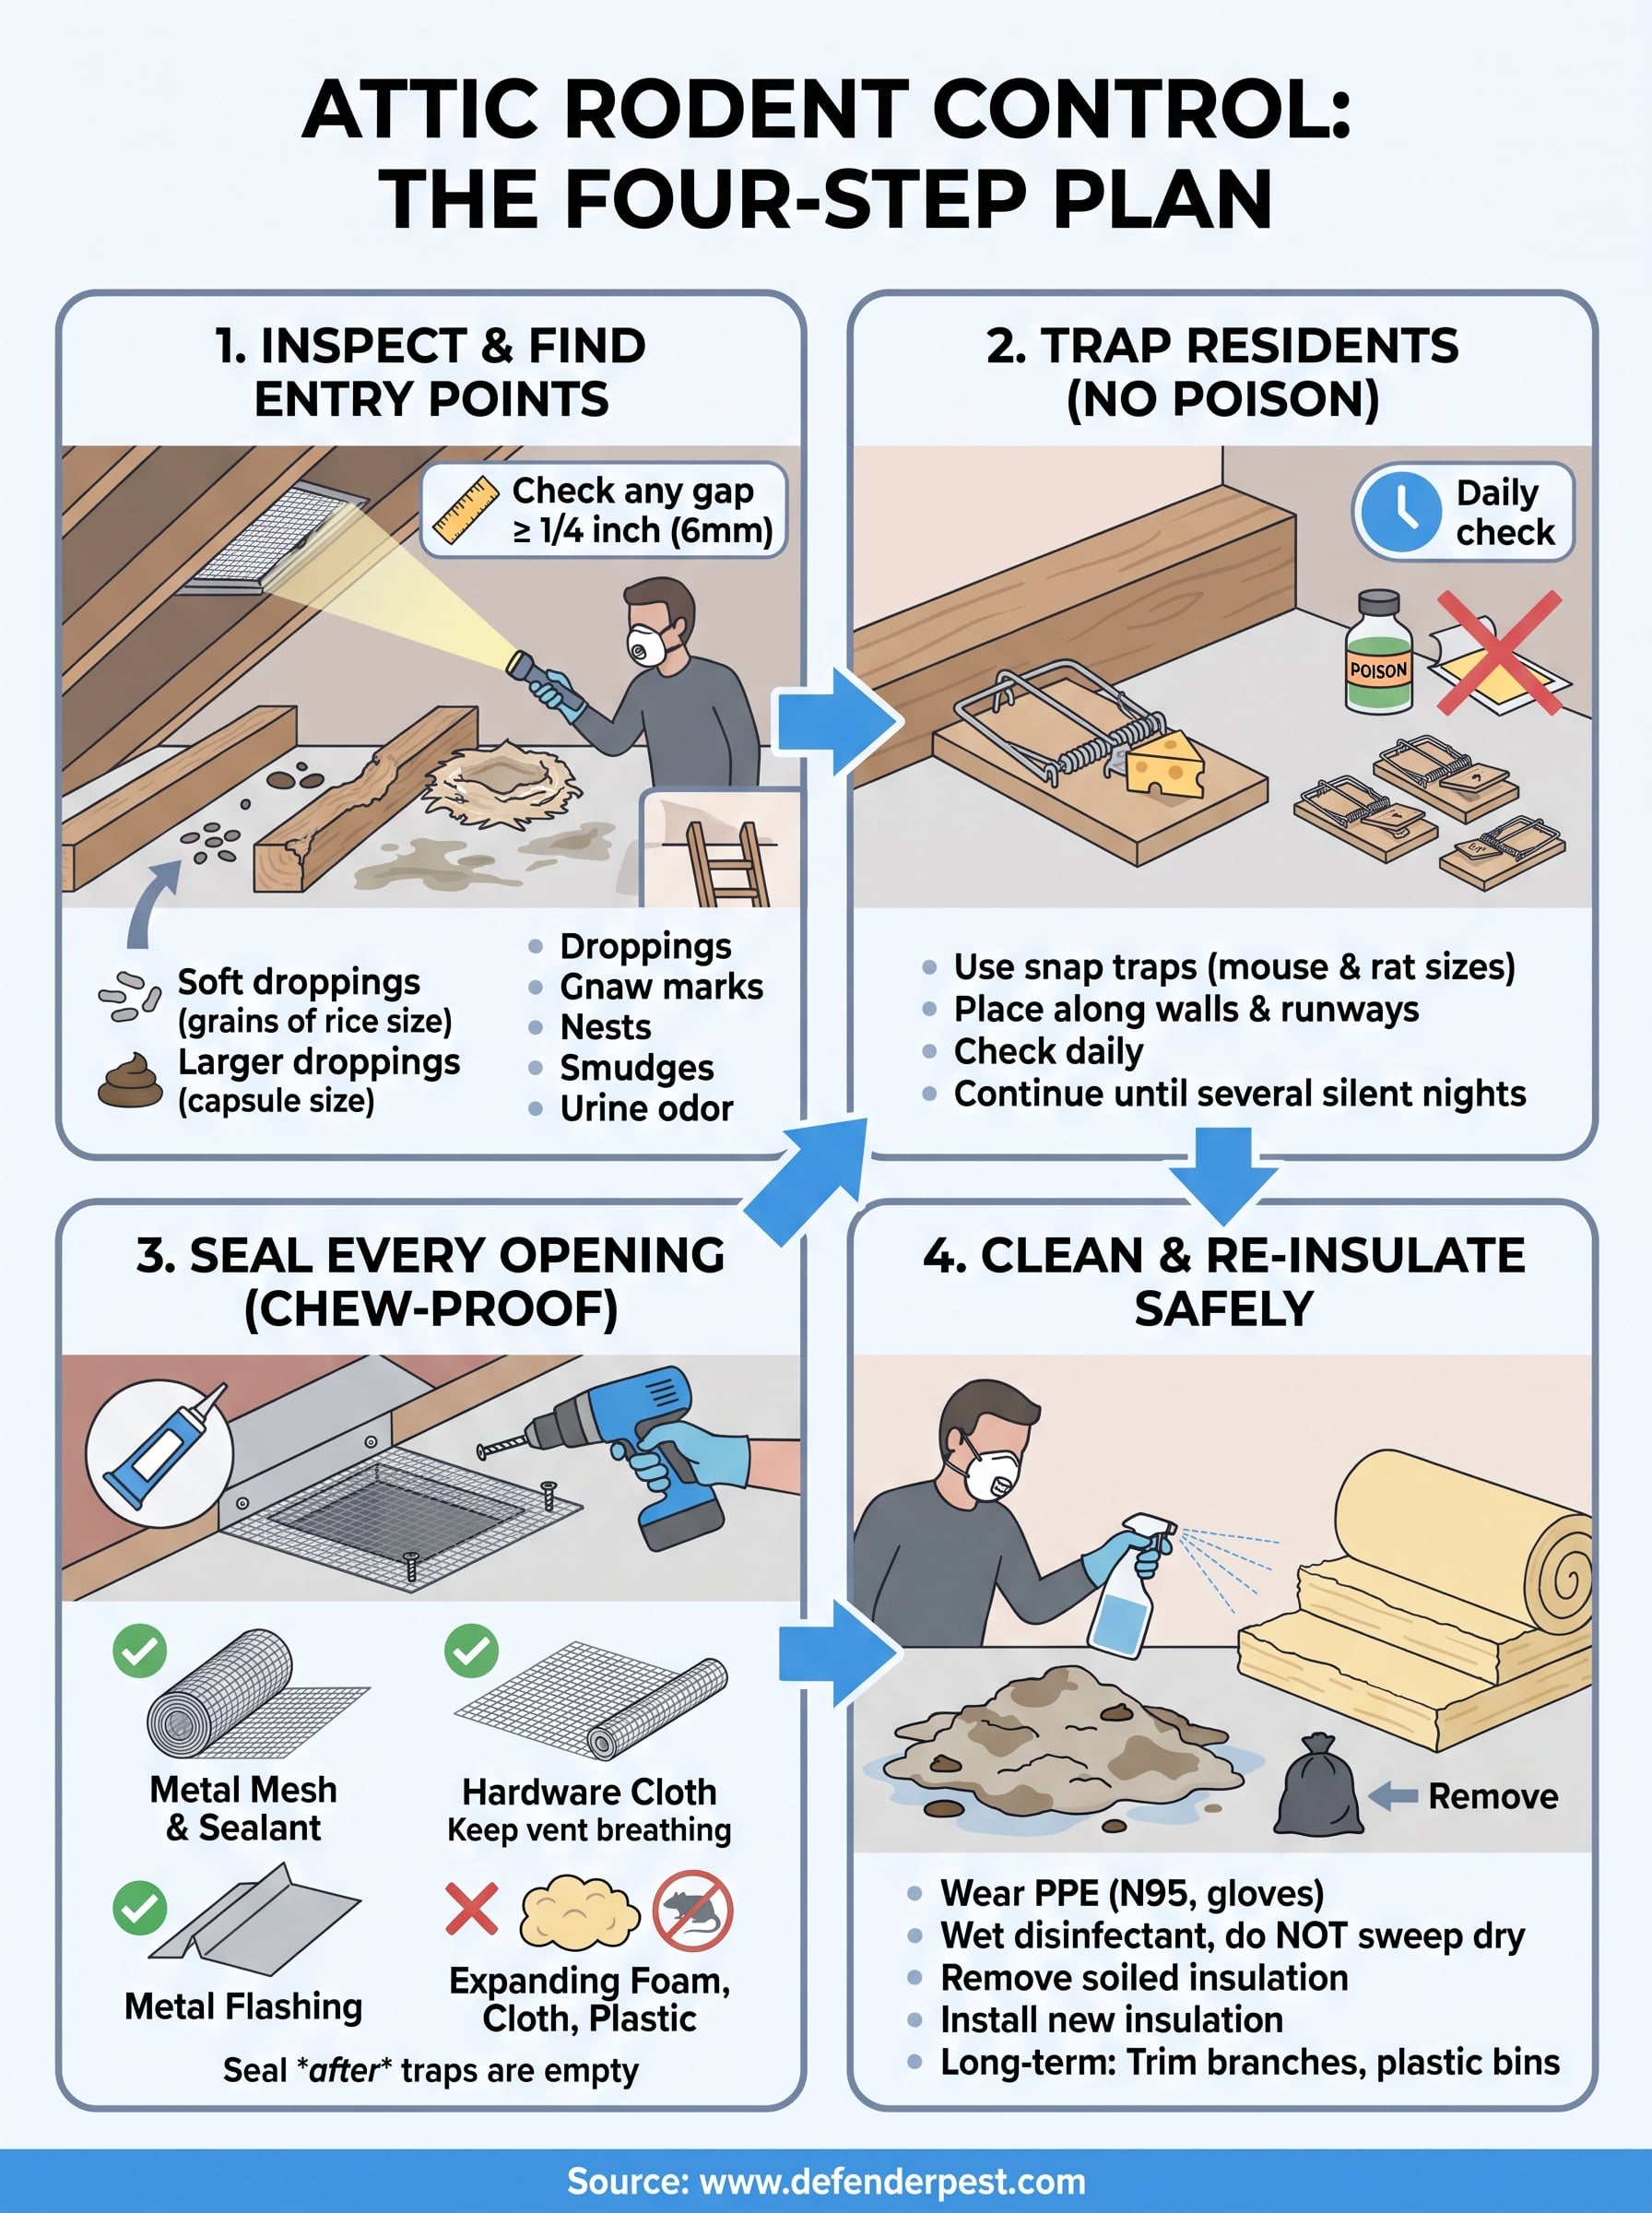
Rodent control in the attic takes four steps: find where the animals get in, trap every one of them, seal every opening, then clean up and replace the insulation they contaminated. The order matters. If you seal first, you lock rodents inside with your wiring. If you trap without sealing, new rodents move into the empty space within weeks.
You usually find out at night. There is scratching in the ceiling, a faint squeak, or a smell that was not there last week. Attics are warm, dark and quiet, and rodents get in through the roofline, vents and soffits. They do not leave on their own, and a few animals become a colony faster than most people expect. Meanwhile they chew wiring, nest in insulation and leave droppings that can carry disease.
This guide walks you through each step as a DIY job. It covers how to confirm what you have, where to place traps, which gap sizes and materials matter, and how to clean up safely. It also tells you where DIY stops making sense. Defender Termite & Pest Management has worked in Sacramento since 1999, and the method below is how a professional approaches the same job.
Why attic rodents need a full plan
Rodents in an attic will not go away by themselves, and traps alone will not solve the problem. You need to remove the animals, close the entry points and repair the damage, in that order.
What rodents do once they settle in
Rodents cause three kinds of harm in an attic. Gnawed wiring is a fire risk. Contaminated insulation stops insulating once it is soaked with urine and packed into nests. Droppings and urine can spread diseases such as salmonella and hantavirus. Roof rats and house mice are the usual tenants because both climb well and fit through small gaps.
How long they stay
Rodents stay until you remove them. An attic offers warmth, shelter from predators and free nesting material, so they have no reason to leave . A mouse pregnancy lasts about three weeks and young mice can breed within two months, so a small problem multiplies quickly . Attics are one of the most common places rodents nest, and activity tends to climb in fall and winter when nights turn cold.
DIY or professional
Rodent control in an attic is a reasonable DIY job when you have a handful of mice, safe attic access and entry points you can reach from a ladder. Call a professional when any of these apply:
- You hear activity daily in several parts of the attic, which points to many animals.
- The entry points sit on a steep or high roof.
- Droppings or urine cover large areas of insulation.
- You find chewed wiring.
- Noise continues after trapping, or new rodents appear after sealing.
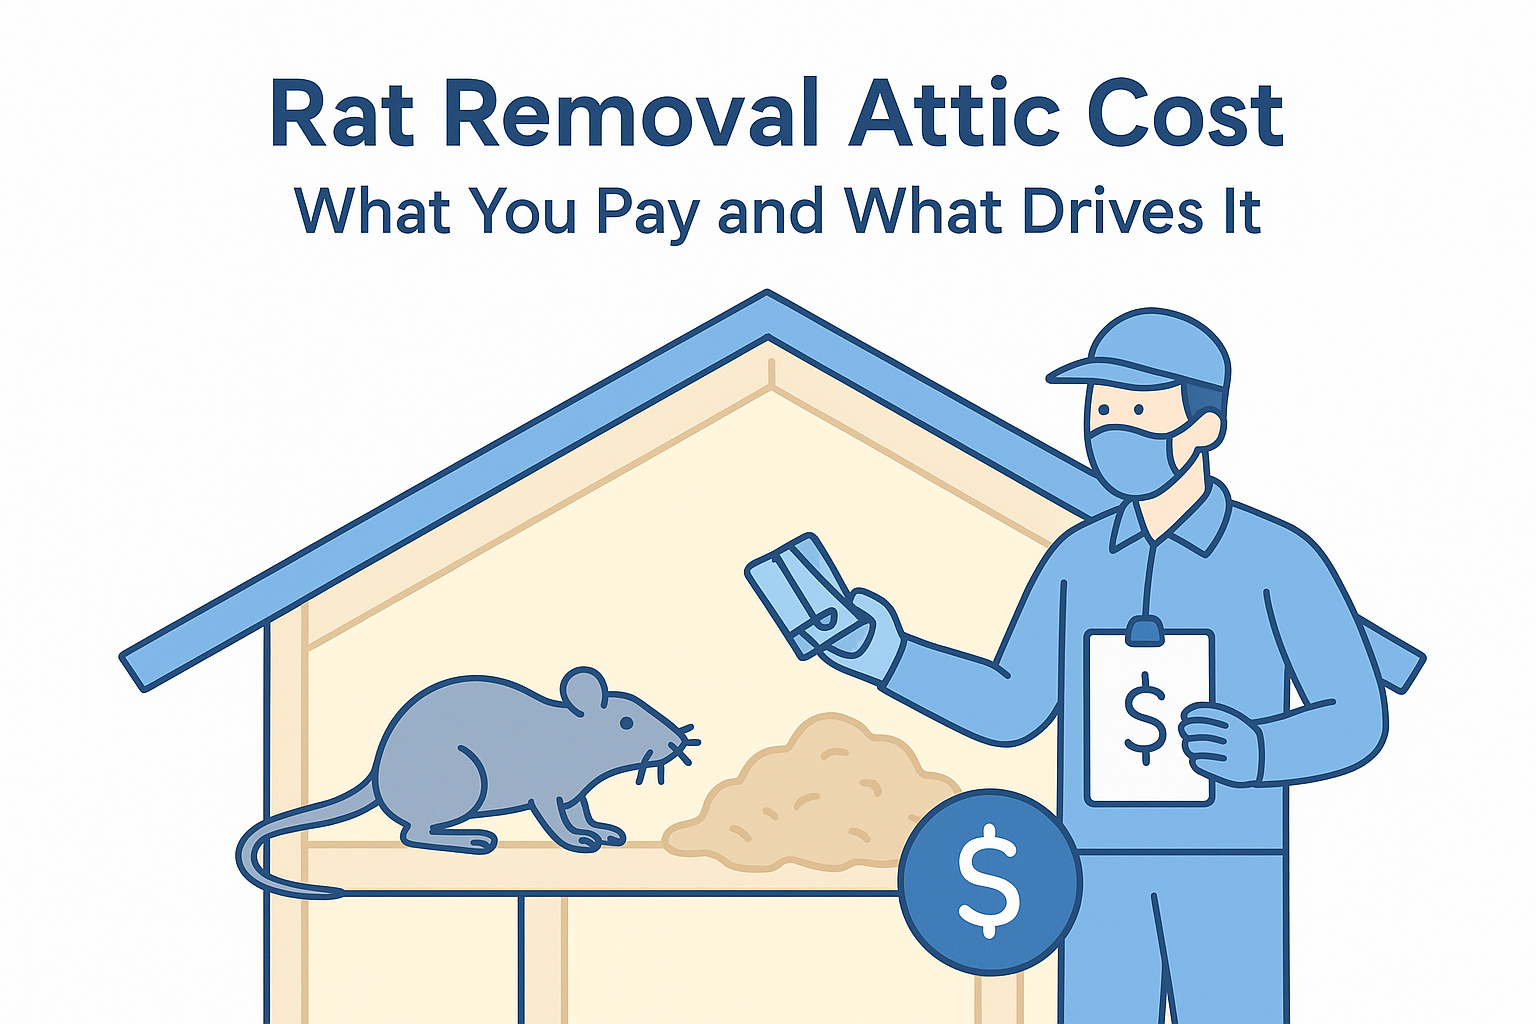
A professional quote depends on how many animals you have, how many openings need sealing, how hard the roof is to reach and how much insulation must be replaced. Ask for an inspection and a written estimate before work starts, and hire a licensed, insured company.
Trap first, seal second, clean up third, because any other order either traps animals inside or invites new ones.
Step 1. Inspect and find every entry point
Start with a daytime inspection to confirm rodents and map every opening they use. A thorough inspection takes about an hour and determines whether the rest of the job works.
Confirm what you are dealing with
Wear an N95 respirator and gloves, carry a bright flashlight, and step only on joists. Look for these signs:
- Droppings: mouse droppings are about the size of a grain of rice, and rat droppings are larger and capsule shaped.
- Gnaw marks on wood, pipes and wire insulation.
- Nests of shredded insulation, paper or fabric.
- Greasy smudges along beams and around holes.
- Urine odor, which is strongest near nests.
Scratching at night suggests rats or mice. Heavy thumping in daylight points to squirrels, which need a different approach.
Trace how they get in
A mouse fits through a gap about a quarter inch wide, and rats enlarge small holes by gnawing. Check the outside of the house too, ideally at dusk, with the table below as your route.
| Where to look | What to look for |
|---|---|
| Roof and gable vents | Bent, missing or chewed screens |
| Soffits and fascia boards | Gaps, soft rot, gnawed edges |
| Eaves and roofline | Lifted shingles, gaps where roof meets wall |
| Pipe, wire and cable entries | Open space around the opening, grease marks |
| Chimney | Missing cap, loose flashing |
| Trees and utility lines | Branches or wires touching the roof |
Mark each opening with tape as you find it. Dusting a little flour near a suspect hole shows footprints the next morning.
Every gap a quarter inch or wider is an entry point until you prove otherwise.
Step 2. Trap the rodents already inside
Use snap traps, place them along travel routes, and check them daily until nothing is caught for several nights in a row. Trapping is the most reliable way to remove rodents from an attic without creating a new problem.
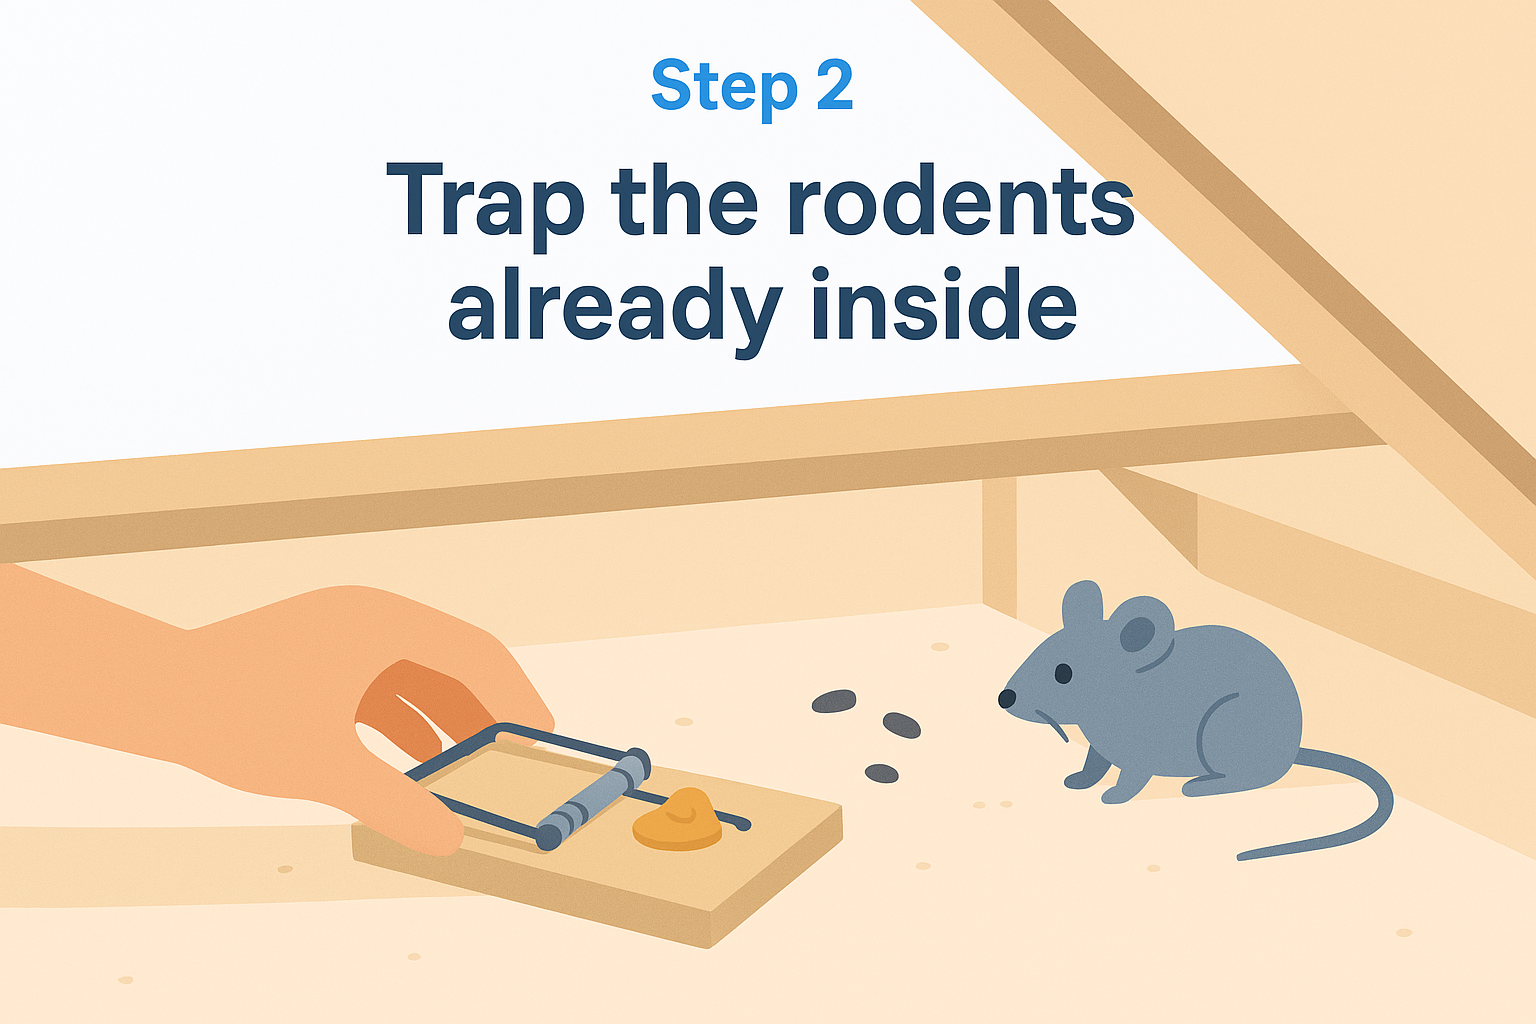
Pick the right traps and skip the poison
Snap traps kill quickly and let you count your catch, which tells you when the job is done. Use mouse-sized traps for mice and rat-sized traps for rats. Avoid poison in an attic. Poisoned rodents often die inside walls or insulation, where the smell lasts for weeks, and poisoned animals can harm pets and wildlife. California also restricts several rodenticides, so leave them to licensed professionals. Skip glue boards too, because they are inhumane and unreliable on dusty attic surfaces.
Bait mouse traps with a pea-sized dab of peanut butter. For roof rats, use nuts or dried fruit.
Place and check traps correctly
Follow this routine:
- Set traps against walls and beams, perpendicular to the surface, with the trigger end touching the wall.
- Put them near droppings, gnaw marks and nests. Place several traps a few feet apart for mice, and fewer along runways for rats.
- For rats, leave baited traps unset for two or three days first. Rats are wary of new objects.
- Check traps every morning. Wear gloves and seal each catch in a bag before putting it in the trash.
- Keep trapping until you catch nothing for several nights in a row, then take the traps up.
Children and pets should never go into the attic while traps are set.
Do not count on silence alone. Stop trapping only after several nights with no catches and no new droppings.
Step 3. Seal every entry point
Seal each opening you marked in Step 1 with metal, not with anything rodents can chew. Do this only after the traps have stopped catching animals, or you will trap survivors in the house.
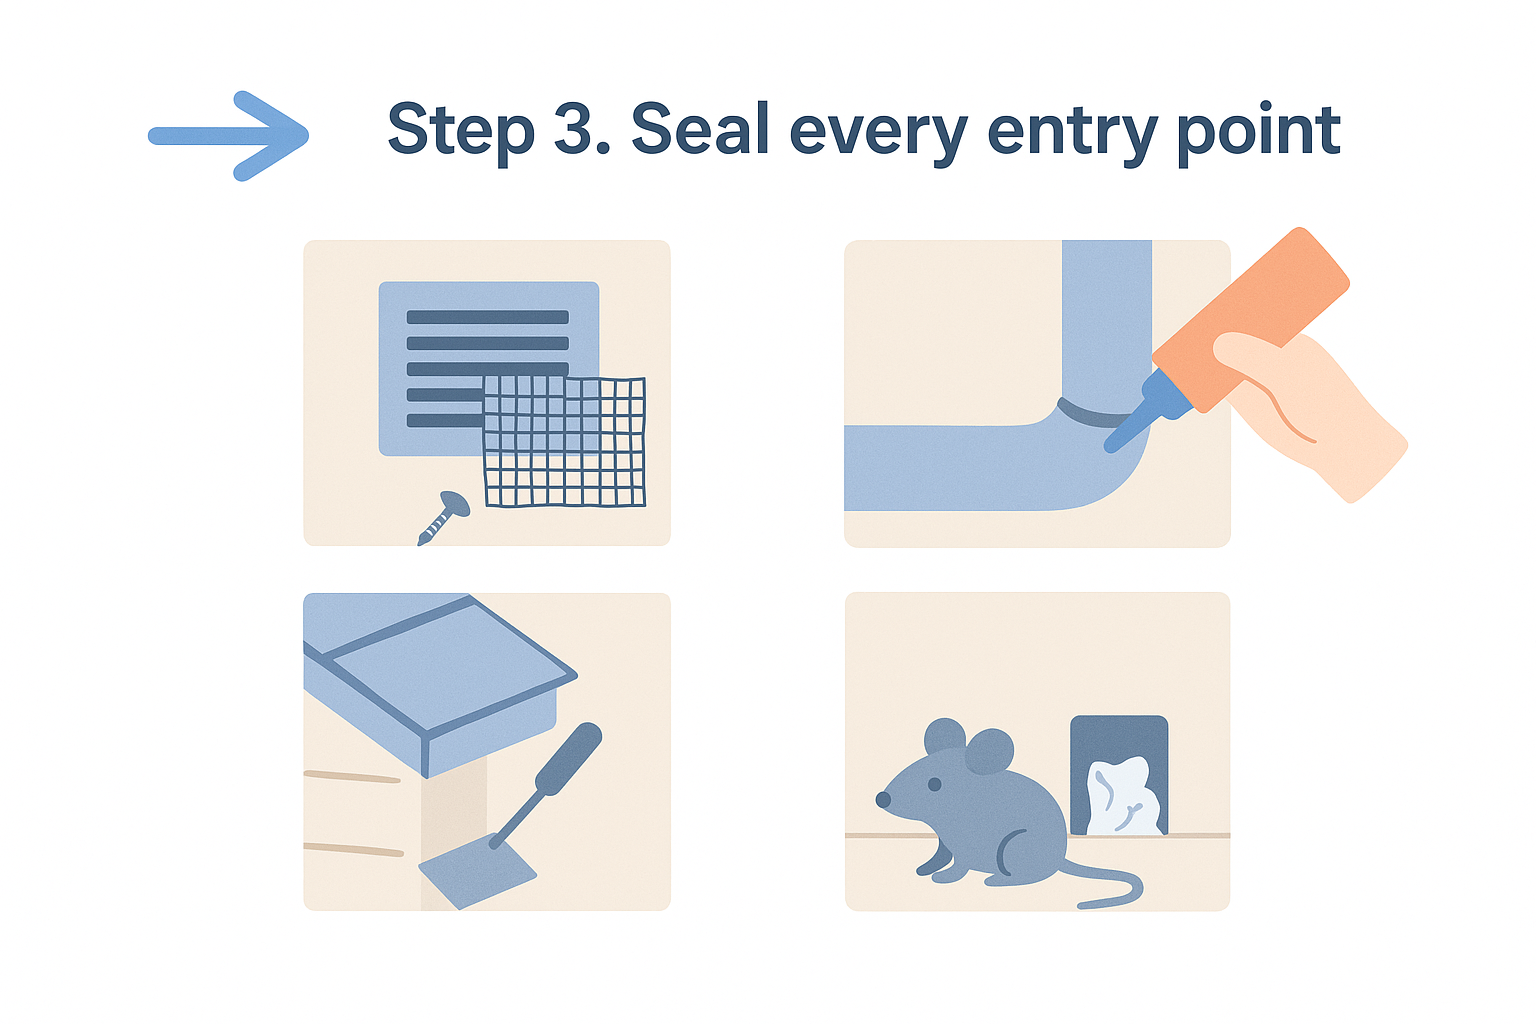
Choose materials rodents cannot chew
The right material depends on the size of the opening.
| Material | Best use | Watch out for |
|---|---|---|
| 1/4-inch galvanized hardware cloth | Vents and large openings | Needs cutting and screws |
| Steel or copper mesh with exterior sealant | Small holes around pipes and wires | Steel wool alone rusts away |
| Metal flashing | Eaves, roof edges, chewed corners | Must be fastened down |
| Expanding foam, cloth or plastic screen | Nothing on its own | Rodents chew straight through |
Seal in the right way
Cover every vent with hardware cloth, fastened with screws and not just stapled, but do not block airflow. A sealed vent must still breathe , because attic ventilation protects your roof. Pack small holes with mesh and cover them with sealant. Replace chewed soffit and fascia boards instead of patching them.
Before you finish the last opening, stuff it loosely with paper for a day. If the paper is untouched, you are safe to seal it. If it is pushed out, an animal is still using the hole. Roof work carries a fall risk, so hire a pro if the opening is on a steep or high roof.
Metal mesh and flashing hold up, but foam, cloth and plastic do not.
Step 4. Clean up and keep rodents out
Clean the attic after the rodents are gone and the openings are sealed, then replace what cannot be cleaned. Skipping this step leaves odors and pathogens that attract the next group of rodents.
Clean droppings and deal with insulation
Wear gloves and an N95 respirator. Never sweep or vacuum dry droppings, because that puts particles in the air. Spray droppings and nests with a disinfectant until wet, wait a few minutes, wipe them up with paper towels and bag them. The CDC recommends a mix of 1.5 cups of household bleach per gallon of water for hantavirus cleanup.
Insulation that is soiled or nested in cannot be cleaned effectively. It needs to be removed, the attic disinfected, and new insulation installed. Defender's rodent control service includes complete insulation removal, disinfection and reinstallation, and its insulation service offers free estimates for attic cleaning and new insulation.
Keep them out long term
Prevention is mostly maintenance:
- Trim branches back several feet from the roof.
- Store attic items in plastic bins, not cardboard.
- Cap the chimney and replace torn window screens.
- Inspect the roofline and vents each spring and fall, and after storms.
A yearly inspection catches new gaps before rodents do.
Start with an inspection
Rodent control in your attic comes down to doing four jobs in order: inspect, trap, seal and clean up. Each step protects the next one. If you find yourself dealing with many animals, a steep roof or soaked insulation, hand it to a pro rather than half finishing it.
If you want help, Defender's local team handles rodent inspection, removal, exclusion and repair, and answers 24/7 emergency calls. You can schedule a rodent inspection with Defender and get a clear plan for your attic before anything is sealed or removed.