Rat Removal From Attic: A Step-by-Step DIY Guide
You hear scratching in the ceiling at 2 AM, or you've found droppings scattered near your insulation. Either way, you're dealing with rats, and rat removal from attic spaces is not a job you can put off. Rats chew wiring, shred insulation, and multiply fast. What starts as one or two rats can turn into a full colony within a few months if you wait.
This guide walks you through the real, tested process: finding entry points , setting traps that actually work, sealing the attic so rats can't get back in, and cleaning up safely afterward. We'll also tell you honestly when a DIY approach makes sense and when calling a professional saves you time, money, and repeat infestations.
We've handled rodent removal jobs across Sacramento, Roseville, Folsom, and Elk Grove since 1999, and attic infestations follow a predictable pattern once you know what to look for. Below, you'll get the exact steps we use, in order, so you can tackle this yourself or know precisely what a pest control company should be doing if you hire one.
Before you start: signs, risks, and DIY vs. pro
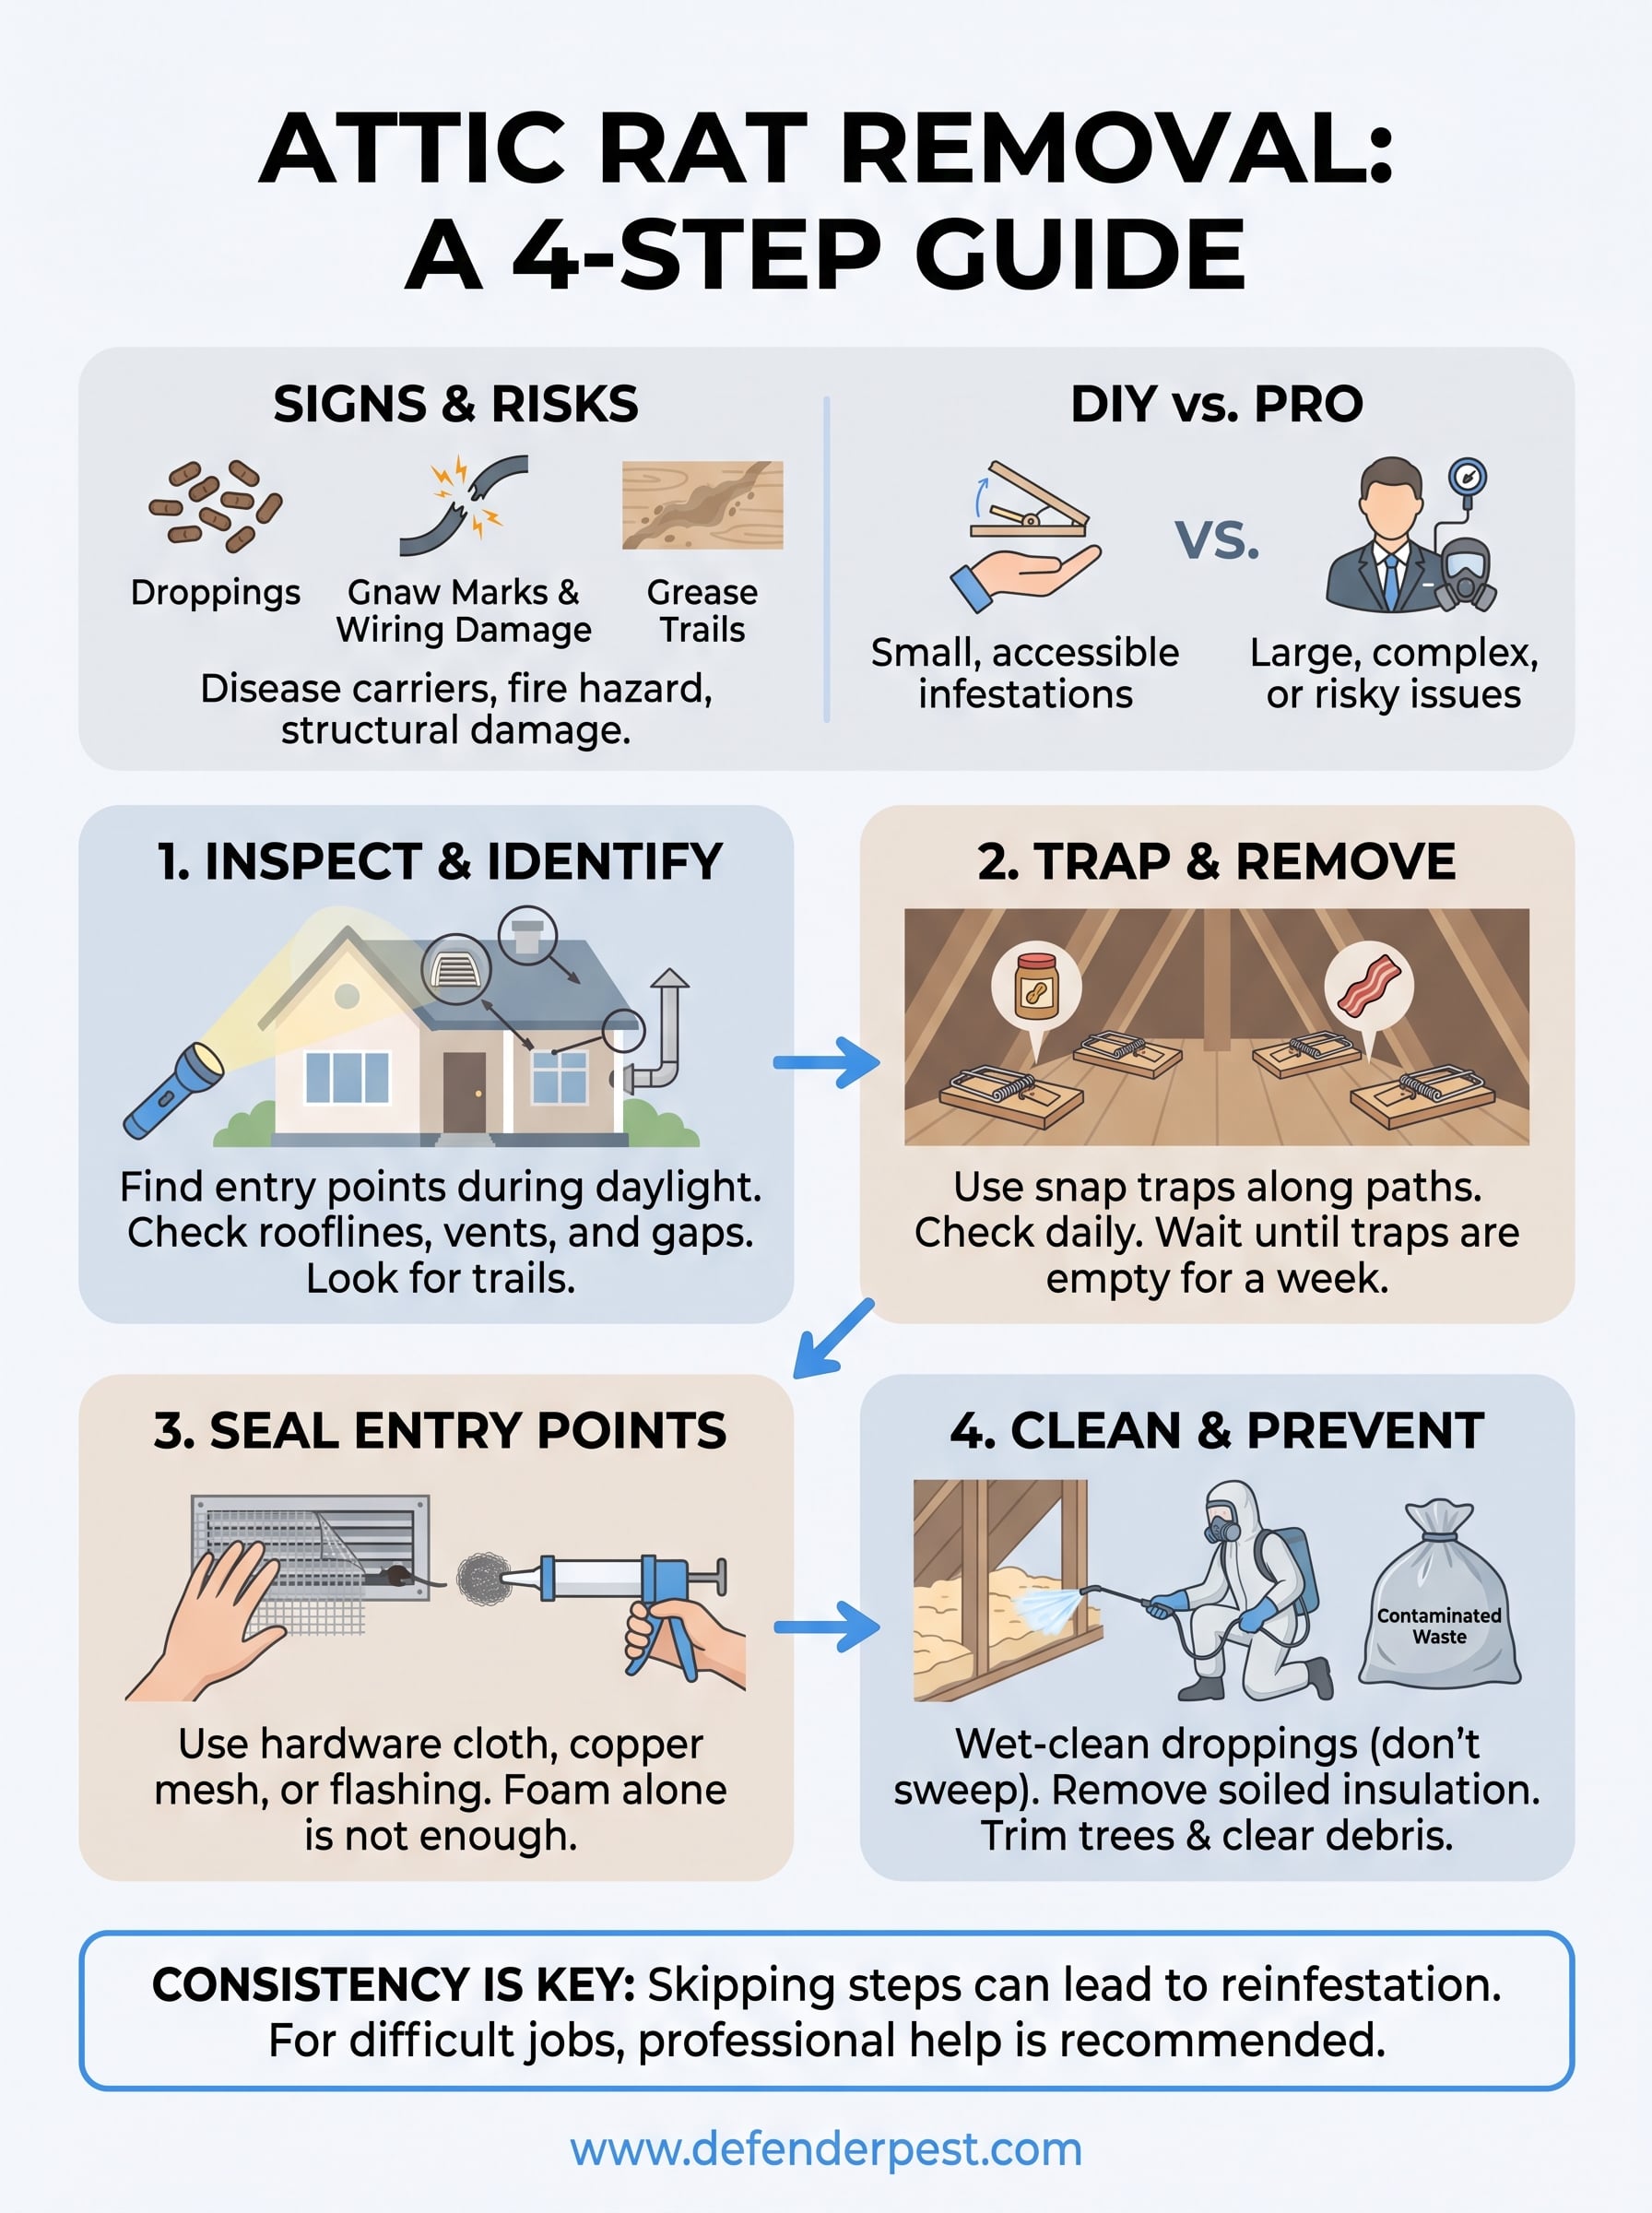
Before you climb into your attic with a flashlight, you need to know what you're actually dealing with. Rats leave a distinct calling card that's different from squirrels, birds, or bats, and confirming the culprit saves you from setting the wrong kind of trap or missing entry points entirely. Look for these telltale signs during a daytime inspection, when rats are typically inactive:
- Droppings : dark brown, capsule-shaped pellets about half an inch long, often clustered near nesting spots or along beams.
- Gnaw marks : fresh chew marks on wood, wiring, or ductwork, usually near entry points.
- Grease trails : dark smudges along walls or joists where rats repeatedly rub their oily fur.
- Nesting material : shredded insulation, cardboard, or fabric balled up in corners.
- Noise patterns : scratching or scurrying at night, since rats are nocturnal and most active between dusk and dawn.
Why ignoring the problem gets expensive fast
Rats aren't just a nuisance. They carry pathogens linked to hantavirus and leptospirosis, and their urine and droppings can contaminate insulation to the point where full replacement becomes necessary rather than just cleanup. Beyond health hazards, rats gnaw through electrical wiring, which is a documented cause of house fires, and they'll chew through wood framing and ductwork looking for nesting material. A single breeding pair can produce dozens of offspring in a year, so a small problem in spring can become a serious infestation by fall if you don't act.
A two-rat problem today becomes a fifty-rat colony within a year if you don't address it now.
Deciding between DIY and calling a professional
Whether you tackle this yourself or bring in help depends on the scale of the infestation, your comfort with attic access, and how much risk you're willing to take with electrical and structural repairs. Use the comparison below to gauge where you land.
| Situation | DIY makes sense | Call a professional |
|---|---|---|
| Small infestation, 1-3 rats, easy attic access | Yes | Optional |
| Large or long-term infestation, heavy droppings/damage | No | Yes |
| Comfortable with crawling in tight attic spaces | Yes | Either |
| Wiring damage or suspected chewed electrical lines | No | Yes |
| You want warranty-backed exclusion work | No | Yes |
| Property is being sold or inspected soon | No | Yes |
Homeowners with a mild, early-stage problem and a workable attic layout can usually handle trapping and basic sealing on their own. But if you're finding damage to wiring, structural wood, or you've already tried DIY traps without success, a licensed rodent control company will identify hidden entry points faster and back the exclusion work with a warranty , something no store-bought trap can offer.
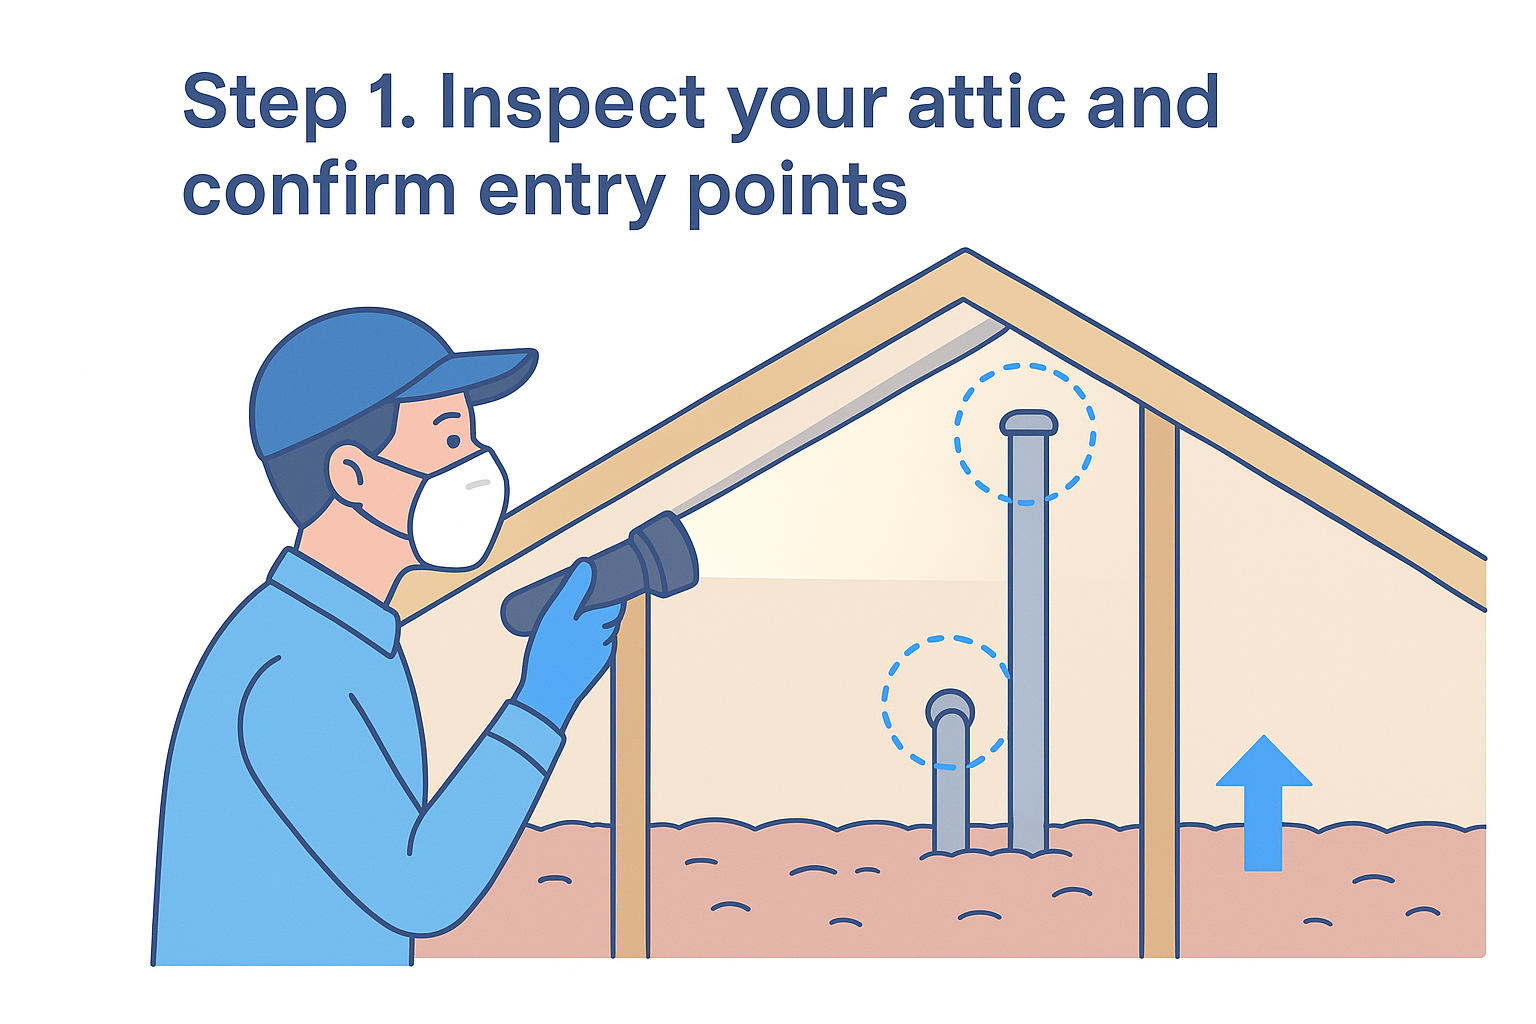
Step 1. Inspect your attic and confirm entry points
Grab a flashlight and head up during daylight hours, since rats hide when they hear movement and you'll get a clearer picture of the damage without them scurrying around. Walk the perimeter of your attic first, checking where the roofline meets the walls, around vent pipes, and along the eaves. Rat entry points are usually smaller than people expect; a rat can squeeze through a gap the size of a quarter, so don't dismiss small cracks or gaps around utility lines as harmless.
Gear up before you climb in
Protect yourself before you start poking around insulation that may be contaminated with droppings or urine.
- N95 mask or respirator to avoid inhaling dust from droppings
- Disposable gloves
- Bright flashlight or headlamp
- Notepad or phone camera to mark entry points as you find them
- Sturdy shoes, since attic joists can be unstable
Common rat entry points to check
Most infestations trace back to a handful of predictable spots. Check these areas methodically rather than randomly scanning the whole attic:
| Location | What to look for |
|---|---|
| Roofline and eaves | Gaps where wood has warped or rotted |
| Vent pipes and exhaust fans | Missing or damaged screens |
| Soffit and fascia boards | Cracks, chew marks, or loose panels |
| Gable vents | Torn or missing mesh covering |
| Foundation and crawlspace gaps | Openings near pipes or utility lines |
Once you've located gnaw marks or grease trails leading to a specific gap, mark it with tape or a photo so you don't lose track of it later. Trace every trail back to its source, because rats often use more than one entry point at a time, and missing even one means your sealing work later won't hold.
If you can fit a pencil through a gap, a rat can fit through it too.
Skip this inspection step and you'll end up trapping rats indefinitely without ever solving the root problem, since new rats will keep finding the same open doors.
Step 2. Trap and remove the rats
With entry points mapped, it's time to start pulling rats out of the attic before you seal anything shut. Trapping first matters because sealing every gap while rats are still inside just locks them in your walls, and a dead rat in a wall cavity creates a smell that lingers for weeks. Snap traps remain the most effective and humane option for attic work, far more reliable than glue boards or ultrasonic gadgets sold online.
Choosing and placing your traps
Use wooden or plastic snap traps rated for rats, not the smaller mouse-sized versions. Place them along the grease trails and joists you marked during inspection, since rats travel the same paths repeatedly and rarely cross open floor space.
| Trap type | Effectiveness | Notes |
|---|---|---|
| Snap traps | High | Kills quickly, easy to reset |
| Live traps | Moderate | Requires relocation, daily checks |
| Glue boards | Low | Inhumane, rats often escape and hide to die elsewhere |
Set traps perpendicular to walls with the trigger end facing the surface, since rats hug walls as they move. Bait with peanut butter, bacon, or nesting material like dental floss, which rats find irresistible for building nests.
Snap traps placed along wall lines catch far more rats than bait stations placed in open attic space.
Checking, resetting, and disposal
Check traps every 24 hours, ideally in the morning, since rats are most active overnight. Wear gloves when handling a trapped rat, seal it in a plastic bag, and dispose of it in an outdoor trash bin immediately.
- Reset every trap after each catch, even if bait remains untouched
- Move traps that sit empty for three days to a new location along another trail
- Increase trap count if droppings continue appearing after a week of trapping
- Stop adding new traps once you go five to seven days without a catch
Once you've gone a full week without catching anything, you're likely down to zero or close to it, and it's time to move on to sealing the attic for good.
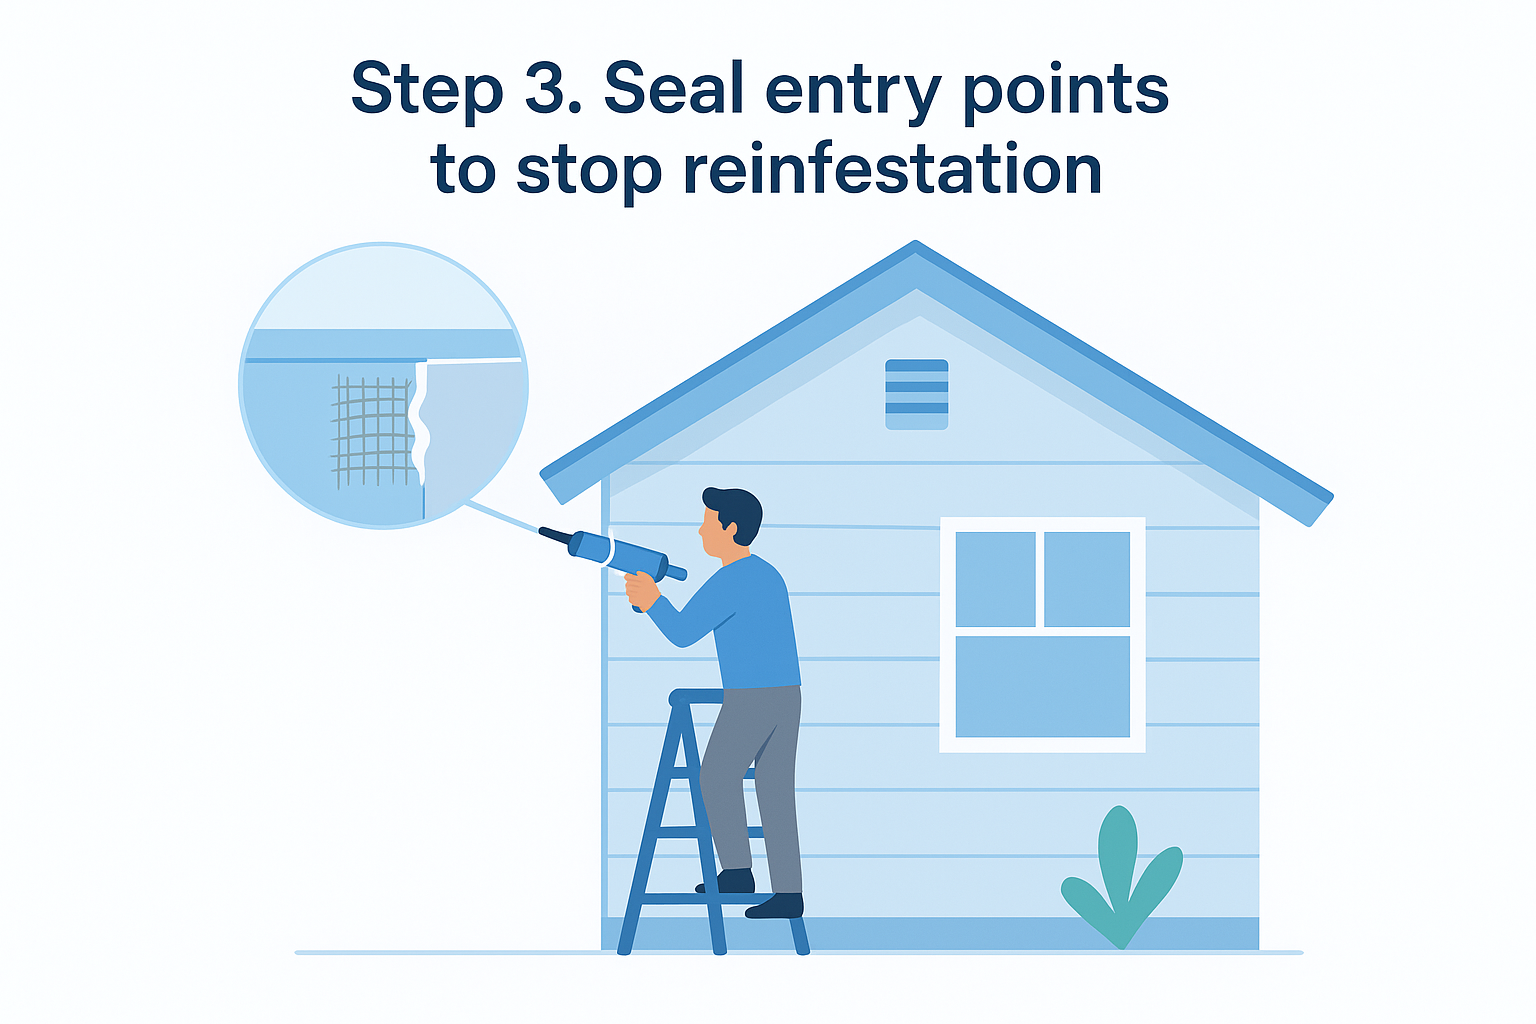
Step 3. Seal entry points to stop reinfestation
Once your trap count sits at zero for a full week, go back to the entry points you flagged during inspection and start sealing them one by one. This is the step that actually stops rat removal from attic spaces from becoming a repeat chore every few months. Skip it, and you're just resetting the same trap year after year while new rats move into the gaps the old ones left behind.
Pick the right material for each gap
Not every material holds up against a rat's teeth, so match the fix to the location instead of grabbing whatever caulk tube is closest.
| Material | Best for | Why it works |
|---|---|---|
| Galvanized hardware cloth | Vents, gable openings | Rats can't chew through metal mesh |
| Copper mesh or steel wool | Small gaps around pipes | Fibers deter gnawing, won't rust out |
| Sheet metal flashing | Rooflines, eaves, fascia damage | Durable, weatherproof barrier |
| Expanding foam alone | Nothing long-term | Rats chew through foam easily; only use combined with metal |
A gap sealed with steel wool or metal flashing stays sealed; foam alone is just a snack.
Work from the roofline down
Start at the highest entry points, since rats climb before they burrow, and work your way down toward the foundation. Screw hardware cloth over vent openings rather than just stapling it, since staples pull loose under repeated gnawing. Fill smaller gaps around pipes and wiring with copper mesh packed tightly, then cover with caulk for a weatherproof finish. Replace any rotted or warped fascia boards outright instead of patching them, because soft wood invites rats back within weeks. The U.S. Environmental Protection Agency notes that exclusion, not just trapping, is the only way to permanently resolve a rodent infestation, and that matches what we see on every job across Sacramento and Roseville. Walk the exterior one more time after sealing to confirm nothing was missed before moving on to cleanup.
Step 4. Clean, decontaminate, and prevent future rats
With every gap sealed and the trapping phase behind you, the attic still isn't safe to leave alone. Rat droppings, urine-soaked insulation, and nesting debris carry pathogens that don't disappear once the rats are gone, and contaminated insulation left in place keeps smelling and attracting new pests looking for shelter. This step protects your family's health and makes sure the work you just did actually holds.
Remove contaminated material safely
Don't sweep or vacuum droppings dry, since disturbed particles can become airborne and carry hantavirus risk. Instead:
- Spray droppings and nesting material with a disinfectant solution and let it sit for five minutes before cleanup
- Bag contaminated insulation in heavy-duty plastic and remove it through the attic access point, not through living spaces
- Wear an N95 mask, gloves, and eye protection the entire time
- Wash any tools or surfaces the material touched with hot, soapy water afterward
Wet it down before you clean it up; dry droppings are how hantavirus spreads.
The CDC's rodent cleanup guidelines recommend this wet-cleaning method specifically to avoid stirring up dust from droppings, and it's the same protocol we follow on every job.
Replace insulation and disinfect surfaces
Once contaminated insulation is out, wipe down joists, beams, and flooring with a bleach solution (one part bleach to ten parts water) to kill remaining bacteria. Replace insulation only after surfaces are fully dry, and consider rodent-proof insulation with a wire mesh backing if you've had repeat infestations.
Set up long-term prevention
Keep the attic unattractive to future rats with a few ongoing habits:
- Trim tree branches back at least six feet from the roofline
- Store firewood and debris away from the foundation
- Check vent screens and seals twice a year
- Keep gutters clear so rats can't use debris as a climbing path
These small maintenance steps cost far less than another round of trapping and cleanup down the road.
Keeping your attic rat-free for good
Follow these four steps in order, inspect, trap, seal, clean, and you'll solve most attic rat problems without ever picking up the phone. Rat removal from attic spaces isn't complicated, but it does require patience and doing every step fully rather than skipping straight to traps or caulk. Rats exploit shortcuts, so a half-sealed gap or a skipped cleanup phase just invites the next generation back in within weeks.
Here's the thing though: not every attic cooperates. Tight crawlspaces, chewed wiring, or an infestation that's already spread past a handful of rats calls for hands-on experience most homeowners don't have time to build. If your traps sit empty for weeks with droppings still appearing, or you'd rather have a warranty backing the work, that's your sign. Get a free inspection from Defender Termite & Pest Management and let a Sacramento-area crew that's handled this since 1999 finish the job right.