Mouse and Pest Control: How to Remove Mice for Good
Hearing scratching in the walls at 2 a.m. or finding droppings in your pantry means you have a mouse problem, and it won't fix itself. Traps you bought at the hardware store might catch one or two mice, but if you're still seeing signs a week later, you're dealing with an infestation, not a single intruder. That's where mouse and pest control becomes less of a DIY project and more of a job for someone who knows how mice actually move through a house.
This guide walks you through what actually works: sealing entry points as small as a dime, placing traps and bait stations where mice travel, and knowing when store-bought solutions stop being enough. You'll learn how to identify an active infestation versus old activity, and why exclusion work matters more than the traps themselves.
We've handled rodent removal for homeowners across Sacramento, Roseville, and Folsom since 1999, so this isn't theory. We'll cover prevention strategies that keep mice from coming back once you've cleared them out, plus the point where a professional inspection saves you time, money, and repeated headaches.
What to know before you start removing mice
Mice breed fast. A single female can have five to ten litters a year, with six pups per litter, which means two mice in your walls in January can turn into dozens by summer. Rodent control only works if you understand this math upfront, because half-measures buy you a few quiet weeks before the population rebounds. Before you buy a single trap, take stock of what you're actually fighting.
A mouse problem you can't see is still growing, so treat any sign of activity like an infestation until you prove otherwise.
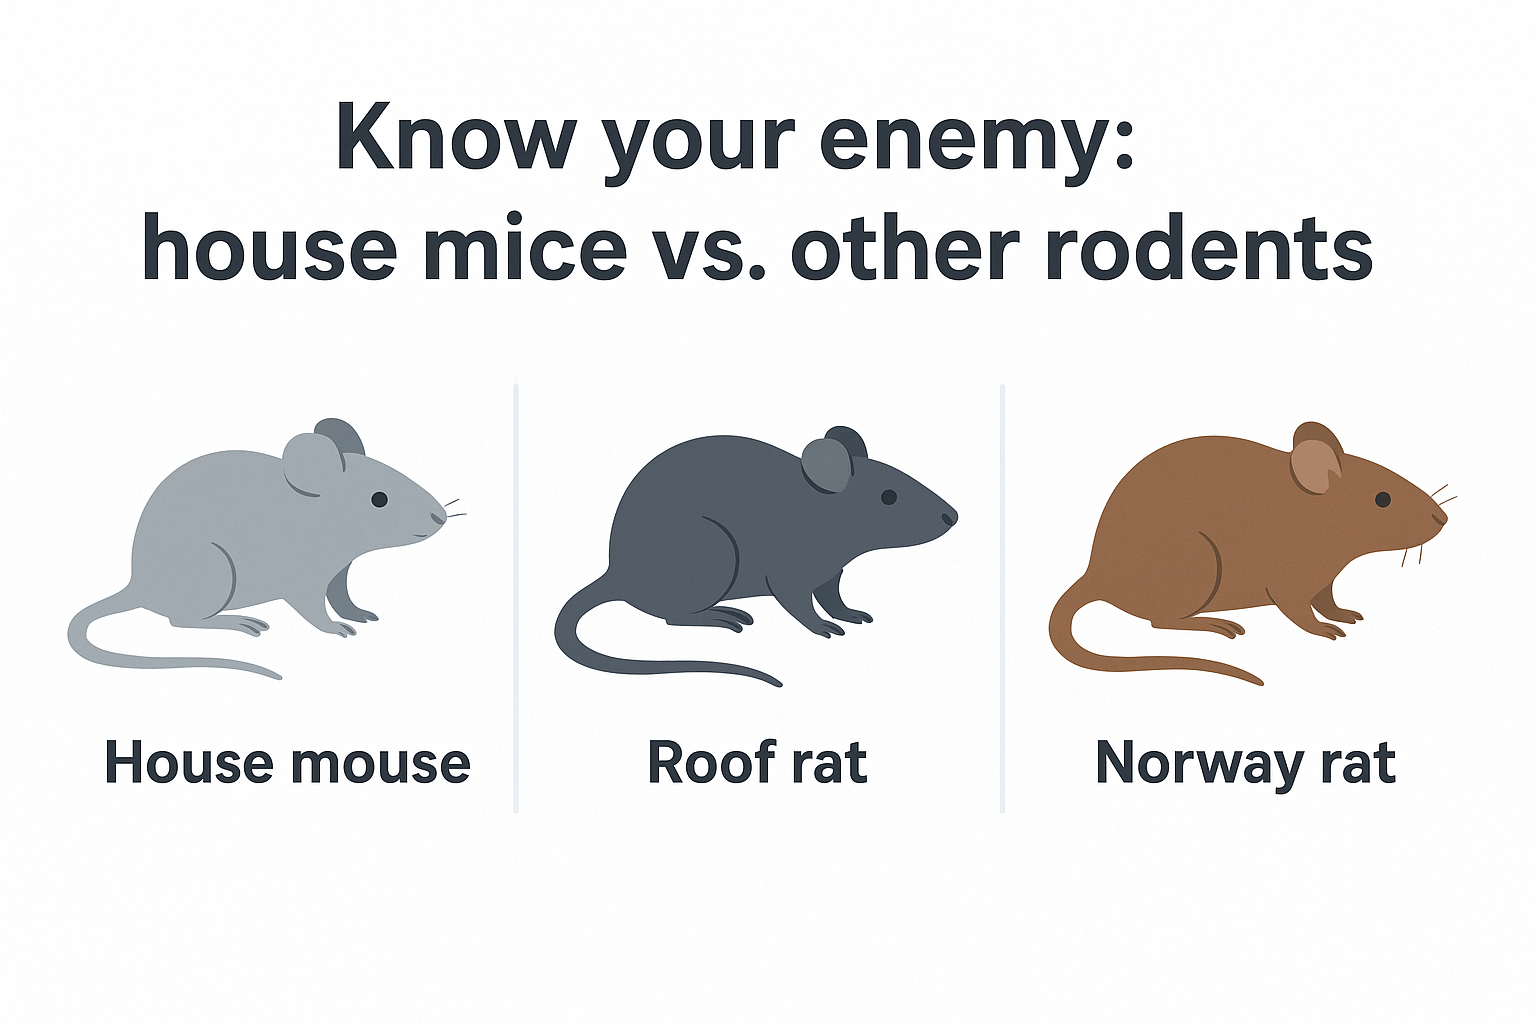
Know your enemy: house mice vs. other rodents
House mice are the most common invaders in Sacramento-area homes, but they're not the only rodents that chew through insulation and leave droppings in cabinets. Confusing a mouse problem with a rat or vole issue leads to wasted money on the wrong bait, traps, or entry-point fixes.
| Rodent | Droppings | Typical Entry Gap | Common Signs |
|---|---|---|---|
| House mouse | Rice-grain size, pointed ends | 1/4 inch (dime-sized) | Grease marks on baseboards, shredded paper nests |
| Roof rat | Larger, spindle-shaped | 1/2 inch (nickel-sized) | Activity in attics, chewed wiring |
| Norway rat | Capsule-shaped, blunt ends | 1/2 inch | Burrows near foundations, gnawed wood |
Identifying the species correctly at the start saves you from placing bait stations in the wrong spots or sealing gaps that were never the real entry point.
Gear up before you start
Once you know what you're dealing with, gather the right supplies instead of grabbing whatever's cheapest at the store. Mouse exclusion work and trapping both go faster when you're prepared:
- Flashlight and a small mirror for checking behind appliances and inside crawl spaces
- Steel wool or copper mesh for stuffing gaps before sealing them permanently
- Expanding foam sealant or hardware cloth for larger openings
- Snap traps (at least 6 to 10 for a mid-size home) rather than glue boards, which are less humane and less effective
- Disposable gloves and an N95-style mask for cleanup around droppings
- A notepad or phone camera to log where you find activity, so you can track patterns over a few days
Decide your risk tolerance early
Homeowners often underestimate how much damage mice cause before they're ever seen. Mice chew through electrical wiring, which the National Fire Protection Association has linked to a measurable share of house fires with undetermined causes, and they contaminate stored food and insulation with urine and droppings that carry salmonella risk. Pest control services exist partly because most people don't want to spend a weekend finding every quarter-inch gap in a foundation, and partly because a missed entry point means you're back to square one in a month.
Setting realistic expectations now matters more than buying extra traps. If you've got a slab foundation, an older home with gaps around utility lines, or a history of repeat infestations, plan on this taking more than a weekend. Treat the next four steps as a sequence, not a menu you can pick and choose from, because skipping the sealing step to jump straight to trapping is the single most common reason DIY mouse control fails.
Step 1. Inspect your home for signs of mice
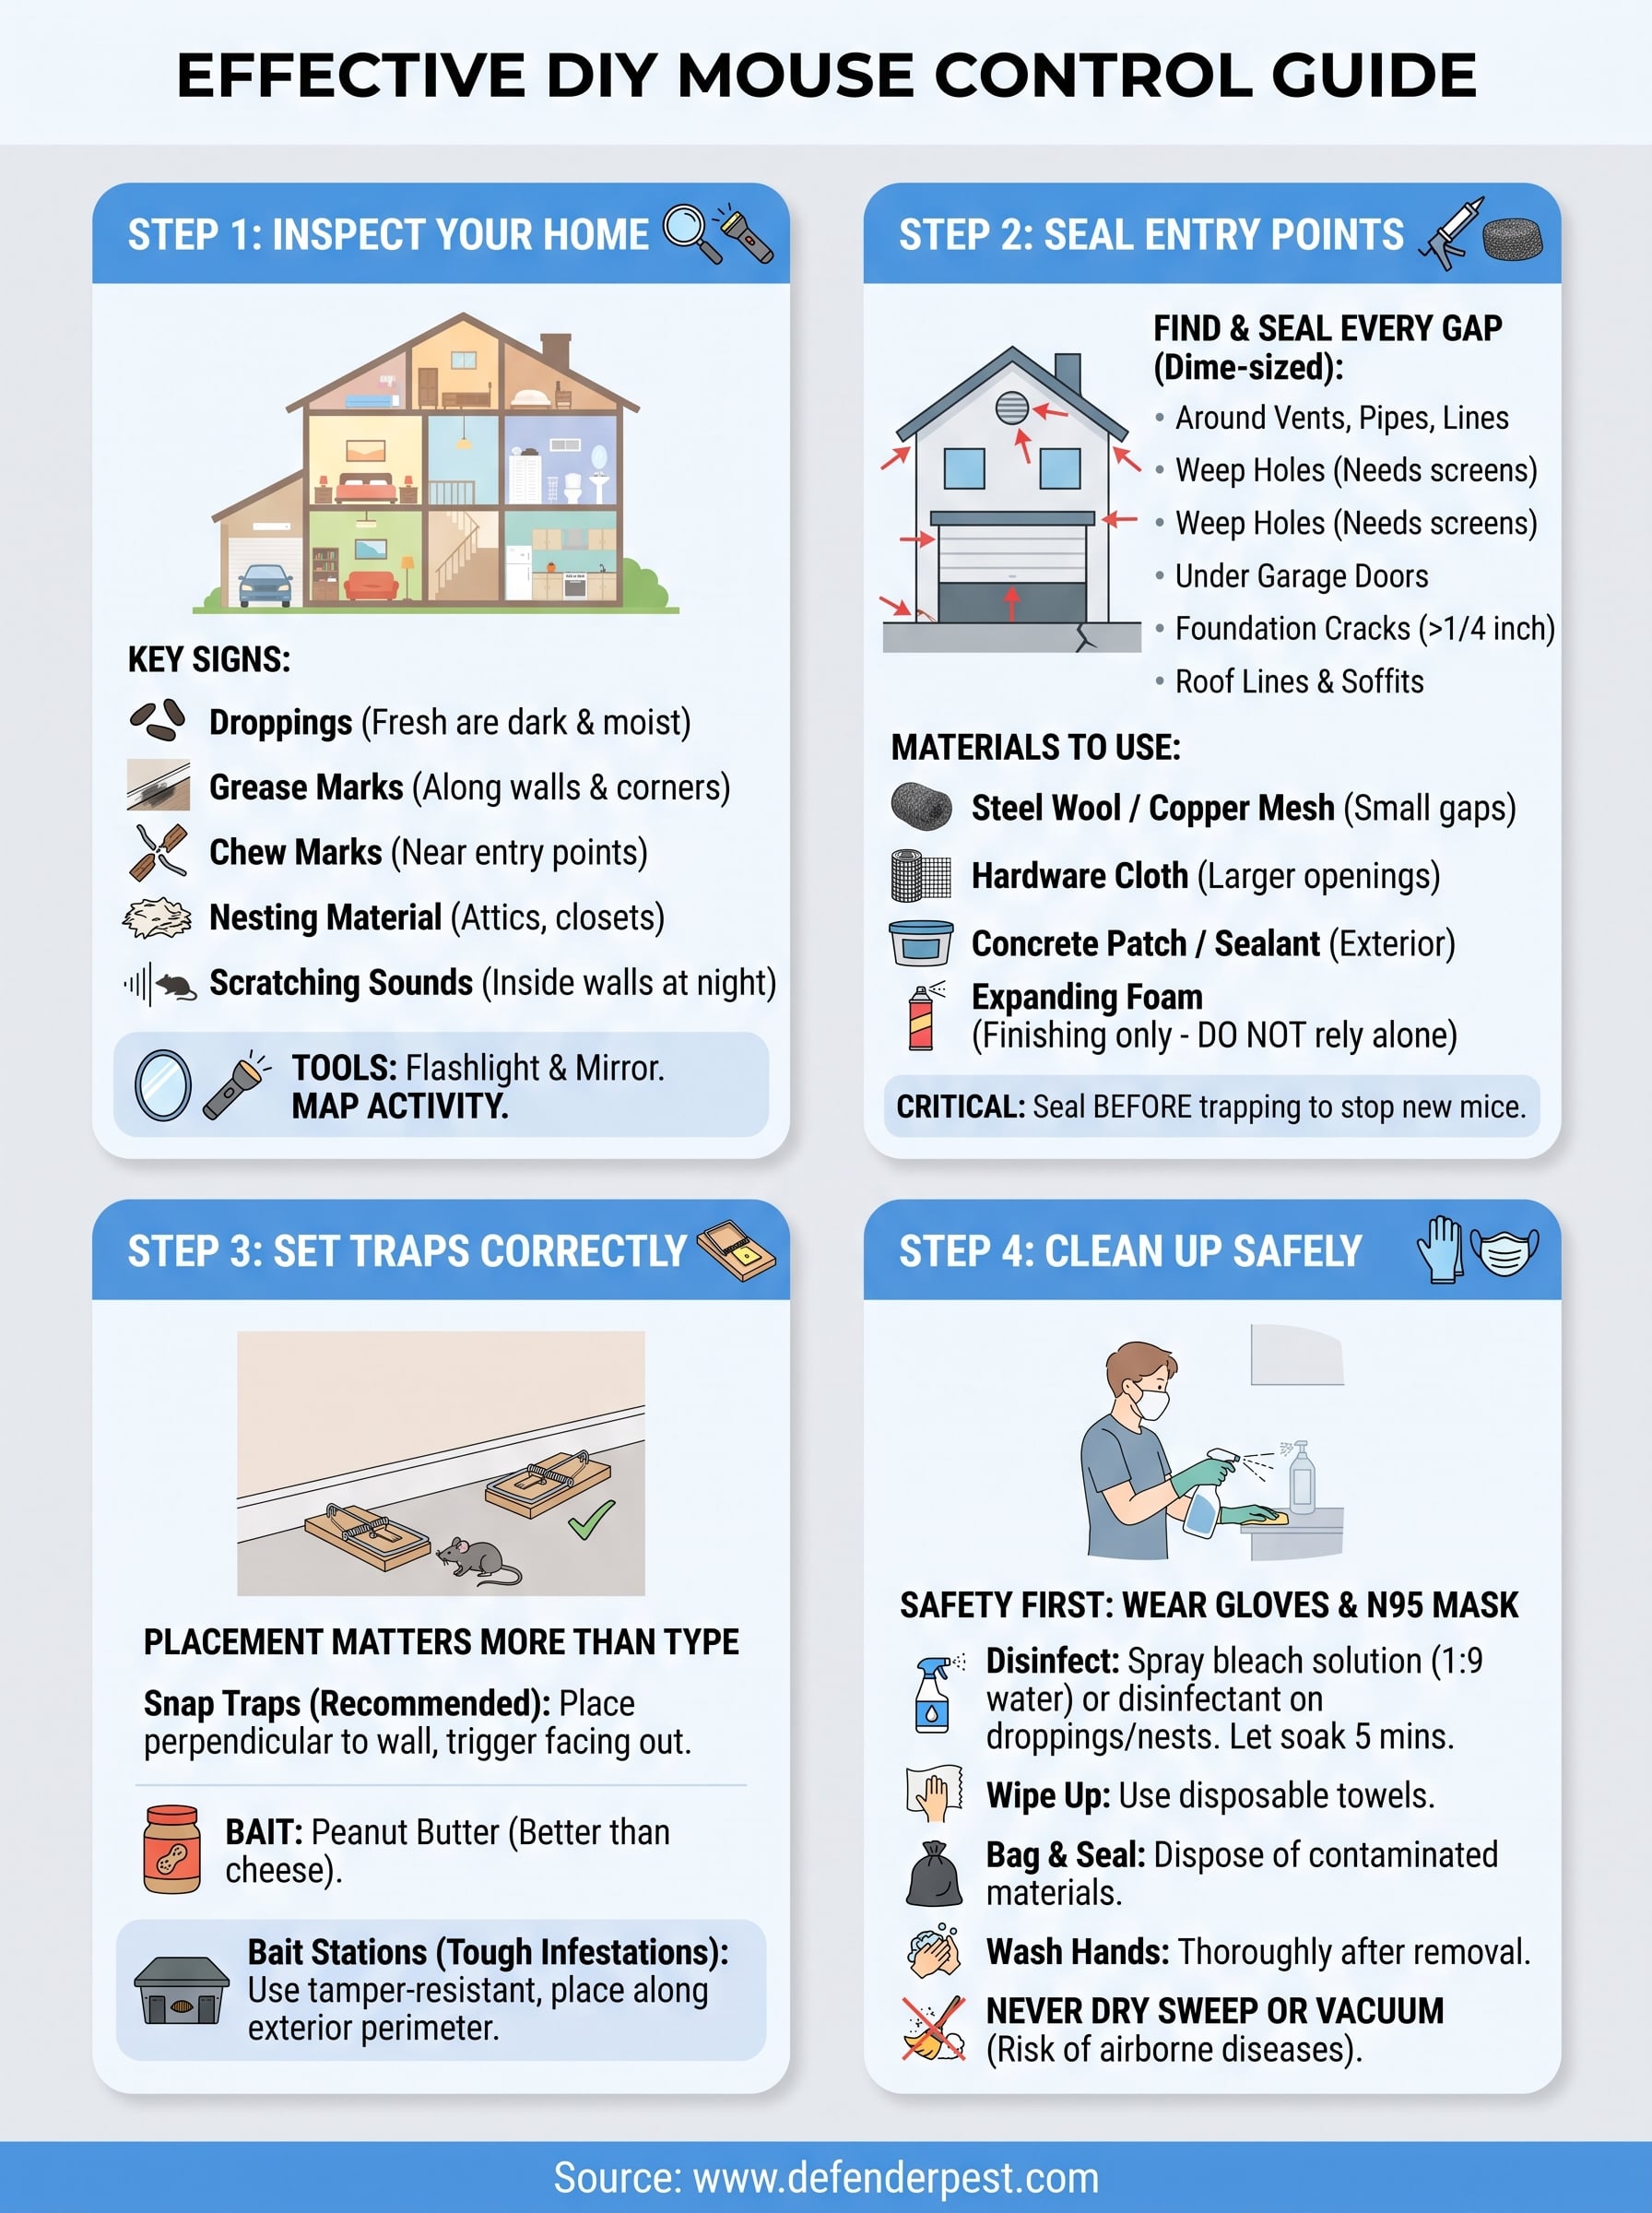
Before you seal a single gap or set a trap, walk your entire home and map where mice are actually active. Skipping this step means you'll seal the wrong openings and place traps where mice never travel, wasting a weekend on guesswork. Start in the areas mice prefer: kitchens, pantries, garages, attics, and anywhere pipes or wires run through walls.
If you can't point to exactly where mice are getting in and where they're feeding, you haven't finished the inspection yet.
What to look for room by room
Mice leave a predictable trail once you know what to check. Work through this list methodically instead of glancing around once and calling it done:
- Droppings : fresh ones are dark and moist; old droppings are gray and crumble when touched
- Grease marks : dark smudges along baseboards and wall corners where mice rub their oily fur repeatedly
- Chew marks : on wood, plastic containers, or wiring insulation, usually near entry points
- Nesting material : shredded paper, insulation, or fabric tucked into corners of closets, attics, or behind appliances
- Scratching sounds : most active at night, usually inside walls or above ceilings
- Live or dead mice : an obvious sign, but check under appliances and in seldom-used cabinets too
Grab that flashlight and mirror from your supply list and check behind the refrigerator, under the sink, inside the furnace closet, and along the foundation both inside and outside the house.
Distinguish active infestations from old activity
Old droppings and stale grease marks don't mean you're in the clear, but they also don't mean you need to treat the house like a warzone tonight. Fresh droppings, active scratching, and food packages chewed within the last day or two point to an active mouse infestation that needs immediate action. Dusty, sun-faded droppings and nests with no fresh material suggest past activity that you should still address, but with less urgency.
Log every sign you find with a photo and a note on location. This map becomes your guide for the next two steps: where to seal, and where to place traps for the best results.
Step 2. Seal entry points and gaps
With your map of activity in hand, move straight to exclusion before you touch a single trap. Mice can squeeze through a gap the size of a dime, so sealing entry points is the difference between a permanent fix and a repeat call in six weeks. Skip this step and you're just feeding the population currently in your walls, not removing it.
Trapping without sealing is like bailing water out of a boat with a hole still in the hull.
Find every gap, not just the obvious ones
Walk the exterior of your home in daylight and again at dusk with a flashlight, checking anywhere a pipe, wire, or vent penetrates the wall. Pay close attention to these common rodent entry points :

- Gaps around dryer vents, gas lines, and AC line sets
- Weep holes in brick veneer that lack proper screens
- Gaps under garage doors and around door thresholds
- Foundation cracks wider than a quarter-inch
- Roof lines where soffits meet fascia boards
- Openings around crawl space vents and utility penetrations
Mark each gap with tape or chalk as you find it, since it's easy to lose track once you start sealing.
Match the material to the gap
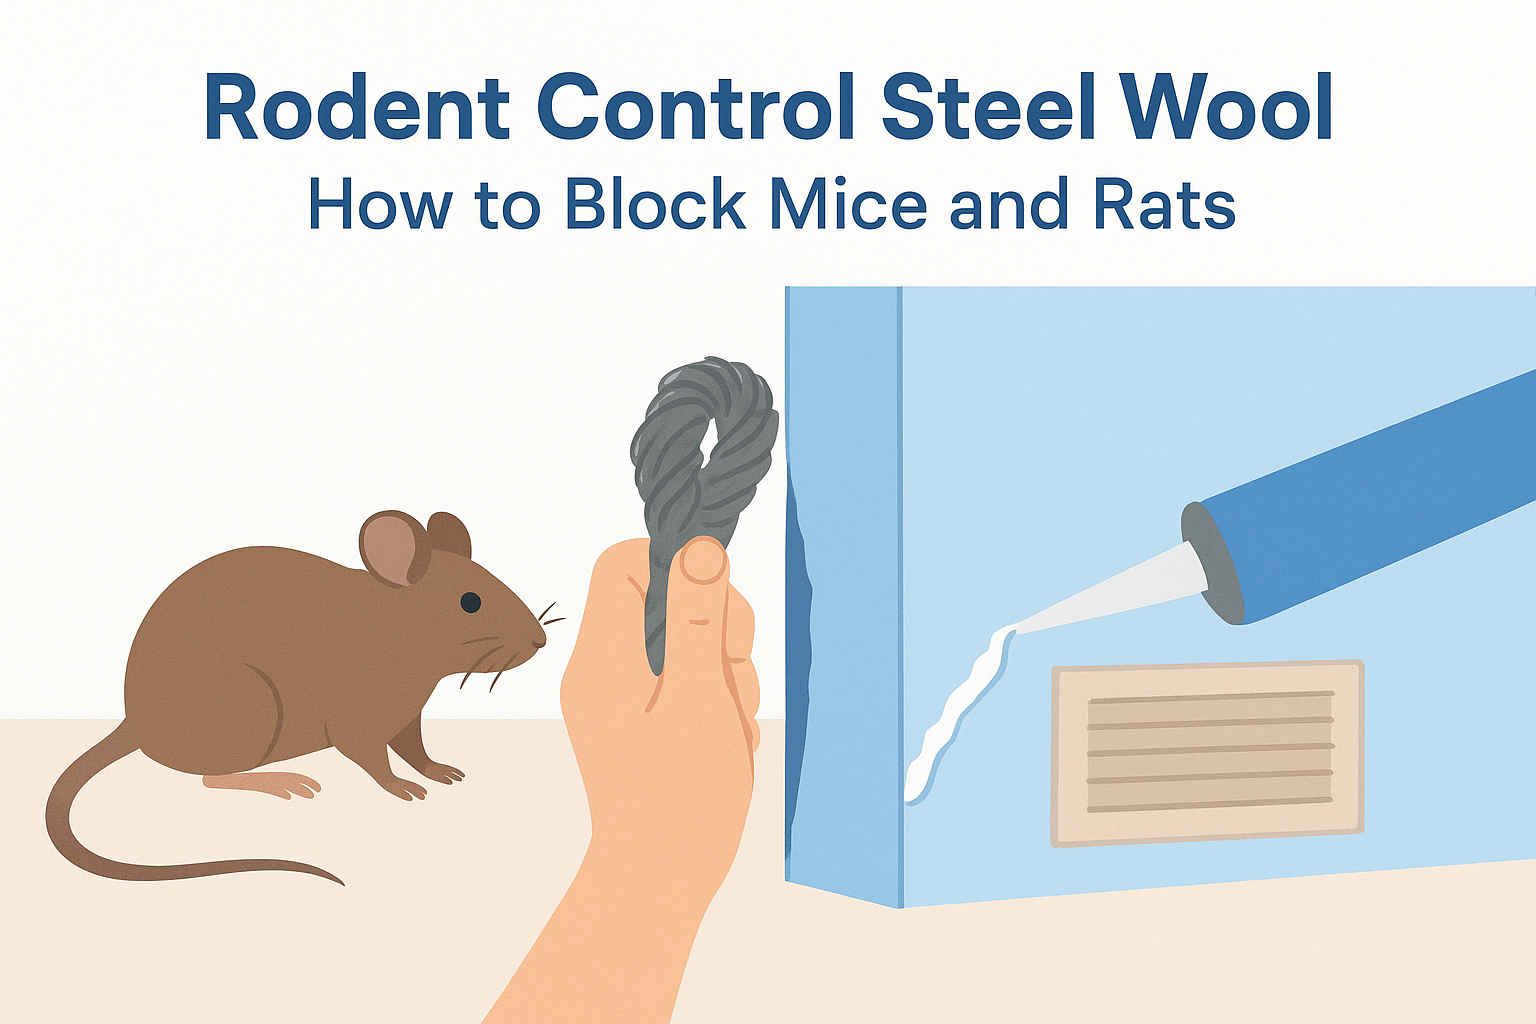
Once you've located every opening, seal it with something mice can't chew through. Steel wool and copper mesh work well for small gaps because rodents can't gnaw through metal fibers, but pack it tight so there's no wiggle room. Larger openings, like those around foundation vents or where pipes enter a crawl space, need hardware cloth or concrete patch instead of foam alone, since mice control efforts fail fast when foam is the only barrier. Expanding foam sealant works for finishing touches, but never rely on it by itself against an actively chewing mouse.
Finish this step before moving on. Half-sealed gaps leave mice an easy path back in, and you'll waste the trapping effort in Step 3 chasing rodents that never actually left.
Step 3. Set traps and bait stations correctly
Once your entry points are sealed, it's time to remove the mice already inside. Snap traps beat glue boards and poison bait for most homeowners, since mouse trap placement matters far more than the trap style you choose. Mice hug walls and travel the same routes night after night, so a trap sitting in the middle of a room will sit empty for weeks.
Traps placed along a wall, perpendicular to it, with the trigger facing outward, catch far more mice than traps dropped in open floor space.
Where to put traps for real results
Use the activity map from Step 1 to decide placement instead of guessing. Set traps in these spots first:
- Along walls where you found droppings or grease marks, positioned perpendicular to the wall so mice run into the trigger
- Inside cabinets near food storage, tucked into corners
- Behind appliances like the stove and refrigerator
- In attics or crawl spaces near insulation damage or nesting material
- Near any gap you sealed in Step 2, in case a mouse was already trapped inside when you closed it off
Bait traps with peanut butter, which holds up better than cheese and doesn't dry out as fast. Check traps every morning and evening for the first week, since a full trap left too long draws flies and makes the smell worse.
Bait stations for tougher infestations
For larger infestations or homes with a history of repeat problems, tamper-resistant bait stations placed along the exterior perimeter add a second layer of defense. Keep them away from areas kids or pets can reach, and always follow the label instructions on placement distance from structures, typically every 20 to 30 feet along the foundation. Bait stations work slower than snap traps, so don't expect results overnight. They're best used alongside trapping, not as a replacement for it, since a mouse that dies inside a wall cavity after eating bait creates an odor problem that snap traps avoid entirely. If you're still catching mice after two weeks of consistent trapping, that's a sign your sealing work missed a gap, or you're dealing with a larger population than a homeowner setup can handle alone.
Step 4. Clean up and bring in professional help
Once traps stop catching mice for two or three consecutive nights, it's time to clean up the mess mice left behind. Mouse droppings and nesting material carry hantavirus and salmonella risk, so don't sweep or vacuum dry droppings, since that stirs particles into the air you'll breathe in. Spray the area with a bleach solution (one part bleach to nine parts water) or a commercial disinfectant, let it sit for five minutes, then wipe it up with disposable paper towels.
Cleaning up wrong can make you sicker than the mice ever would, so wear gloves and a mask every time.
Cleanup checklist
Work through contaminated areas methodically instead of just wiping the obvious spots:
- Wear disposable gloves and an N95-style mask before touching any droppings or nesting material
- Spray droppings and nests with disinfectant and let it soak before wiping, never dry-sweep
- Bag contaminated insulation, cardboard, or fabric and seal it before tossing it out
- Disinfect countertops, cabinets, and any surface near stored food, even if you didn't see direct evidence there
- Wash your hands thoroughly after removing gloves, even if nothing looked visibly dirty
When to call a professional
Traps and sealing handle most cases, but some situations call for professional pest control instead of another trip to the hardware store. Bring in a licensed technician if you're still finding fresh droppings after two weeks of consistent trapping, if you're hearing activity in multiple rooms or the attic at once, or if you own an older home with a crawl space you can't fully access to seal on your own. A trained inspector finds entry points homeowners miss, like gaps behind stucco or under slab foundations, and can apply treatments that aren't available over the counter.
Repeated infestations despite your best DIY effort usually point to a structural issue rather than a trapping problem. That's the point where a company with construction know-how matters, since sealing a gap properly sometimes means patching wood damage a termite or moisture issue already started. Skipping that step just resets the clock until mice find the same weak spot again.
Keeping mice out for the long run
Mice don't come back because you had bad luck. They come back because a gap got missed, a trap sat in the wrong spot, or the cleanup left food debris that pulled them right back in. Follow the four steps in order, inspect, seal, trap, clean, and you'll fix the root problem instead of just thinning out the population for a month. Long-term rodent control is really an exclusion problem wearing a trapping disguise, and homeowners who skip the sealing step are the ones calling us back in six weeks.
Give this process a real shot before you decide it's not working. But if you're still hearing scratching after two weeks, or you own an older home with crawl spaces you can't fully seal yourself, don't burn another weekend guessing. Get a free quote from Defender Termite & Pest Management and let someone who's handled this since 1999 find what you missed.